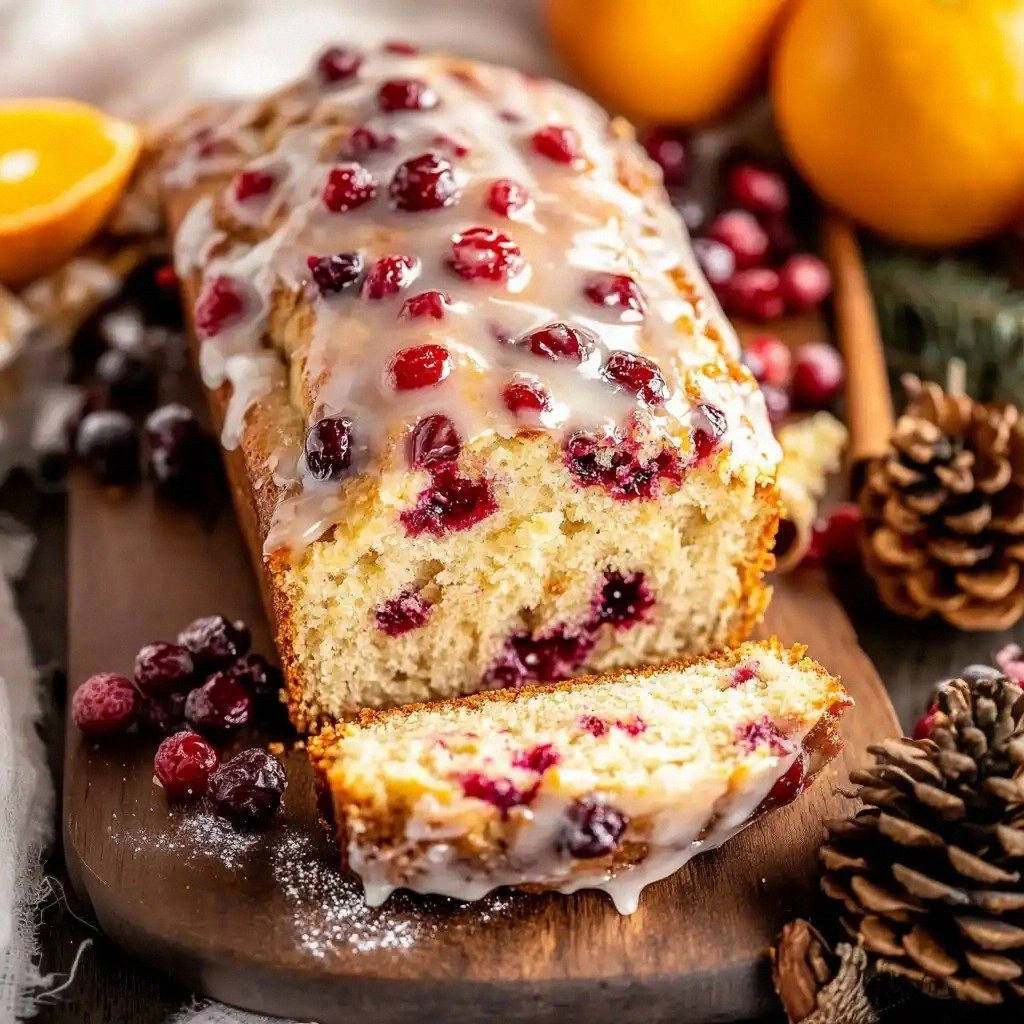
Okay, picture this: a cold Saturday night, my roommate snoring like a freight train, and a sudden craving for that smoky, tender, melt‑in‑your‑mouth pastrami that usually requires a full‑size smoker, a bit of patience, and a prayer to the meat gods. I stared at my pantry, saw a slab of corned beef I’d bought for a quick sandwich, and thought, “What if I could turn this into a pastrami masterpiece without any fancy equipment?” Spoiler alert: I did, and the result was an absolute flavor bomb that made the whole apartment sprint to the kitchen.
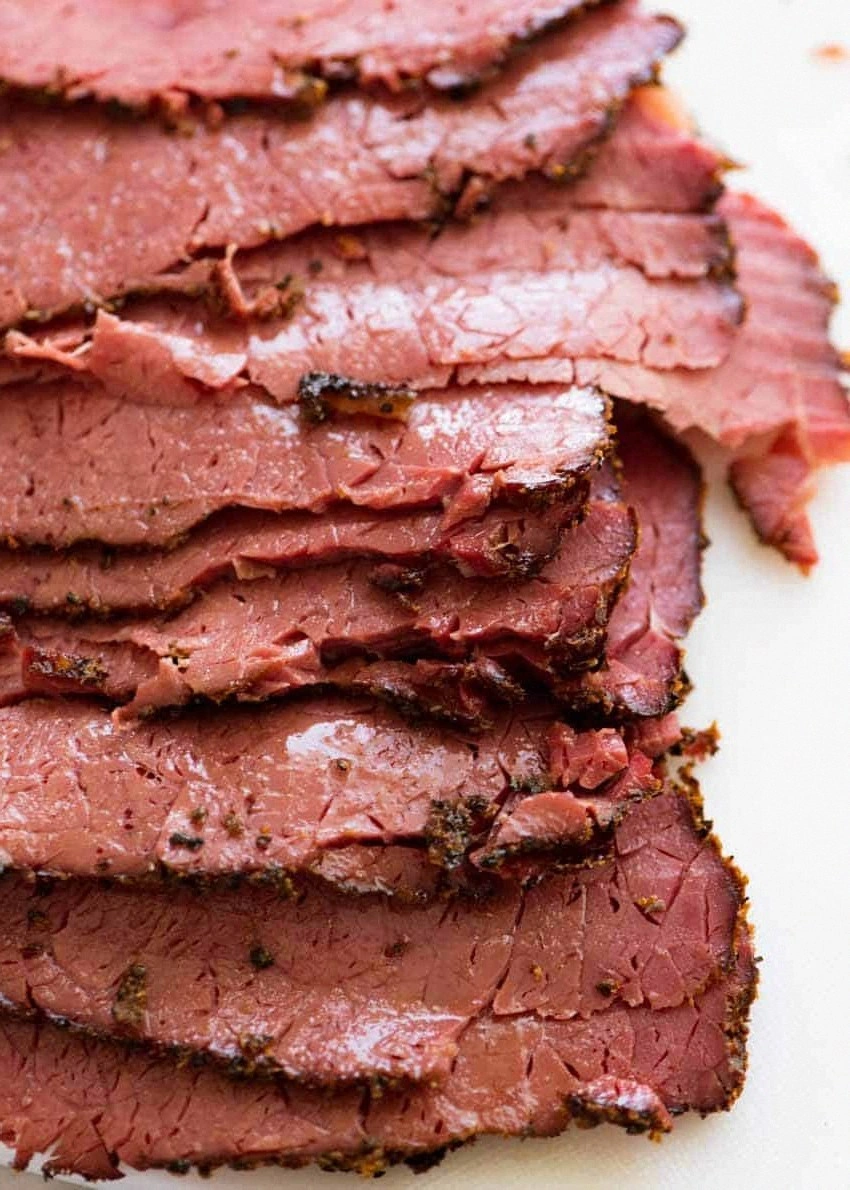
The moment I sliced into that first piece, the aroma hit me like a nostalgic train whistle—deep, peppery, with a whisper of sweet caramel from the brown sugar, and a subtle wood‑smoke kiss that didn’t even need a real smoker. The crust crackled under the knife, the pink interior gleamed with juiciness, and the fat cap rendered into silk‑like ribbons that practically melted on the tongue. I could hear the faint sizzle of the fat meeting the hot pan, smell the perfume of coriander and smoked paprika mingling, and feel the heat of the oven seeping into my bones. It was a full‑sensory takeover, the kind of culinary high that makes you want to hug the chef (me) and thank the universe.
Why does this version stand out from the sea of pastrami recipes floating around the internet? Most of them tell you to buy a smoker, spend hours brining, and then hope you don’t burn the rub. This one skips the brine because the corned beef is already cured, and it uses a simple rub that amps up the flavor without the need for a smokehouse. The secret weapon? Two tablespoons of liquid smoke that give you that authentic, smoky edge without the hassle, plus a careful balance of spices that hits every taste bud. I dare you to taste this and not go back for seconds—trust me, you’ll be the hero of every deli‑style sandwich night.
Let me walk you through every single step — by the end, you’ll wonder how you ever made pastrami any other way. Picture yourself pulling this out of the oven, the whole kitchen smelling incredible, the fat cap glistening like a caramelized crown, and the crust cracking open to reveal perfectly pink meat that’s tender enough to fall apart with a fork. Okay, ready for the game‑changer? Let’s dive in.
What Makes This Version Stand Out
- Flavor Explosion: The combination of coarsely ground black pepper, coriander, and smoked paprika creates a complex, layered taste that mimics a traditional smoker’s depth without the equipment.
- Texture Perfection: The thick fat cap renders into a buttery glaze while the interior stays juicy, delivering that classic pastrami snap and melt‑in‑your‑mouth feel.
- Simplicity: No brining, no overnight marinating—just a quick rub and a bake, making it perfect for busy weeknights.
- Unique Ingredient: Liquid smoke adds that authentic smokiness without the need for a smoker, saving you both time and space.
- Crowd‑Pleaser: I’ve been honest— I ate half the batch before anyone else got to try it, and the leftovers turned into the best sandwiches ever.
- Ingredient Quality: Using a good quality corned beef with a thick fat cap is the foundation; the fat protects the meat and infuses flavor during cooking.
- Cooking Method: Baking at a controlled temperature ensures even cooking, while a final high‑heat blast creates that signature crust.
- Make‑Ahead Potential: This pastrami stores beautifully, meaning you can prep it once and enjoy it for days, perfect for meal‑prep warriors.
Inside the Ingredient List
The Flavor Base
First up, the coarsely ground black pepper. This isn’t just any pepper; it’s the gritty, bold kind that gives you that punchy bite you expect from a classic pastrami crust. If you skip it, you’ll lose the signature “pepper‑crack” that makes each bite exciting. Want a milder version? You can blend half pepper with half white pepper for a subtler heat.
Next, coriander powder brings a citrusy, slightly floral note that brightens the deep, smoky backdrop. It’s the secret whisper that balances the richness of the fat. If you’re allergic or don’t have coriander, try a pinch of ground cumin for an earthy twist, but know you’ll be moving away from the authentic flavor profile.
The Spice Crew
Mustard powder is the unsung hero that adds a tangy zip, cutting through the fattiness and giving the rub a little edge. It also helps the crust adhere better to the meat’s surface. If you’re a fan of Dijon, a teaspoon of prepared mustard mixed into the rub can amplify that tang without altering the texture.
Brown sugar is the sweet counterpoint, caramelizing during the high‑heat finish to create that glossy, caramel‑brown crust. Too much sugar, and you risk a burnt exterior; too little, and you miss out on that delightful crunch. A quick tip: sprinkle a thin layer of sugar on the rub right before the final bake for an even caramelized finish.
The Unexpected Star
Liquid smoke is the wizard that transforms a simple oven bake into a smoky masterpiece. It’s concentrated, so a little goes a long way—two tablespoons are enough to infuse the entire slab with that classic deli aroma. If you’re wary of the artificial taste, look for a natural wood‑smoke version made from real hickory or apple wood chips.
Smoked paprika adds a deep, earthy smokiness and a subtle red hue that makes the crust visually appealing. It also reinforces the smoky notes from the liquid smoke, creating a layered depth. For a sweeter profile, try sweet paprika, but expect a milder flavor.
The Final Flourish
Garlic and onion powders are the classic duo that round out the flavor, providing a savory backbone that ties all the spices together. They’re essential for that comforting, familiar taste you associate with deli pastrami. If you love fresh herbs, a sprinkle of finely minced fresh thyme right before serving can add a fragrant finish.
The thick fat cap isn’t just for show; it bastes the meat as it renders, keeping the pastrami juicy and adding a buttery richness that’s impossible to replicate with lean cuts. When selecting your corned beef, look for a piece with at least a half‑inch of fat—this is the secret to a moist, flavorful result.
Everything's prepped? Good. Let’s get into the real action…
The Method — Step by Step
- Prep the Meat. Pat the corned beef dry with paper towels, then trim any excess rind but keep that glorious fat cap intact. This step is crucial because a dry surface helps the rub cling and form a crust. I like to let the meat sit at room temperature for 15 minutes so the rub adheres better. Watch Out: If you skip drying the meat, the rub will slide off and you’ll end up with a soggy crust.
- Mix the Rub. In a bowl, combine the coarsely ground black pepper, coriander powder, mustard powder, brown sugar, smoked paprika, garlic powder, onion powder, and liquid smoke. Stir until everything is uniformly blended; the mixture should look like a dark, fragrant sand. This is the moment where the kitchen smells like a spice market in Istanbul—trust me, it’s intoxicating. Kitchen Hack: Add a splash of olive oil to the rub; it helps the spices stick and creates a beautiful sheen during baking.
- Apply the Rub. Generously coat the entire surface of the meat, pressing the mixture into the fat cap and the lean sides. Don’t be shy—the rub is the star of the show, so give it a thick, even layer. Once covered, wrap the meat loosely in plastic wrap and refrigerate for at least 30 minutes (or up to 2 hours if you’re planning ahead). This resting period lets the flavors penetrate the meat fibers. The anticipation builds—this is the part where you can almost taste the final product.
- Preheat the Oven. Set your oven to 225°F (107°C) and let it fully warm up. Low‑and‑slow is the secret to tender pastrami; the gentle heat allows the connective tissue to break down without drying out the meat. While the oven heats, place a shallow roasting pan with a rack on the middle shelf—this gives the fat a chance to drip away while keeping the meat elevated.
- Bake the Pastrami. Unwrap the meat, place it on the rack, and slide it into the oven. Let it cook for about 2.5 to 3 hours, or until the internal temperature reaches 165°F (74°C). You’ll notice the fat slowly melting, bathing the meat in its own juices—this is the buttery magic that keeps every bite juicy. Keep an eye on the crust; if it starts to darken too quickly, tent it loosely with foil.
- High‑Heat Finish. Once the meat hits the target temperature, crank the oven up to 475°F (246°C) for a rapid 10‑15 minute blast. This is the moment of truth—watch the crust turn a deep, caramelized mahogany, and listen for that faint crackle as the sugars and spices caramelize. Watch Out: Don’t leave the meat in the high‑heat zone for more than 20 minutes, or you’ll risk a burnt exterior while the interior stays the same.
- Rest the Meat. Pull the pastrami from the oven and let it rest, loosely covered with foil, for at least 15 minutes. Resting lets the juices redistribute, ensuring every slice is moist. While it rests, the crust continues to set, giving you that perfect snap when you slice. This step is often skipped, but trust me, it makes a world of difference.
- Slice and Serve. Using a sharp carving knife, slice the pastrami against the grain into thin, delicate ribbons. The grain runs lengthwise; cutting against it shortens the muscle fibers, giving you a tender bite. Serve on rye with mustard, or pile it onto a sandwich with pickles and Swiss cheese for the ultimate deli experience. And now the fun part: dig in and revel in the fact that you just made a classic without a smoker.
That's it — you did it. But hold on, I've got a few more tricks that'll take this to another level...
Insider Tricks for Flawless Results
The Temperature Rule Nobody Follows
Most home cooks think “bake at a high temperature for faster results,” but pastrami thrives on low‑and‑slow. Keeping the oven at 225°F for the bulk of the cooking time breaks down collagen without squeezing out moisture. If you accidentally crank it up, the meat will become tough and the fat will render too quickly, leaving a dry exterior. Trust the slow route; the payoff is a buttery interior that practically melts on your tongue.
Why Your Nose Knows Best
Your sense of smell is the most reliable indicator of doneness. When the rub starts to emit a sweet, caramelized scent and the fat cap smells like toasted almond, you’re in the sweet spot. If you ever doubt the thermometer, trust the aroma—if it smells like burnt sugar, you’ve gone too far. I’ve learned to pull the meat a few minutes before the timer when the smell hits that perfect “just right” note.
The 5‑Minute Rest That Changes Everything
After the high‑heat blast, many people slice immediately, but a brief rest lets the juices settle. Those 5‑10 minutes of stillness are where the meat reabsorbs the rendered fat, preventing a dry slice. Wrap loosely in foil—don’t seal tight, or steam will soften the crust. My friend once skipped this and ended up with a soggy crust; lesson learned, never skip the rest.
Fat Cap Mastery
Don’t trim the fat cap too aggressively. Leave at least a half‑inch; it acts like a natural basting brush, pouring liquid gold over the meat as it melts. If you’re watching calories, you can skim excess fat after cooking, but keep it on during the bake for flavor. The result is a pastrami that’s both lean and luscious.
Spice Freshness is Everything
Creative Twists and Variations
This recipe is a playground. Here are some of my favorite ways to switch things up:
Maple‑Glazed Pastrami
Swap the brown sugar for pure maple syrup and add a teaspoon of smoked sea salt. The result is a sweet‑smoky glaze that pairs beautifully with sharp cheddar on a toasted bagel. Perfect for brunch when you want to impress the crowd.
Spicy Chipotle Pastrami
Add two teaspoons of chipotle powder and a dash of cayenne to the rub. The smoky heat from chipotle amplifies the liquid smoke, creating a bold, fiery version that’s great in a Mexican‑style taco with avocado and pickled red onions.
Herb‑Infused Pastrami
Introduce dried rosemary, thyme, and a pinch of sage into the spice blend. The herbaceous notes give the pastrami an earthy, rustic vibe that shines when served on a crusty baguette with a smear of grainy mustard.
Coffee‑Rubbed Pastrami
Mix a tablespoon of finely ground espresso with the existing rub. The coffee adds a deep, almost bitter undertone that balances the sweetness of the brown sugar. Serve on rye with caramelized onions for a sophisticated sandwich.
Low‑Sodium Version
Use a reduced‑sodium corned beef, cut the black pepper to 2 tablespoons, and omit the liquid smoke (replace with a splash of apple cider vinegar). This version is gentler on the palate but still delivers that signature pastrami texture.
Storing and Bringing It Back to Life
Fridge Storage
Let the pastrami cool completely, then slice thinly and store in an airtight container with a paper towel to absorb excess moisture. It will keep fresh for up to 5 days, and the flavor actually deepens as it sits. If you notice any liquid pooling, simply drain it before sealing.
Freezer Friendly
For longer storage, wrap the whole cooled pastrami tightly in plastic wrap, then a layer of foil, and place it in a zip‑top freezer bag. It freezes solid for up to 3 months. When you’re ready to use it, thaw overnight in the fridge and reheat gently to preserve the texture.
Best Reheating Method
To revive that crisp crust, preheat a skillet over medium‑high heat, add a splash of water (just a tablespoon) to the pan, and lay the slices in, covering briefly for 30 seconds. The steam re‑moisturizes the meat while the dry heat restores the crackle. Avoid microwaving; it turns the delicate crust soggy.