
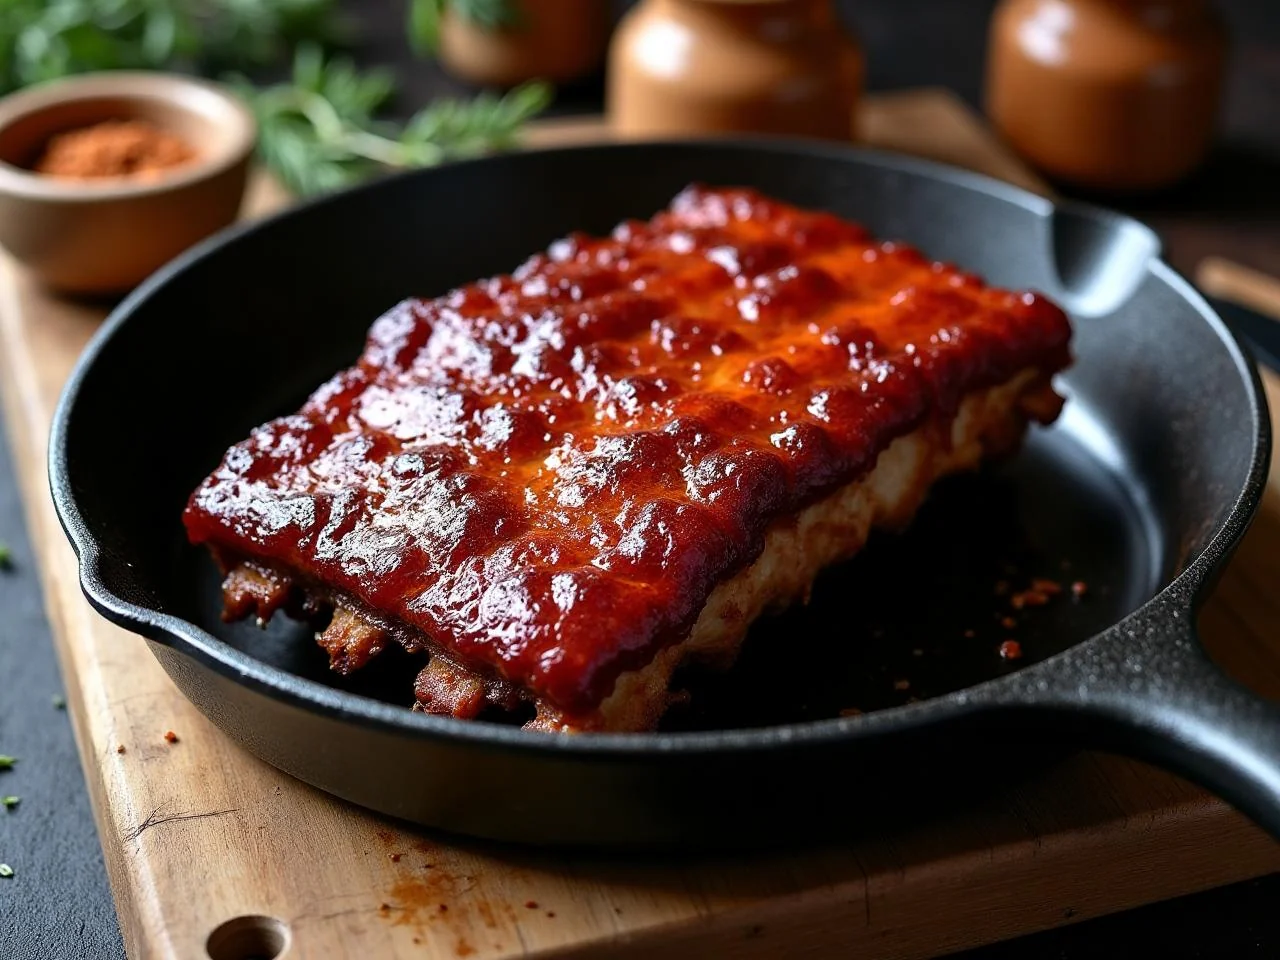
Baby Back Ribs
I still remember the first time I made baby back ribs for my family - the look of excitement on their faces when I brought out the tray, the tender, fall-off-the-bone meat, and the sweet, tangy BBQ glaze that had everyone asking for seconds. It was one of those moments that made me realize the power of comfort food to bring people together.
As a home cook, I've always been drawn to recipes that are both easy to make and impressive to serve, and baby back ribs are definitely one of my go-tos. With a simple dry rub, a low-and-slow cooking method, and a sweet and tangy BBQ glaze, you can create a dish that's sure to impress your family and friends.
One of the things I love about baby back ribs is how versatile they are. You can serve them as a main course, or as a side dish at a backyard BBQ or picnic. And because they're so easy to make ahead of time, they're perfect for busy weeknights or special occasions.
In this recipe, I'll show you how to make tender, smoky baby back ribs with a sweet and tangy BBQ glaze. We'll start with a simple dry rub, then slow-cook the ribs until they're tender and falling off the bone. Finally, we'll brush them with a sweet and tangy BBQ glaze and finish them under the broiler until they're caramelized and crispy.
So if you're looking for a delicious, comforting dish that's sure to become a family favorite, keep reading for my recipe for baby back ribs.
Why You’ll Love This Recipe
- Easy to make and require minimal supervision
- Perfect for a comforting family dinner or outdoor gathering
- Can be made ahead of time and reheated when needed
- Tender, fall-off-the-bone meat and a sweet and tangy BBQ glaze
- Versatile and can be served as a main course or side dish
- Impressive and sure to become a family favorite
Why This Recipe Works
The key to making great baby back ribs is to cook them low and slow, so that the meat is tender and falls off the bone. This is because the connective tissues in the meat, like collagen, need time to break down and become tender. By cooking the ribs at a low temperature for a long period of time, we can achieve this tender, fall-off-the-bone texture.
Another important factor is the dry rub, which adds flavor to the ribs and helps to create a crispy, caramelized crust on the outside. The dry rub is made up of a combination of spices, herbs, and sugars, which work together to create a deep, complex flavor profile.
Finally, the sweet and tangy BBQ glaze adds a rich, velvety texture to the ribs, and a burst of flavor that complements the smoky, savory flavor of the meat. By brushing the ribs with the glaze during the last few minutes of cooking, we can create a sticky, caramelized crust that's both sweet and tangy.
Overall, the combination of low-and-slow cooking, a flavorful dry rub, and a sweet and tangy BBQ glaze makes for a dish that's both comforting and impressive - perfect for a special occasion or a cozy night in with the family.
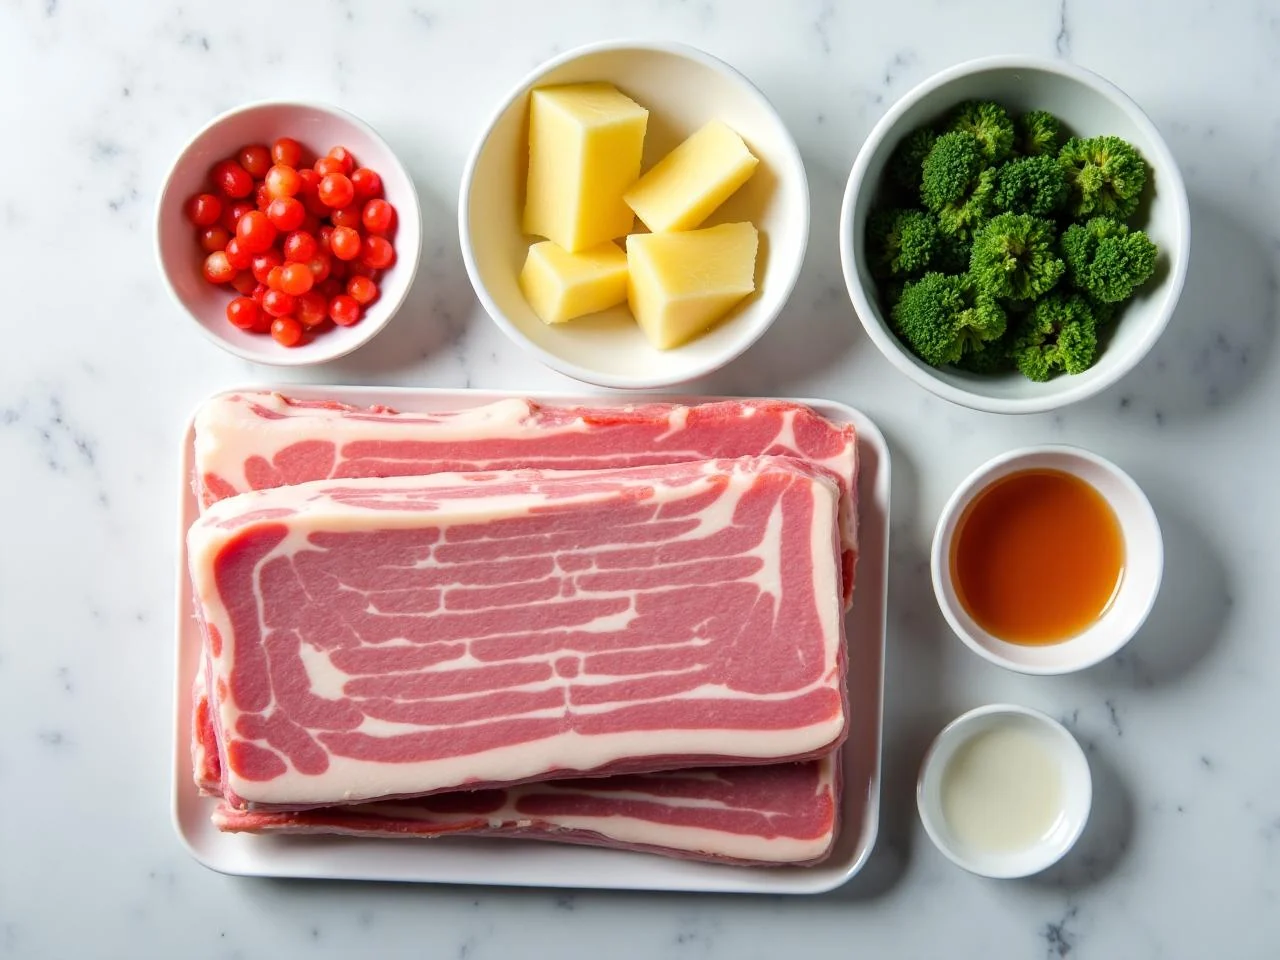
Ingredients You’ll Need
When it comes to making baby back ribs, the ingredients are just as important as the cooking method. You'll need a few simple pantry staples, like brown sugar, smoked paprika, and garlic powder, as well as some fresh ingredients like lemon juice and parsley. Be sure to choose high-quality ingredients, like fresh herbs and real brown sugar, to get the best flavor out of your ribs.
One of the most important ingredients in this recipe is the baby back ribs themselves. Look for ribs that are meaty and have a good balance of fat and lean meat. You can ask your butcher to trim the ribs for you, or do it yourself at home.
- 2 lbs (900g) baby back ribsLook for ribs that are meaty and have a good balance of fat and lean meat. You can ask your butcher to trim the ribs for you, or do it yourself at home.
- 1/4 cup (60g) brown sugarBrown sugar adds a rich, caramel-like flavor to the ribs. You can also use turbinado or Demerara sugar if you prefer.
- 2 tbsp (30g) smoked paprikaSmoked paprika adds a deep, smoky flavor to the ribs. You can also use regular paprika if you prefer.
- 1 tsp (5g) garlic powderGarlic powder adds a savory, slightly sweet flavor to the ribs. You can also use minced garlic if you prefer.
- 1 tsp (5g) saltSalt enhances the flavor of the ribs and helps to balance out the sweetness of the brown sugar.
- 1/2 tsp (2g) black pepperBlack pepper adds a sharp, peppery flavor to the ribs. You can also use white pepper if you prefer.
- 1/4 cup (60g) apple cider vinegarApple cider vinegar adds a tangy, slightly sweet flavor to the ribs. You can also use white vinegar or lemon juice if you prefer.
- 1/4 cup (60g) waterWater helps to thin out the BBQ glaze and prevent it from becoming too thick and sticky.
- 2 tbsp (30g) honeyHoney adds a rich, sweet flavor to the ribs. You can also use maple syrup or agave nectar if you prefer.
- 2 tbsp (30g) Dijon mustardDijon mustard adds a tangy, slightly spicy flavor to the ribs. You can also use yellow mustard if you prefer.
- 2 tbsp (30g) chopped fresh parsleyFresh parsley adds a bright, fresh flavor to the ribs. You can also use other herbs like thyme or rosemary if you prefer.
Equipment You’ll Need
How to Make Baby Back Ribs
- 1Preheat your oven to 300°F (150°C). While the oven is heating up, prepare the dry rub by mixing together the brown sugar, smoked paprika, garlic powder, salt, and black pepper in a small bowl.
- 2Remove the membrane from the back of the ribs and cut them into 2-3 bone portions. Place the ribs in a large bowl and sprinkle the dry rub all over them, making sure to coat them evenly.
- 3Line a large baking sheet with aluminum foil and spray with cooking spray. Place the ribs on the baking sheet, bone side down, and cover with another piece of aluminum foil. Bake the ribs for 2 hours, or until they are tender and the meat is starting to pull away from the bone.
- 4While the ribs are baking, prepare the BBQ glaze by whisking together the apple cider vinegar, water, honey, Dijon mustard, and 1 tablespoon of the chopped parsley in a small bowl.
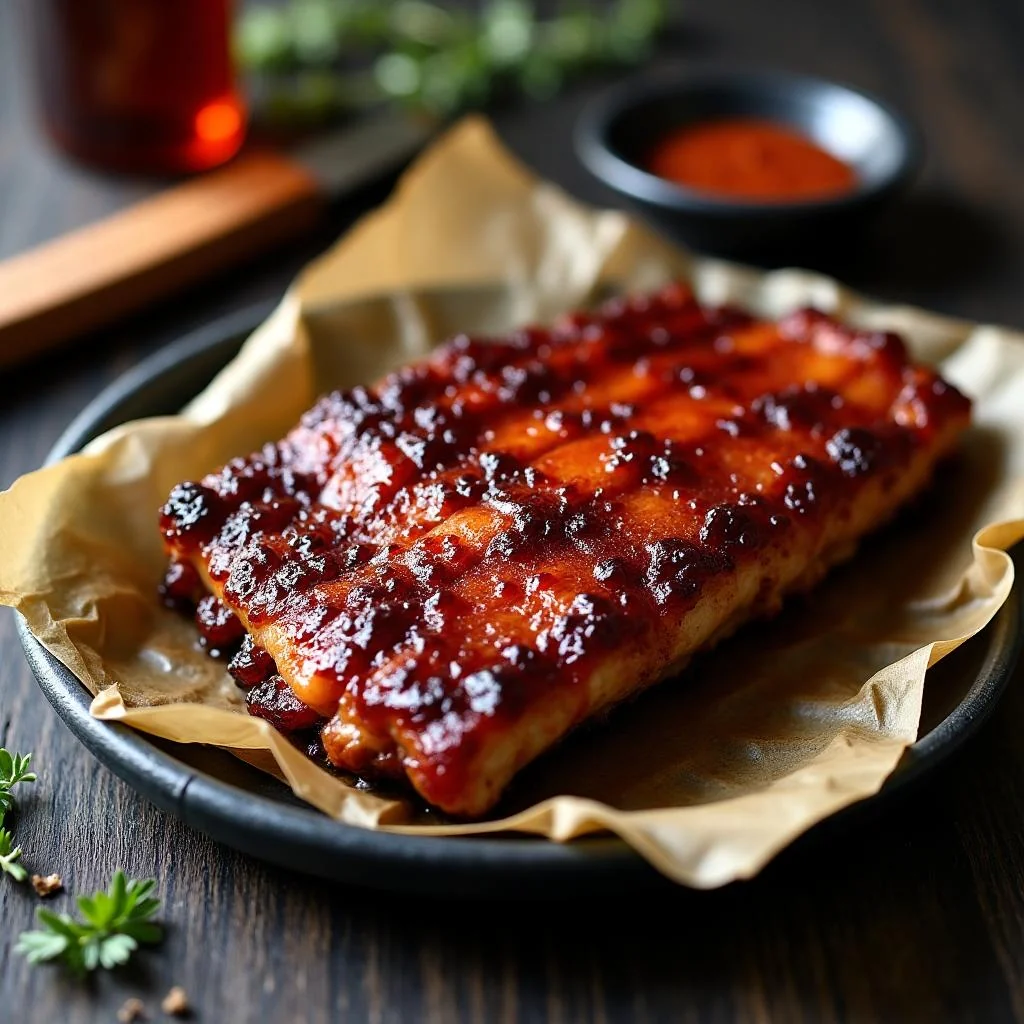
- 5After the ribs have baked for 2 hours, remove the foil and brush them with the BBQ glaze. Return the ribs to the oven and bake for an additional 10-15 minutes, or until the glaze is caramelized and sticky.
- 6Remove the ribs from the oven and let them rest for 5-10 minutes before slicing and serving. Garnish with the remaining 1 tablespoon of chopped parsley and serve with your favorite sides.
- 7To check for doneness, insert an instant-read thermometer into the thickest part of the meat. The internal temperature should be at least 160°F (71°C). You can also check for doneness by cutting into one of the ribs and looking for a tender, pink color.
- 8If you prefer a crisper crust on your ribs, you can broil them for an additional 2-3 minutes after glazing. Keep an eye on them to prevent burning.
- 9Let the ribs rest for at least 10-15 minutes before serving to allow the juices to redistribute and the meat to stay tender.
- 10To serve, slice the ribs into individual portions and serve with your favorite sides, such as coleslaw, baked beans, or corn on the cob.
- 11You can also make the ribs ahead of time and refrigerate or freeze them for later use. Simply reheat them in the oven or on the grill until they are hot and caramelized.
Expert Tips
- To get a good crust on your ribs, make sure to cook them at a high enough temperature and for a long enough time.
- Don't overcrowd the baking sheet, as this can prevent the ribs from cooking evenly.
- If you're using a gas grill, you can finish the ribs on the grill for a smoky flavor.
- To add some extra flavor to your ribs, you can sprinkle some wood chips on the coals or add some liquid smoke to the BBQ glaze.
- Let the ribs rest for at least 10-15 minutes before serving to allow the juices to redistribute and the meat to stay tender.
- You can also serve the ribs with a side of BBQ sauce for dipping.
- To make the ribs more substantial, you can serve them with some crusty bread or over mashed potatoes.
- Experiment with different types of wood chips or liquid smoke to find the flavor you like best.
Common Mistakes to Avoid
- Not removing the membrane from the back of the ribs, which can make them tough and chewy.
- Not cooking the ribs at a high enough temperature, which can prevent them from developing a good crust.
- Overcooking the ribs, which can make them dry and tough.
- Not letting the ribs rest long enough before serving, which can cause the meat to become tough and dry.
- Not using a meat thermometer to check for doneness, which can result in undercooked or overcooked ribs.
- Not using a wire rack to elevate the ribs, which can prevent them from cooking evenly.
Variations and Substitutions
- Try using different types of wood chips or liquid smoke to add unique flavors to your ribs.
- Add some spicy heat to your ribs by sprinkling some red pepper flakes or diced jalapenos on top.
- Use a sweet and tangy BBQ sauce instead of the glaze for a different flavor profile.
- Add some aromatic spices like cumin or coriander to the dry rub for a Middle Eastern-inspired flavor.
- Try using different types of ribs, such as St. Louis-style pork ribs or beef ribs, for a different texture and flavor.
- Add some fresh herbs like thyme or rosemary to the dry rub for a fresh and savory flavor.
- Use a sweet and smoky glaze made with honey and apple cider vinegar for a rich and caramelized flavor.
What to Serve With Baby Back Ribs
Baby back ribs are a versatile dish that can be served in a variety of ways. You can serve them as a main course, or as a side dish at a backyard BBQ or picnic. They're also a great option for a special occasion, such as a birthday or holiday dinner.
Some popular sides to serve with baby back ribs include coleslaw, baked beans, corn on the cob, and crusty bread. You can also serve them with a side of BBQ sauce for dipping.
Make-Ahead, Storage, Freezing and Reheating
If you're not planning to serve the ribs immediately, you can store them in the refrigerator for up to 3 days or freeze them for up to 2 months. To refrigerate, wrap the ribs tightly in plastic wrap or aluminum foil and store them in the coldest part of the fridge.
To freeze, wrap the ribs tightly in plastic wrap or aluminum foil and place them in a freezer-safe bag. When you're ready to reheat, simply thaw the ribs overnight in the fridge and reheat them in the oven or on the grill until they're hot and caramelized.
It's also a good idea to let the ribs rest for at least 10-15 minutes before serving to allow the juices to redistribute and the meat to stay tender. You can also reheat the ribs in the microwave, but be careful not to overcook them.
In addition to refrigerating or freezing, you can also make the ribs ahead of time and reheat them when needed. Simply cook the ribs as directed, then let them cool to room temperature. Wrap them tightly in plastic wrap or aluminum foil and refrigerate or freeze until you're ready to reheat.
Frequently Asked Questions
What is the best way to cook baby back ribs?
The best way to cook baby back ribs is to cook them low and slow, either in the oven or on the grill, until they are tender and the meat is falling off the bone. You can also finish them under the broiler for a crispy crust.
How long does it take to cook baby back ribs?
The cooking time for baby back ribs will depend on the method you use, but generally, it takes around 2-3 hours to cook them in the oven or on the grill. You can also cook them in a slow cooker for 6-8 hours.
What is the internal temperature for cooked baby back ribs?
The internal temperature for cooked baby back ribs should be at least 160°F (71°C). You can check the temperature by inserting an instant-read thermometer into the thickest part of the meat.
Can I make baby back ribs ahead of time?
Yes, you can make baby back ribs ahead of time and refrigerate or freeze them for later use. Simply cook the ribs as directed, then let them cool to room temperature. Wrap them tightly in plastic wrap or aluminum foil and refrigerate or freeze until you're ready to reheat.
How do I reheat baby back ribs?
To reheat baby back ribs, you can place them in the oven at 300°F (150°C) for 10-15 minutes, or until they are hot and caramelized. You can also reheat them on the grill or in the microwave, but be careful not to overcook them.
What are some common mistakes to avoid when cooking baby back ribs?
Some common mistakes to avoid when cooking baby back ribs include not removing the membrane from the back of the ribs, not cooking the ribs at a high enough temperature, and not letting them rest long enough before serving. You should also avoid overcrowding the baking sheet and not using a meat thermometer to check for doneness.
Can I use a gas grill to cook baby back ribs?
Yes, you can use a gas grill to cook baby back ribs. Simply preheat the grill to 300°F (150°C) and cook the ribs for 2-3 hours, or until they are tender and the meat is falling off the bone. You can also finish them under the broiler for a crispy crust.
What are some variations I can try with baby back ribs?
Some variations you can try with baby back ribs include using different types of wood chips or liquid smoke, adding some spicy heat with red pepper flakes or diced jalapenos, or using a sweet and tangy BBQ sauce instead of the glaze. You can also try using different types of ribs, such as St. Louis-style pork ribs or beef ribs, for a different texture and flavor.
Ingredients
- 2 lbs (900g) baby back ribs
- 1/4 cup (60g) brown sugar
- 2 tbsp (30g) smoked paprika
- 1 tsp (5g) garlic powder
- 1 tsp (5g) salt
- 1/2 tsp (2g) black pepper
- 1/4 cup (60g) apple cider vinegar
- 1/4 cup (60g) water
- 2 tbsp (30g) honey
- 2 tbsp (30g) Dijon mustard
- 2 tbsp (30g) chopped fresh parsley
Instructions
- Preheat your oven to 300°F (150°C). While the oven is heating up, prepare the dry rub by mixing together the brown sugar, smoked paprika, garlic powder, salt, and black pepper in a small bowl.
- Remove the membrane from the back of the ribs and cut them into 2-3 bone portions. Place the ribs in a large bowl and sprinkle the dry rub all over them, making sure to coat them evenly.
- Line a large baking sheet with aluminum foil and spray with cooking spray. Place the ribs on the baking sheet, bone side down, and cover with another piece of aluminum foil. Bake the ribs for 2 hours, or until they are tender and the meat is starting to pull away from the bone.
- While the ribs are baking, prepare the BBQ glaze by whisking together the apple cider vinegar, water, honey, Dijon mustard, and 1 tablespoon of the chopped parsley in a small bowl.
- After the ribs have baked for 2 hours, remove the foil and brush them with the BBQ glaze. Return the ribs to the oven and bake for an additional 10-15 minutes, or until the glaze is caramelized and sticky.
- Remove the ribs from the oven and let them rest for 5-10 minutes before slicing and serving. Garnish with the remaining 1 tablespoon of chopped parsley and serve with your favorite sides.
- To check for doneness, insert an instant-read thermometer into the thickest part of the meat. The internal temperature should be at least 160°F (71°C). You can also check for doneness by cutting into one of the ribs and looking for a tender, pink color.
- If you prefer a crisper crust on your ribs, you can broil them for an additional 2-3 minutes after glazing. Keep an eye on them to prevent burning.
- Let the ribs rest for at least 10-15 minutes before serving to allow the juices to redistribute and the meat to stay tender.
- To serve, slice the ribs into individual portions and serve with your favorite sides, such as coleslaw, baked beans, or corn on the cob.
- You can also make the ribs ahead of time and refrigerate or freeze them for later use. Simply reheat them in the oven or on the grill until they are hot and caramelized.