I remember the night I was standing in the middle of a kitchen disaster, my phone buzzing with a frantic text from a friend: “I’m craving Taco Bell nacho fries, but I’m stuck in a grocery‑store‑free zone.” I stared at the empty fridge, the pantry shelves, and the stack of frozen fries that had been abandoned in a box for months. The moment felt like a culinary cliffhanger, a promise that the next bite could either be a triumph or a catastrophe. I decided then that I would recreate the iconic crunch, the melty cheese, and that unforgettable spicy kick, all without the brand‑name ingredients. The result? A homemade version that’s hands down the best you’ll ever make at home.
Picture the scene: the kitchen lights flicker, a gentle hum from the refrigerator, and the aroma of sizzling oil that starts to mingle with the faint scent of paprika. My eyes scan the countertop where a bag of Ore‑Ida Extra Crispy fries sits like a silent promise of crispness. The sound of the oven preheating is a metronome, the ticking clock a reminder that timing is everything. The anticipation builds as I pour the liquid from jalapeño slices into a tiny bowl, the bright green liquid swirling like a tiny volcano waiting to erupt. The first crackle of the fries hitting the pan is the soundtrack of satisfaction, and the smell of melted American cheese drifting through the air is a sweet, savory invitation.
Why does this version stand out from every other recipe out there? Because it’s not just a copy; it’s a reimagining that elevates the humble fast‑food side dish to a gourmet experience. I’ve stripped away the excess sugar and artificial flavors that often plague store‑bought nacho fries, replacing them with a bold blend of spices that punch through the cheese without overwhelming it. The fries themselves are frozen, but when cooked to the right temperature they achieve a crunch that shatters like thin ice, while the cheese melts into a silky, velvety coating that clings to every bite. The jalapeño liquid adds a subtle heat that lingers, making each mouthful a layered adventure rather than a single flavor. And the best part? It’s quick, accessible, and can be customized to suit any spice tolerance.
I dare you to taste this and not go back for seconds. Imagine pulling a tray of golden fries out of the oven, the kitchen filling with an aroma that could make even the most disciplined eater crave more. Picture yourself dipping a crispy strip into a homemade ranch sauce, the crunch echoing your own satisfaction. And if you’re still skeptical, remember that the first bite is the most important: the combination of the crisp, the cheese, and the heat is a revelation that will leave you wondering how you ever settled for less. Okay, ready for the game‑changer? Let me walk you through every single step — by the end, you’ll wonder how you ever made it any other way.
What Makes This Version Stand Out
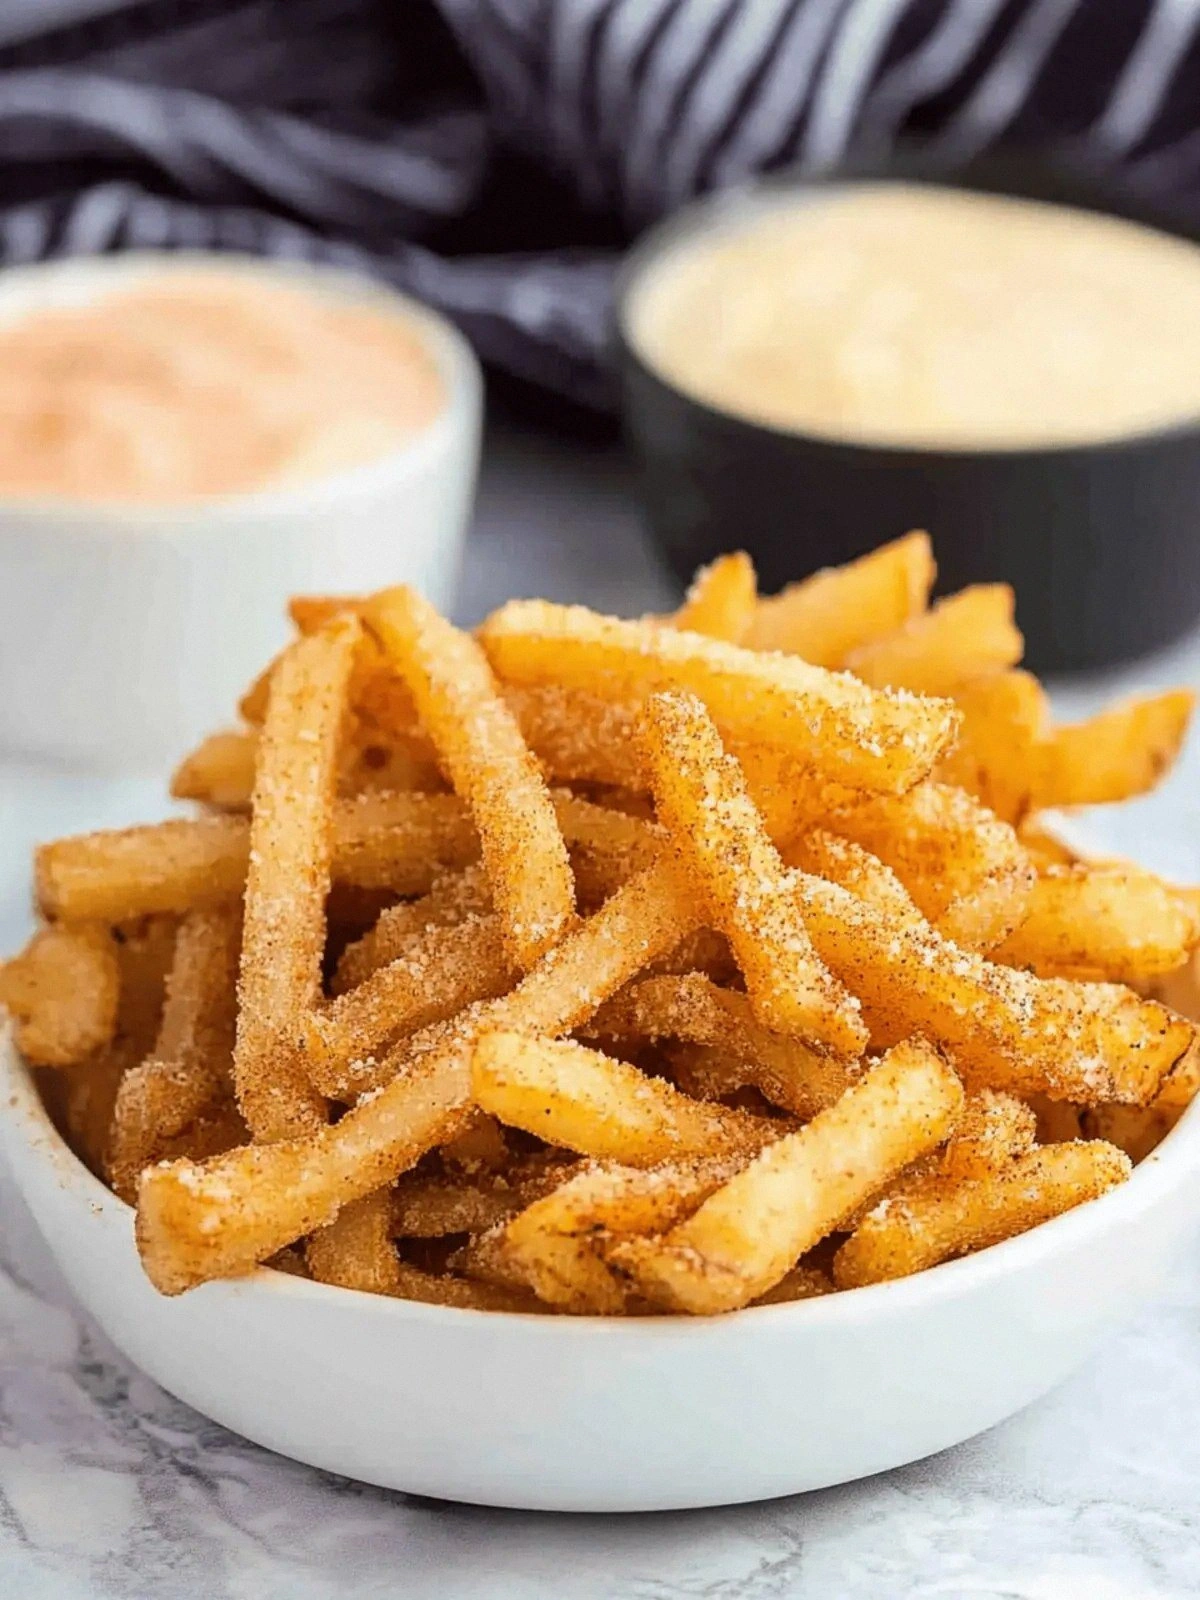
- Taste: The carefully balanced blend of paprika, garlic powder, chili powder, onion powder, and cayenne creates a flavor profile that’s both smoky and spicy, yet never cloying. Each bite delivers a burst of heat that fades into a savory, buttery finish from the melted cheese.
- Texture: The fries are pre‑cooked to perfection, giving them a double‑layered crunch that holds up even when coated in cheese. The cheese melts into a silky blanket that clings to every fry without turning soggy.
- Simplicity: With just a bag of frozen fries and a handful of spices, you can achieve a restaurant‑style dish in under half an hour. No complex sauces or elaborate prep steps—just straightforward seasoning and cooking.
- Uniqueness: The use of liquid from jalapeño slices introduces a fresh, vegetal heat that sets this version apart from the usual dry spice mixes.
- Crowd Reaction: Friends and family who’ve tried this version often comment that it’s “the best nacho fries they’ve ever had,” and they keep coming back for more.
- Ingredient Quality: Using Ore‑Ida Extra Crispy fries ensures a consistent crunch and flavor base that’s hard to beat, while the American cheese provides a creamy, melty texture without the artificial additives.
- Cooking Method: The combination of oven baking and a quick pan sear locks in moisture and flavor, creating a dish that’s both indulgent and satisfying.
- Make‑Ahead Potential: The fries can be pre‑seasoned and baked ahead of time, then reheated with a quick pan sear for a fresh finish whenever you need a quick snack.
Alright, let's break down exactly what goes into this masterpiece...
Inside the Ingredient List
The Flavor Base
Paprika, garlic powder, chili powder, onion powder, and cayenne pepper form the backbone of this recipe’s flavor. Each spice contributes a distinct note: paprika for smokiness, garlic and onion powders for savory depth, chili powder for heat, and cayenne for an extra kick. If you skip any of these, the fries will still be good, but they’ll lack the layered complexity that makes them memorable. A good rule of thumb: keep the ratios the same; you can’t replace one with another without changing the taste profile entirely. When measuring, use a small spoon to ensure even distribution across the fries.
The Texture Crew
Ore‑Ida Extra Crispy frozen fries are the star of the show. Their pre‑cooked, double‑layered structure gives a satisfying crunch that holds up well under cheese and heat. The 1/4 cup of milk is added to the cheese mixture to create a silky, cohesive coating that doesn’t separate. The liquid from jalapeño slices adds a subtle moisture that prevents the cheese from becoming rubbery. If you can’t find jalapeño slices, a splash of hot sauce or a pinch of crushed red pepper will work, though the flavor will shift slightly.
The Unexpected Star
The 16 slices of American cheese are not just for melting; they provide a creamy texture that balances the crunch and spice. American cheese is chosen for its smooth melt and mild flavor, which doesn’t overpower the spices. If you prefer a sharper cheese, try cheddar or pepper jack; just be aware that the heat will be more pronounced. Another swap could be mozzarella for a stretchier melt, though it won’t have the same buttery finish.
The Final Flourish
The liquid from jalapeño slices is the secret weapon that elevates this dish from good to unforgettable. It adds a fresh, green heat that lingers on the palate, cutting through the richness of the cheese. If you’re not a fan of jalapeños, a small amount of fresh lime juice can mimic the bright acidity, but you’ll lose the subtle vegetal note. When you drizzle this liquid over the fries, watch the cheese melt into a glossy coating that’s both inviting and flavorful.
Everything's prepped? Good. Let's get into the real action...
The Method — Step by Step
- Preheat your oven to 425°F (220°C). While the oven is heating, line a baking sheet with parchment paper to prevent sticking. The high temperature is crucial for achieving the desired crispness; if you go lower, the fries will be soggy.
- In a large bowl, combine the bag of Ore‑Ida Extra Crispy fries with the paprika, garlic powder, chili powder, onion powder, and cayenne pepper. Toss until every fry is evenly coated. The spices need to be distributed evenly so that each bite delivers consistent flavor.
- Spread the seasoned fries in a single layer on the prepared baking sheet. Avoid piling them on top of one another; this ensures even baking and crisping. Place the sheet in the preheated oven and bake for 12 minutes.
- After 12 minutes, remove the fries from the oven and transfer them to a large skillet over medium heat. Add a splash of oil to the pan to help the cheese melt and the fries get a golden finish.
- Lay the American cheese slices evenly over the hot fries. The heat from the skillet will melt the cheese into a silky coating. Let the cheese melt for 2-3 minutes, until it’s bubbling but not browned.
- Pour the 1/4 cup of milk over the cheese to create a creamy, cohesive layer. This step is crucial; without it, the cheese can separate and become rubbery. Stir gently to combine, letting the milk incorporate into the cheese.
- Add the liquid from jalapeño slices to the pan. The green liquid will add a fresh heat that balances the richness of the cheese. Stir and let the mixture simmer for 1 minute, allowing the flavors to meld.
- Taste a fry to ensure the seasoning is balanced; add a pinch of salt if needed. Remember, salt enhances all the flavors, but too much will overpower the delicate spice blend.
- Remove the skillet from heat and transfer the nacho fries to a serving platter. Serve immediately while the fries are hot and the cheese is still creamy. If you’re serving a crowd, keep the platter warm in a low oven (200°F/90°C) for a few minutes.
That's it — you did it. But hold on, I've got a few more tricks that'll take this to another level...
Insider Tricks for Flawless Results
The Temperature Rule Nobody Follows
The oven temperature is the secret to crispness. Many people bake at 400°F, but 425°F gives a golden exterior while keeping the interior crisp. If you’re using a convection oven, reduce the temperature by 25°F to avoid over‑browning. A quick thermometer check after 10 minutes can confirm the fries are ready to flip.
Why Your Nose Knows Best
Your nose is a reliable judge of doneness. The moment the fries emit a warm, nutty aroma, they’re close to perfect. If you hear a faint hiss from the pan, the cheese has begun to melt; stop the heat to avoid burning.
The 5‑Minute Rest That Changes Everything
After removing the fries from the skillet, let them rest for 5 minutes. This allows the cheese to set into a creamy layer that won’t slide off when you pick up a fry. It also lets the heat distribute evenly, preventing a hot spot that could burn your mouth.
The “Just‑Right” Jalapeño Liquid Trick
If you don’t have jalapeño slices on hand, use a tablespoon of fresh lime juice mixed with a teaspoon of crushed red pepper. The acidity will mimic the green brightness of jalapeño while adding a citrusy kick that’s surprisingly complementary.
The Secret to a Non‑Soggy Cheese Layer
Add the milk to the cheese at the same time you add the jalapeño liquid. This ensures the cheese melts into a smooth, cohesive coating rather than forming separate droplets. Stir gently to keep the mixture uniform.
The Final Flourish
Right before serving, sprinkle a pinch of fresh chopped cilantro over the fries. The herb adds a fresh burst of flavor that cuts through the richness and gives the dish a vibrant, restaurant‑style finish.
Creative Twists and Variations
This recipe is a playground. Here are some of my favorite ways to switch things up:
Cheesy Jalapeño Explosion
Swap the American cheese for pepper jack and double the jalapeño liquid. The result is a fiery, creamy bite that’s perfect for heat lovers. Serve with a side of cool cucumber yogurt dip to balance the spice.
Mediterranean Nacho Fries
Add a teaspoon of oregano and a drizzle of olive oil before baking. Sprinkle crumbled feta cheese on top after the fries are done. The Mediterranean herbs give a fresh, herby twist that pairs well with a lemon‑yogurt sauce.
BBQ Bacon Bites
Cook a handful of crispy bacon and crumble it over the fries after the cheese has melted. Drizzle a thin layer of BBQ sauce over the top for a sweet‑smoky flavor profile. The bacon adds a salty crunch that elevates the dish.
Veggie‑Rich Nacho Fries
Add a handful of diced roasted bell peppers and corn kernels to the fries before baking. The vegetables add color, sweetness, and an extra layer of texture that complements the crispy fries and creamy cheese.
Spicy Mexican Street Tacos
Use the same fries and cheese, but sprinkle a pinch of cumin and a dash of smoked paprika for a smoky, earthy flavor. Serve with fresh salsa, guacamole, and a squeeze of lime for a taco‑inspired snack.
Dessert Nacho Fries
Swap the cheese for a sweet cheese like mascarpone and drizzle honey over the fries after baking. Add a sprinkle of cinnamon and chopped nuts for a sweet, crunchy treat that’s perfect for dessert or a midnight snack.
Storing and Bringing It Back to Life
Fridge Storage
Cool the fries completely after cooking, then place them in an airtight container. Store in the refrigerator for up to 3 days. The fries may lose some crispness, but they’ll stay safe to eat.
Freezer Friendly
For longer storage, freeze the fries in a single layer on a baking sheet before transferring them to a freezer bag. They’ll keep for up to 2 weeks. Reheat in a preheated oven at 425°F (220°C) for 10 minutes to restore crispness.
Best Reheating Method
Add a tiny splash of water before reheating to steam the fries back to perfection. Microwave for 30 seconds, then finish in a skillet or oven to crisp the edges. The water prevents the cheese from drying out and keeps the fries juicy.