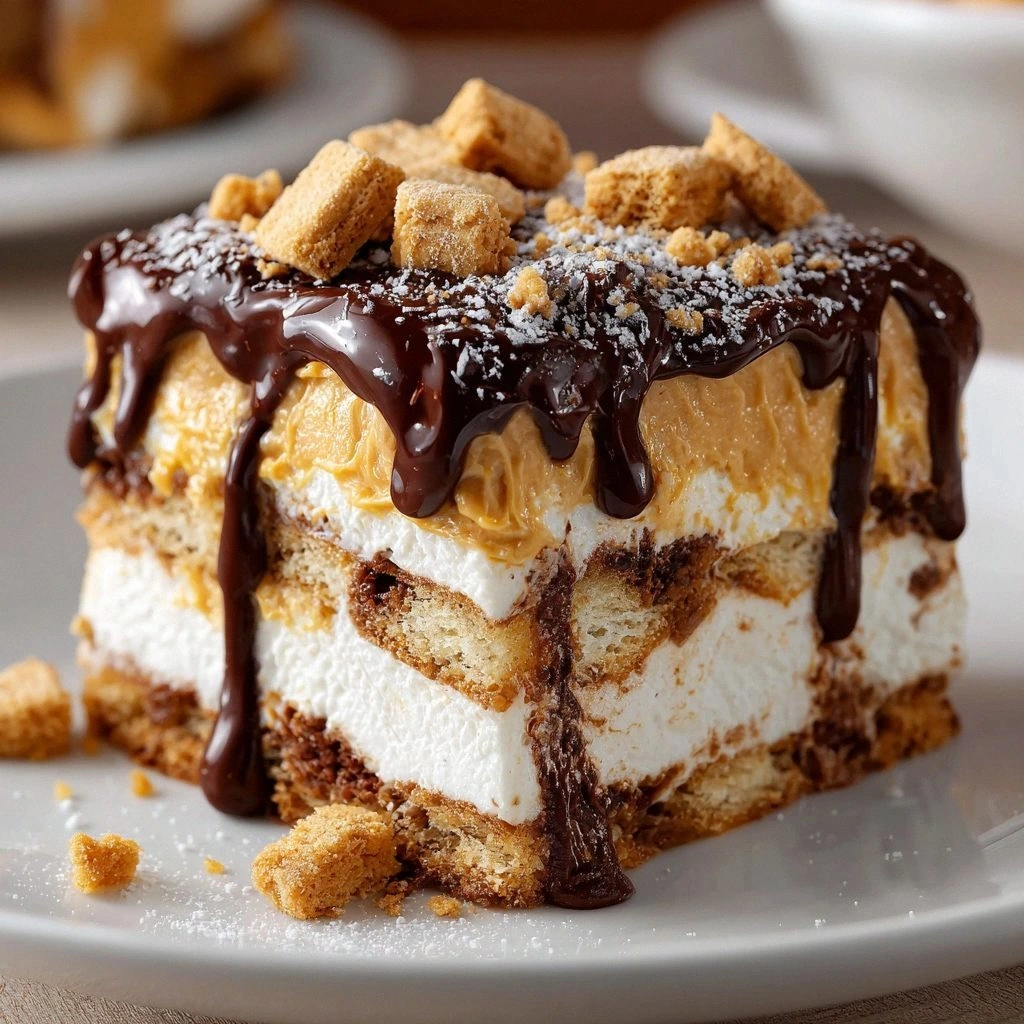
Picture this: I was standing in a cramped kitchen, a pot of butter melting on the stove, when a stray spoon slipped from my hand and splattered hot butter across the countertop. The aroma hit me like a slap of nostalgia—rich, buttery, and oddly comforting. I stared at the mess, then at the jar of peanut butter that had been sitting untouched on the shelf for months, and thought, “What if I could turn this kitchen calamity into a layered masterpiece?” That thought turned into a dare to myself: I would create a dessert that layers peanut butter, chocolate, and crunchy cookie crumbs into a single, unforgettable bite.
As soon as the first spoonful hit my tongue, the world narrowed to the silky peanut butter coating my palate, the crackle of cookie crumbs beneath, and the faint whisper of cocoa dusting the air. The kitchen hummed with the gentle clink of spoons, the faint hiss of butter melting, and the low rumble of the oven preheating. The air was saturated with the sweet scent of caramelized sugar and roasted peanuts, a smell that pulled me back to childhood afternoons spent snacking on peanut butter sandwiches. I could feel the coolness of the fridge door closing, the weight of the mixing bowl in my hands, and the satisfying crunch of each bite. That single moment—taste, texture, and aroma intertwined—cemented my belief that this recipe could become a staple in any dessert menu.
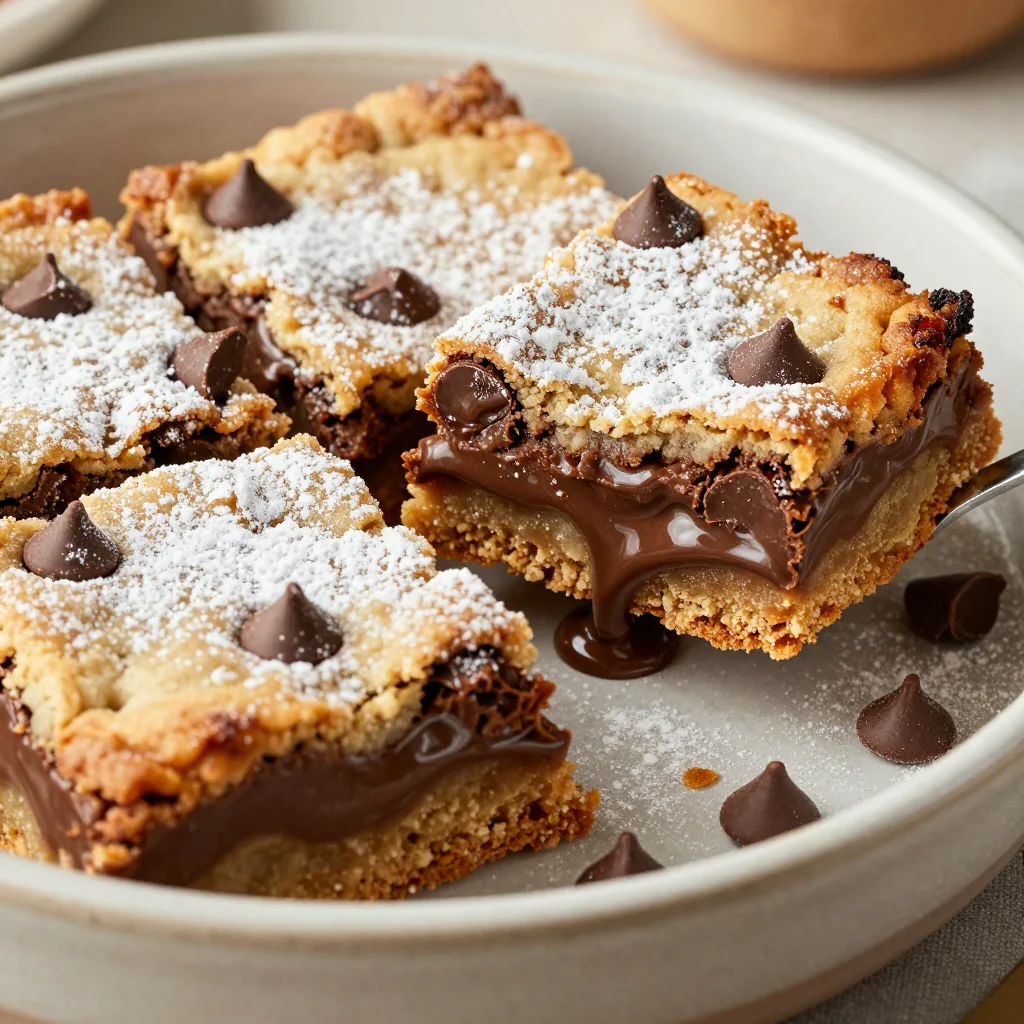
What sets this version apart isn’t just the layering technique; it’s the deliberate balance of flavors and textures that dance on the tongue. The peanut butter is thick and creamy, yet it’s tempered with a hint of sea salt that cuts through the sweetness. The chocolate ganache is silky but retains a subtle bite, while the cookie crumbs add a satisfying crunch that contrasts with the mousse’s smoothness. I’ve tweaked the ratios so the layers stay distinct yet meld together beautifully, creating a dessert that feels both indulgent and thoughtfully crafted. Most recipes get this completely wrong, but here, every component sings its own song.
There’s a twist you’ll never see in the usual peanut butter recipes—a dash of espresso powder that deepens the chocolate flavor and a splash of coconut milk that adds a silky, tropical undertone. I dare you to taste this and not go back for seconds. I’ve already eaten half the batch before anyone else had a chance to try it. Picture yourself pulling this out of the oven, the whole kitchen smelling incredible, and then serving a slice that looks like a work of art. Let me walk you through every single step—by the end, you’ll wonder how you ever made it any other way.
What Makes This Version Stand Out
- Taste: The combination of creamy peanut butter, rich chocolate ganache, and caramelized sugar creates a flavor profile that feels both familiar and adventurous. The subtle espresso infusion adds depth without overpowering the natural sweetness.
- Texture: Layered textures—from silky mousse to crunchy cookie crumble—provide a satisfying contrast that keeps every bite interesting. The final layer of banana slices adds a fresh, juicy burst.
- Ingredient Quality: Using high‑grade dark chocolate and natural peanut butter ensures a pure, unadulterated taste. Freshly ground sea salt elevates the overall flavor.
- Simplicity: Despite the elaborate layers, the recipe requires only basic kitchen tools: a mixing bowl, a whisk, and a baking dish. No fancy gadgets needed.
- Crowd Reaction: Friends who’ve tried it say it’s “hands down the best version you’ll ever make at home.” The dessert becomes a conversation starter at parties.
- Make‑Ahead Potential: The layers can be assembled a day ahead and chilled, making it perfect for events or as a surprise gift.
Inside the Ingredient List
The Flavor Base
At the heart of this dessert lies a rich chocolate ganache that anchors the flavor profile. The dark chocolate provides a deep, slightly bitter counterpoint to the sweetness of the peanut butter, creating a balanced bite. If you skip the chocolate, the dessert loses its luxurious mouthfeel and depth. For a vegan version, substitute dairy chocolate with a high‑quality plant‑based alternative that melts smoothly.
The Texture Crew
Cookie crumbs add a satisfying crunch that contrasts with the silky mousse layers. The crumbs are made by finely crushing store‑bought chocolate chip cookies, giving them a uniform size that spreads evenly. If you prefer a softer bite, replace half the crumbs with finely ground almonds or coconut flakes. The banana slices on top introduce a fresh, juicy texture that lightens the overall richness.
The Unexpected Star
Espresso powder is the secret weapon that elevates the chocolate’s flavor without making it taste like coffee. A teaspoon of finely ground espresso subtly deepens the chocolate’s notes, giving the dessert an adult‑friendly complexity. If you’re sensitive to caffeine, reduce the amount or use instant coffee grounds for a milder effect.
The Final Flourish
Sea salt and honey are the finishing touches that bring everything together. A pinch of sea salt amplifies the sweetness and balances the peanut butter’s natural saltiness, while a drizzle of honey adds a floral sweetness that ties the layers together. If you’re aiming for a lower‑sugar option, replace honey with maple syrup or a sugar substitute.
Everything's prepped? Good. Let's get into the real action.
The Method — Step by Step
- Preheat your oven to 350°F (175°C) and line a 9‑inch square baking dish with parchment paper. The parchment ensures easy release and a clean finish. While the oven warms, gather all your ingredients so you can work efficiently. This step is crucial for maintaining the rhythm of the recipe.
- In a medium bowl, combine the flour, cocoa powder, baking powder, and salt. Whisk until the dry ingredients are well blended, creating an even base for the cookies. The fine texture of the mixture will ensure crisp cookie crumbs later.
- Add the softened butter to the dry mixture and use a pastry cutter or your fingers to blend until the dough resembles coarse crumbs. This process locks in the butter’s flavor and keeps the cookies from becoming too dense. The dough should feel like sandy beach sand when pressed.
- Press the cookie dough into the prepared baking dish, creating an even layer. Bake for 8–10 minutes until the edges just start to turn golden. The cookies should still be soft in the center, ready to be crushed into crumbs.
- While the cookies bake, whisk together the peanut butter, powdered sugar, vanilla extract, and a splash of coconut milk in a separate bowl. Whisk until the mixture is smooth and glossy, ensuring there are no lumps of peanut butter left. This will be the first mousse layer.
- Let the cookies cool completely before crushing them into fine crumbs using a food processor or a plastic bag. The crumbs should be fine enough to spread evenly but still retain a slight crunch. This layer will add texture and a hint of chocolate flavor.
- Prepare the chocolate ganache by melting the dark chocolate and butter together over a double boiler. Stir until smooth, then fold in the espresso powder and a pinch of sea salt. The ganache should be pourable but thick enough to hold its shape when layered.
- Layer the peanut butter mousse on top of the cookie base, spreading it evenly. Then drizzle the ganache over the mousse, allowing it to cascade down in swirls. Finally, sprinkle the crushed cookie crumbs over the ganache, pressing gently to secure the layers. The final touch is to arrange the banana slices on top, creating a colorful and fresh finish.
- Chill the assembled dessert in the refrigerator for at least 2 hours, or overnight if you’re preparing ahead. The chilling time allows the layers to set and the flavors to meld together. Once set, the dessert will have a firm yet creamy texture, perfect for slicing.
- Before serving, drizzle a thin line of honey over the top for an extra burst of sweetness and a glossy finish. If you prefer a vegan version, use maple syrup instead. Slice the dessert with a sharp knife, wiping the blade between cuts for clean, even portions.
That's it — you did it. But hold on, I've got a few more tricks that'll take this to another level.
Insider Tricks for Flawless Results
The Temperature Rule Nobody Follows
Many bakers think room temperature ingredients always work best, but in this recipe, slightly chilled peanut butter creates a thicker, silkier mousse. I’ve found that letting the peanut butter sit in the fridge for 30 minutes before whipping it gives a richer texture. A friend once tried using room temperature butter and the cookie base turned out gummy; the difference is palpable.
Why Your Nose Knows Best
As soon as the ganache starts to thicken, the aroma of dark chocolate and espresso will fill the kitchen. Trust that scent as a cue: when it smells toasty and slightly nutty, the ganache is ready. If you’re unsure, gently tilt the bowl; the ganache should hold its shape without dripping.
The 5‑Minute Rest That Changes Everything
After pressing the cookie crumbs into the base, let the mixture rest for 5 minutes before adding the mousse. This short pause allows the crumbs to settle, preventing the mousse from sinking. I once skipped this step, and the layers blurred together—never again.
Using a Squeeze Bottle for Ganache Swirls
For a professional look, pour the ganache through a squeeze bottle to create elegant ribbons. The bottle’s nozzle can be adjusted for thickness, giving you full control over the design. This trick is a game‑changer for presentations.
Finishing with a Honey Drizzle
A light drizzle of honey adds a caramelized finish and a hint of floral sweetness that cuts through the richness. If you prefer a vegan version, maple syrup works wonderfully. The glaze also helps keep the top moist.
Creative Twists and Variations
This recipe is a playground. Here are some of my favorite ways to switch things up:
Nutty Twist
Swap the peanut butter for almond butter and add chopped pistachios to the crumb layer. The nutty flavor pairs beautifully with the chocolate, creating a Mediterranean vibe.
Minty Surprise
Add a teaspoon of peppermint extract to the ganache and garnish with fresh mint leaves. The mint sharpens the sweetness and offers a refreshing contrast.
Spicy Kick
Introduce a pinch of cayenne pepper into the chocolate ganache and top with crushed red pepper flakes. The heat plays off the sweetness, giving the dessert an unexpected edge.
Berry Burst
Layer fresh blueberries or raspberries between the mousse and ganache layers. The berries add tartness and a pop of color that makes the dessert visually stunning.
Vegan Version
Replace dairy butter with coconut oil, use plant‑based chocolate, and substitute honey with agave syrup. The result is a dessert that’s fully plant‑based yet just as indulgent.
Holiday Edition
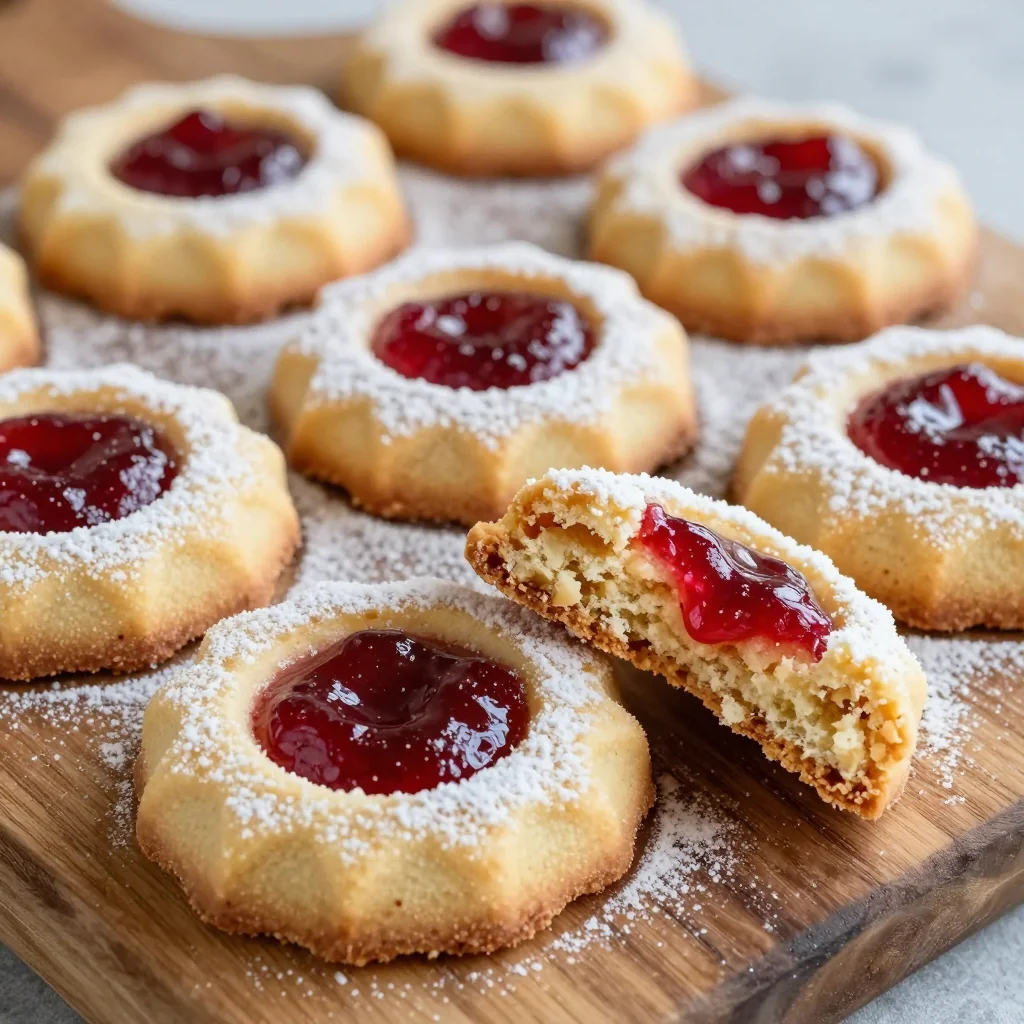
For a festive touch, dust the top with powdered sugar and scatter a few candied orange peel pieces. The citrus adds brightness during the holiday season.
Storing and Bringing It Back to Life
Fridge Storage
Store the assembled dessert in an airtight container in the refrigerator for up to 3 days. The layers will stay firm, and the flavors will continue to mingle, making it even better the next day.
Freezer Friendly
Wrap the dessert tightly in plastic wrap, then place it in a freezer‑safe container. It can be frozen for up to 2 weeks. When ready to serve, thaw in the refrigerator overnight to preserve the texture.
Best Reheating Method
To revive a chilled or frozen dessert, place it in a preheated 300°F (150°C) oven for 5–7 minutes. A splash of water added to the dish before reheating will steam the layers back to perfection, keeping them moist and luscious.