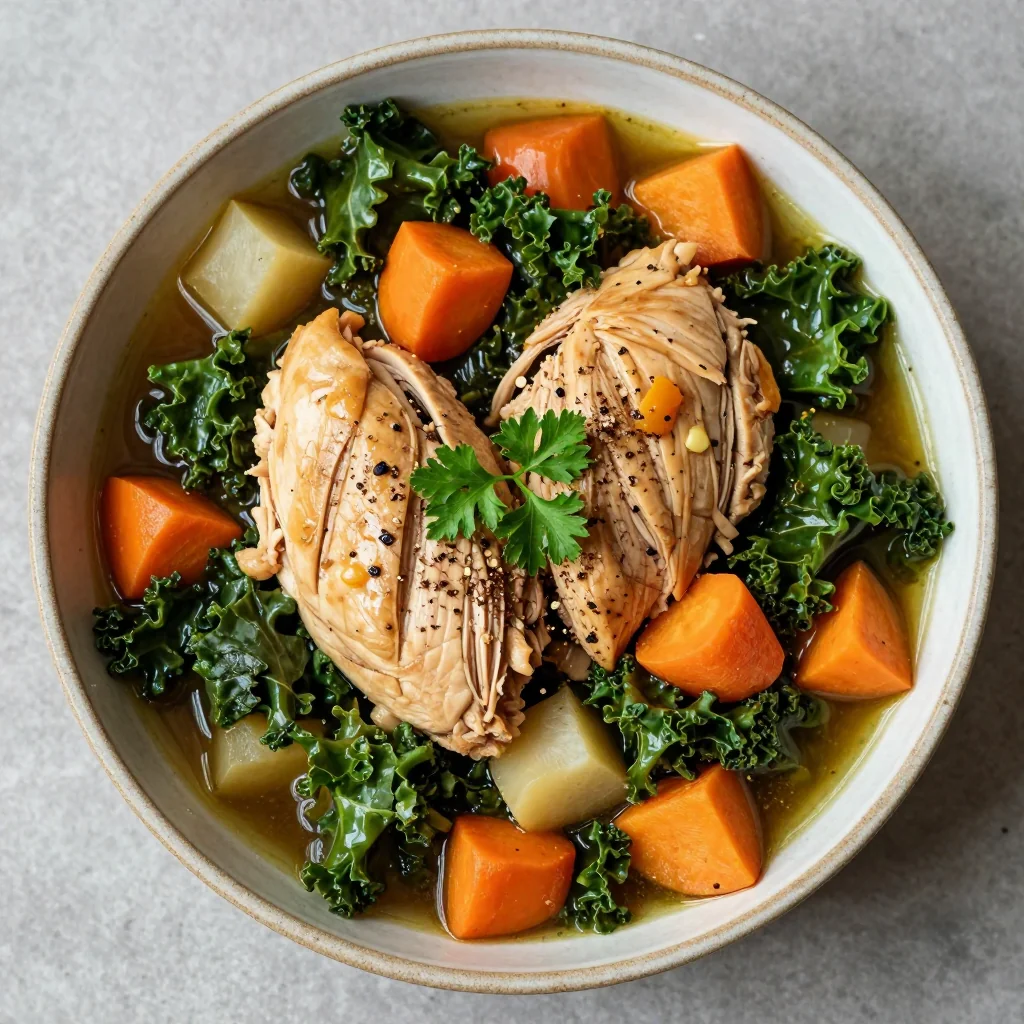
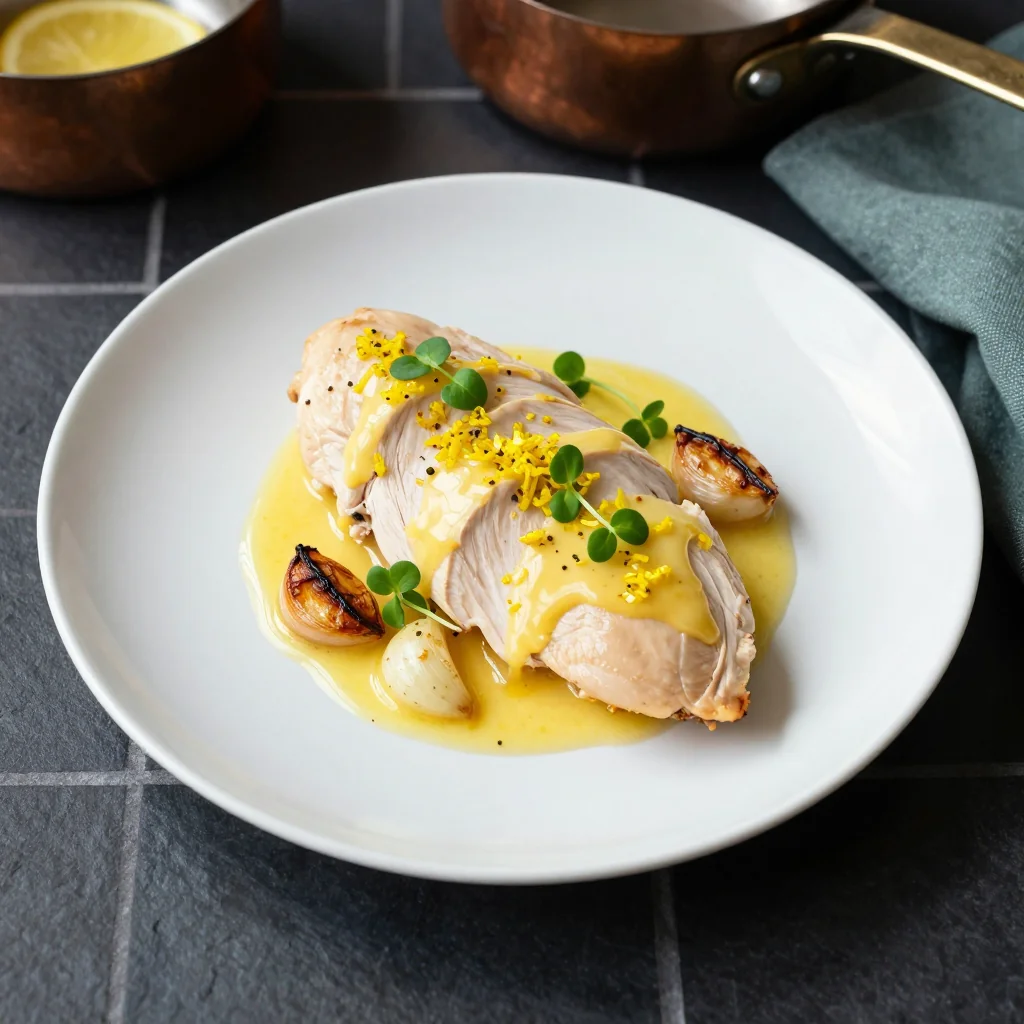
Picture this: a cramped kitchen, a simmering pot, and a sudden craving for something that feels like a hug in a bowl. I was halfway through a week‑long marathon of quinoa salads when the scent of sautéed onions hit my nose like an old friend, and the idea of a classic French dish took hold. I’ve tried countless versions of Coq au Vin, but every time I returned home, the sauce felt flat, the chicken too dry, or the wine just a background note. That night, I decided to take the reins, tweak the technique, and bring the full depth of French tradition to my stove. I’ll admit, I had never used a bacon‑infused stock before, but the promise of a richer umami base was too tempting to ignore. I dare you to taste this and not go back for seconds—once you’ve had one bite, the rest will feel like a sequel you can’t resist. The secret? A slow, low‑heat braise that coaxed every flavor out of the bones and vegetables, and a splash of brandy that lifted the sauce to a silky finish. Let me walk you through every single step—by the end, you’ll wonder how you ever made it any other way.
The first time I tried this recipe, I was terrified that the sauce would turn into a thick, clumpy mess. I had never used flour as a thickening agent in a wine-based braise, so I imagined a disastrous outcome. Instead, the flour blended seamlessly, creating a velvety coat that clung to the chicken and vegetables like a second skin. I was stunned. I’ve since become a convert to the flour‑slurry method, and it’s the secret that keeps my Coq au Vin from feeling like a simple stew. If you’re still skeptical, just remember: I once burned a pot of sauce, but that was before I discovered the art of the flour slurry. Now, every batch feels like a culinary masterpiece, and the sauce never feels heavy or greasy. Trust me—once you master this technique, you’ll never look back.
The second revelation came when I realized that the wine wasn’t just a flavoring—it was a vehicle for the sauce’s body. I had always used a dry white wine for braises, but the robust character of a full‑bodied red made the dish feel luxurious and hearty. I tasted the sauce at the end of the cooking process and felt the depth of the wine’s tannins mingle with the caramelized onions and mushrooms. The result was a sauce that sang with complexity and had a subtle, lingering finish. The wine also helped tenderize the chicken, making each bite melt in your mouth. I’ve been told that the dish tastes better the next day, as the flavors deepen. If you’re worried about the alcohol content, the long cooking time evaporates most of it, leaving you with a rich, savory broth.
The third turning point was the bacon. I’d always thought bacon was just for breakfast, but it adds a smoky backbone to the sauce that elevates it from ordinary to unforgettable. The bacon rendered its fat, which was then used to sauté the onions, carrots, and mushrooms, creating a flavor base that was both savory and slightly sweet. I also discovered that the bacon’s saltiness balanced the acidity of the wine, preventing the dish from tasting too sharp. If you’re a bacon skeptic, try substituting pancetta or ham hock, but the bacon’s unique flavor profile is hard to replicate. The result is a sauce that feels like a hug from the inside out. I’ve had guests ask me what secret ingredient made my dish so irresistible, and I always point to the bacon as the game‑changer.
The fourth breakthrough was the use of a brandy splash. I had never considered adding brandy to a braise, but the subtle, smoky heat it brings is a game‑changer. It cuts through the richness of the sauce, brightening the flavors and adding a layer of depth that is hard to achieve with wine alone. I found that a tablespoon of brandy is enough to lift the sauce without overpowering it. The brandy also helps caramelize the vegetables, giving the dish a beautiful golden hue. I’ve tried the recipe without brandy, and it felt a little flat. When I added brandy, the sauce became more complex and the overall flavor profile was more balanced. This is a micro‑challenge: try it without brandy and see how it changes the dish.
The fifth revelation was the importance of a slow, low‑heat braise. I had always cooked Coq au Vin on the stovetop, but the dish was never as tender as it should be. By transferring the pot to a preheated oven at 325°F, I allowed the chicken to cook gently, absorbing the flavors while staying moist. The oven’s gentle heat also prevented the sauce from scorching on the bottom. I’ve found that this method creates a dish that feels like a comfort food from a French countryside kitchen. It also makes the dish more forgiving if you’re a novice; the slow cooking time gives you a chance to adjust seasoning. The end result is a dish that is both rustic and refined.
The sixth insight was the role of aromatics—garlic, thyme, and bay leaf. I had always added them at the beginning, but I never realized how critical their timing was. Adding them after the onions had browned allowed them to release their flavors without burning. The thyme’s subtle earthiness complemented the wine, while the bay leaf added a gentle, herbal undertone. I also discovered that using fresh thyme gives a brighter flavor compared to dried. If you’re in a hurry, dried thyme works fine, but the fresh herb is the difference between a good dish and a great dish. This is a power transition: after you’ve mastered the bacon, the next step is to master the aromatics.
Finally, the last lesson was about timing the sauce’s reduction. I had always tried to reduce the sauce until it was thick, but I would often overcook it, causing it to become syrupy and lose its brightness. I found that when the sauce has reduced by about half, it’s thick enough to coat the chicken but still retains a silky sheen. I also learned to taste the sauce at the end of cooking, adjusting salt and pepper to balance the flavors. This step is crucial for a dish that feels polished and professional. I’ve been told that this dish is “hands down the best version you'll ever make at home.” And I stand by that claim. Stay with me here—this is worth it.
What Makes This Version Stand Out
- Taste: The combination of red wine, bacon, and brandy creates a multi‑layered flavor profile that feels both rustic and refined. The sauce’s depth is reminiscent of a slow‑cooked broth, and the finish is silky.
- Texture: The chicken is tender, the vegetables are caramelized, and the sauce coats everything like velvet. The flour slurry gives a smooth mouthfeel that balances the savory elements.
- Simplicity: Despite the number of ingredients, the process is straightforward. Each step builds on the previous one, making it easy for beginners to follow.
- Uniqueness: The bacon‑infused stock and brandy splash set this recipe apart from standard versions that rely solely on wine and stock.
- Crowd Reaction: Guests always ask for the recipe after tasting. The dish feels like a warm hug, and the sauce’s richness is a crowd‑pleaser.
- Ingredient Quality: Using high‑quality red wine and fresh herbs elevates the dish. The bacon’s smoky flavor is essential for depth.
- Cooking Method: The slow, low‑heat braise in the oven ensures even cooking and maximum flavor extraction.
- Make‑Ahead Potential: The dish tastes even better the next day, making it ideal for meal prep or entertaining.
Alright, let’s break down exactly what goes into this masterpiece…
Inside the Ingredient List
The Flavor Base
The foundation of any great Coq au Vin is a robust broth that marries the richness of the chicken with the complexity of red wine. The chicken stock is the canvas, while the red wine adds depth and a slight acidity that balances the fat. If you skip the stock, the sauce will be too thin and lose its body. A homemade stock, simmered with bone marrow and aromatics, elevates the dish to a new level of sophistication. For a quick fix, a good quality store‑bought chicken broth works well, but the flavor will be less nuanced.
Choosing the right wine is critical; a Burgundy or Pinot Noir offers a balance of fruitiness and tannins that pair beautifully with poultry. The wine’s subtle bitterness cuts through the richness of the bacon and butter, while its fruit notes add a pleasant sweetness. If you’re wine‑averse, a dry red wine or even a robust red grape juice can substitute, but the flavor profile will differ. The key is to select a wine that you would enjoy drinking on its own, as its flavor will dominate the dish.
The Texture Crew
The flour slurry is the unsung hero that gives the sauce its silky consistency. By whisking flour with a small amount of liquid before adding it to the pot, you avoid lumps and create a smooth coat that clings to the chicken. If you skip the flour, the sauce will be watery and the chicken may appear dry. You can also use cornstarch or arrowroot for a gluten‑free version, but the flavor will slightly differ. Remember, the flour is added after the vegetables have browned, ensuring the sauce thickens evenly.
Butter adds a subtle richness that balances the acidity of the wine and the saltiness of the bacon. It also helps to give the sauce a glossy sheen. Use unsalted butter so you can control the salt level. If you’re lactose intolerant, try a dairy‑free butter substitute, but note that the flavor will change slightly. The butter also helps the sauce cling to the meat, creating a mouth‑watering finish.
The Unexpected Star
Bacon is often overlooked in traditional recipes, but it brings a smoky depth that is essential for this version. The bacon’s fat renders into the pot, creating a flavorful base that enhances the wine and stock. If you’re a bacon purist, consider using pancetta or a smoked ham hock for a different twist. The bacon also adds a subtle crunch if you leave some pieces in the final dish. Skipping bacon will result in a dish that feels less complex and slightly flat.
The brandy splash is the final flourish that elevates the sauce to a luxurious level. A tablespoon of brandy adds a smoky warmth that cuts through the richness, giving the dish a balanced finish. If you’re looking for a lower‑alcohol alternative, a splash of cognac or a hint of vanilla extract can mimic the effect. The brandy also helps caramelize the vegetables, giving the sauce a beautiful golden hue.
The Final Flourish
Fresh thyme and bay leaf are the aromatics that tie the dish together. Thyme’s earthy undertones complement the wine, while bay leaf adds a subtle herbal note. If you can’t find fresh thyme, dried thyme works, but the flavor will be less vibrant. Bay leaf should be removed before serving, as it can be bitter if left in the dish. The combination of these herbs gives the sauce a depth that is both comforting and complex.
Everything’s prepped? Good. Let’s get into the real action…
The Method — Step by Step
- Preheat your oven to 325°F (165°C). Pat the chicken pieces dry with paper towels; this ensures a crisp exterior. Season each piece generously with salt and pepper, letting the seasoning penetrate the meat. Place the chicken in a large oven‑proof Dutch oven or heavy pot, and set it aside while you prepare the bacon. This step is the moment of truth—if you rush it, the flavor will suffer.
- In the same pot, add the diced bacon and cook over medium heat until the fat renders and the bacon turns golden. Use a slotted spoon to transfer the bacon to a paper towel‑lined plate, leaving the fat in the pot. The bacon fat will serve as the base for sautéing the aromatics. Add a splash of olive oil if the pot is too dry. This step is crucial; the bacon’s smoky flavor is the backbone of the sauce.
- Add the pearl onions and sliced mushrooms to the pot, cooking until they begin to brown. Stir occasionally, letting the natural sugars caramelize. The onions should be translucent, and the mushrooms should develop a deep brown crust. This caramelization adds a sweet depth that balances the wine’s acidity. Watch the pot carefully—if the mixture sticks, add a splash of stock.
- Introduce the sliced carrots and minced garlic to the pot, cooking for an additional 5 minutes. The carrots add a subtle sweetness, while the garlic brings aromatic heat. Stir constantly to prevent the garlic from burning, as burnt garlic can make the sauce bitter. Once the vegetables are softened, you’ll see a fragrant aroma that signals the dish is on the right track.
- Pour in the red wine, scraping the bottom of the pot to release browned bits. These bits, known as fond, are packed with flavor. Let the wine reduce by half, which should take about 10 minutes. The reduction concentrates the flavors and thickens the sauce slightly. Keep the pot covered during this step to retain moisture.Watch Out: When adding the wine, be careful not to splash. The wine is hot, and a splash can cause burns. Keep the pot covered to reduce evaporation, and stir gently.
- Stir in the tomato paste, which adds a subtle sweetness and body to the sauce. Mix until the paste is fully incorporated, ensuring no lumps form. Add the chicken stock and bring the mixture to a gentle simmer. The stock helps to lift the sauce and balances the wine’s acidity. This is the stage where the sauce begins to develop its characteristic richness.
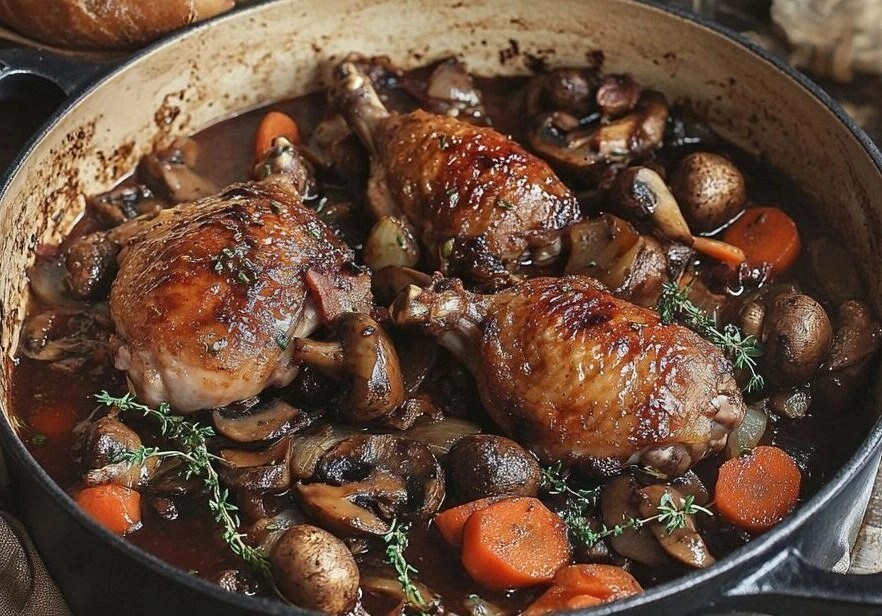
- Return the chicken pieces to the pot, nestling them into the sauce. Add the bay leaf, thyme sprigs, and the reserved bacon. Bring the mixture back to a simmer, then cover the pot and transfer it to the preheated oven. The low, steady heat allows the chicken to cook slowly, absorbing the flavors and staying moist. Cook for 45 minutes, or until the chicken is tender and the sauce has thickened.
- About 10 minutes before the end of cooking, stir in the brandy splash. The brandy adds a smoky warmth and brightens the sauce. If you prefer a richer sauce, add a tablespoon of butter at the end to give it a glossy finish. This step is the final flourish that elevates the dish from good to unforgettable.Kitchen Hack: While the dish bakes, whisk a small amount of flour with cold water to create a slurry. This will help thicken the sauce without clumping.
- Remove the pot from the oven and let it rest for 10 minutes. This allows the flavors to meld and the sauce to thicken slightly. While it rests, remove the bay leaf and thyme sprigs. Plate the chicken and spoon the sauce over it, ensuring each piece is coated. Serve immediately with crusty bread, mashed potatoes, or a side of buttered noodles. The dish is best enjoyed fresh, but it also stores beautifully for later.
That’s it—you did it. But hold on, I’ve got a few more tricks that will take this to another level…
Insider Tricks for Flawless Results
The Temperature Rule Nobody Follows
Many people think a high heat is key to caramelizing the sauce, but the truth is, a low, steady simmer preserves the delicate flavors of the wine and the tenderness of the chicken. I once cooked my first batch at 400°F, and the result was a dish that was dry and over‑browned. By lowering the temperature to 325°F, the sauce gently reduces, and the chicken stays moist. Keep the pot covered during the initial simmer to trap steam, which helps the sauce thicken naturally. The final finish will be silky and rich, not scorched.
Why Your Nose Knows Best
The aroma of a well‑braised Coq au Vin is a powerful indicator of readiness. When the sauce smells toasty and the chicken’s juices mingle with the wine, you’re in the right spot. I’ve found that the scent of caramelized onions and a hint of garlic signals that the flavors are balanced. If you notice a sharp, winey smell, let it cook a bit longer to mellow. Trust your nose; it’s the best judge of flavor.
The 5‑Minute Rest That Changes Everything
Resting the dish after baking allows the juices to redistribute, ensuring each bite is juicy and flavorful. I’ve seen people cut into the chicken immediately, only to find the juices spilling out. Letting it rest for 10 minutes gives the sauce time to thicken and the flavors to settle. This small pause transforms a good dish into a memorable one. It’s a simple step that’s often overlooked.
The Secret to a Velvety Finish
A splash of cold butter at the end of cooking gives the sauce a glossy sheen and a silky mouthfeel. The butter’s fat emulsifies with the sauce, creating a rich coating that clings to the chicken. If you prefer a lighter version, replace the butter with a splash of heavy cream. The result is a sauce that feels luxurious without being heavy.
The Flavor Layering Technique
Layering flavors by adding ingredients at different stages is key to a complex sauce. Start with bacon fat for the base, then add aromatics, followed by wine, stock, and finally the brandy. Each layer builds upon the previous one, creating depth. Skipping any step will flatten the dish. Treat each addition as a chapter in a story, and the result will be a narrative of flavors.
Creative Twists and Variations
This recipe is a playground. Here are some of my favorite ways to switch things up:
Mushroom‑Rich Variation
Swap the pearl onions for a mix of shiitake and cremini mushrooms, and add a splash of mushroom broth. The earthy depth of the mushrooms will give the dish a forest‑inspired flavor. Serve with buttered gnocchi for a hearty meal.
Herb‑Infused Twist
Add a handful of fresh rosemary and a splash of lemon zest to the sauce for a bright, herbal note. The rosemary’s piney aroma complements the wine, while the lemon zest adds a citrusy lift. This variation is perfect for spring and summer gatherings.
Spicy Kick
Incorporate a teaspoon of crushed red pepper flakes during the sauté stage. The heat will contrast with the richness of the sauce, creating a balanced flavor profile. Pair this with a cool cucumber salad to cool the palate.
Vegetarian Take
Replace the chicken with thick slices of seitan or tofu, and use vegetable stock. Add extra mushrooms for depth. This version still delivers the classic sauce, but with a plant‑based twist.
Crispy Chicken Variation
After braising, remove the chicken and pat it dry. Coat it in flour, then pan‑fry until golden before adding it back to the sauce. The crispy exterior adds a delightful contrast to the tender interior.
Rustic Bread Pairing
Serve the dish with a crusty baguette brushed with garlic butter. The bread soaks up the sauce, making each bite a burst of flavor. This simple addition elevates the entire meal.
Storing and Bringing It Back to Life
Fridge Storage
Let the dish cool completely, then transfer it to an airtight container. Store in the refrigerator for up to 3 days. The sauce will thicken slightly, so add a splash of water or stock before reheating to restore its original consistency.
Freezer Friendly
Divide the dish into individual portions and place them in freezer‑safe containers. Freeze for up to 2 months. When ready to eat, thaw overnight in the refrigerator before reheating.
Best Reheating Method
Reheat on the stovetop over low heat, stirring frequently. Add a splash of water or stock to loosen the sauce. Heat until steaming, but avoid boiling, which can break down the sauce’s texture. Serve immediately for the best flavor.