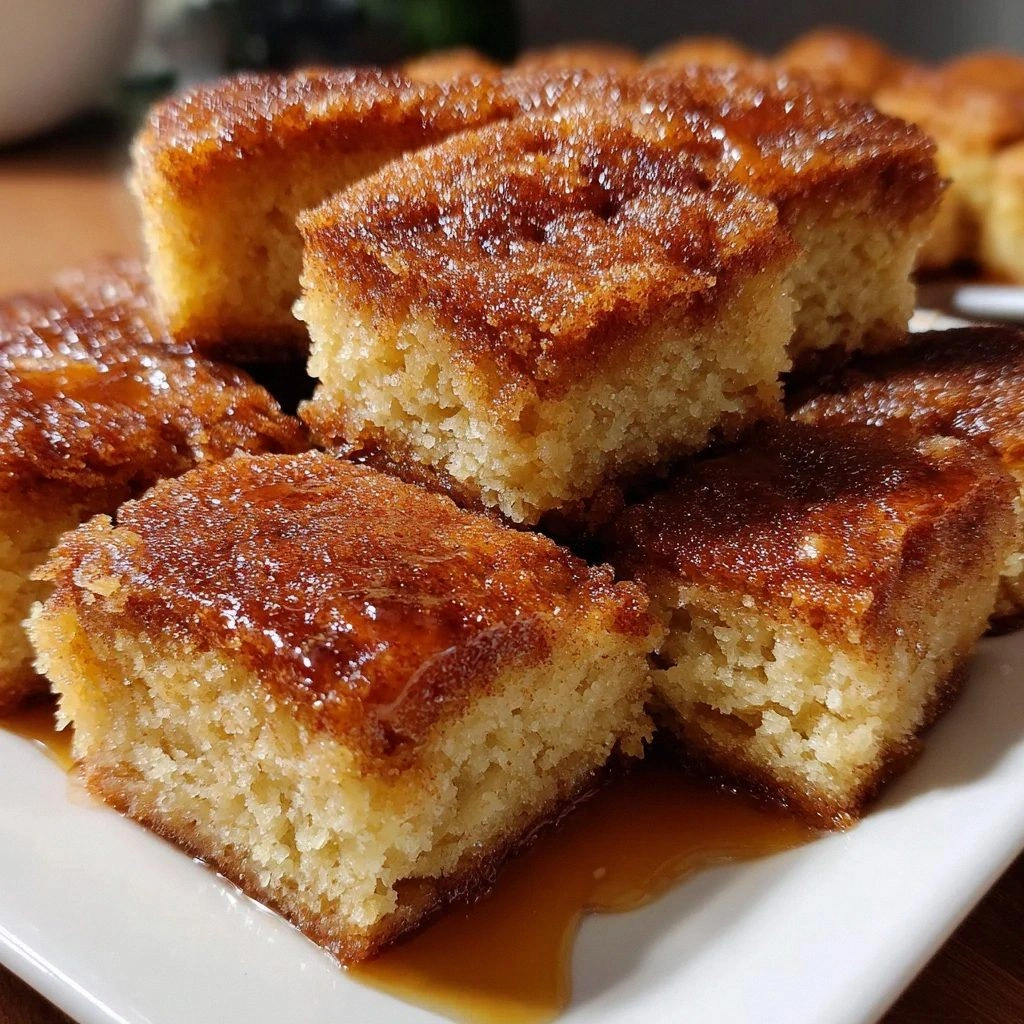
I burned my tongue three times in one day testing these cinnamon sugar blondies. Not because I'm clumsy—though I absolutely am—but because I physically could not wait for them to cool before shoving another square into my mouth. The first bite was pure revelation: a soft, buttery interior that dissolved like cotton candy on my tongue, ribbons of molten cream cheese chips weaving through tender crumbs, and that crackly cinnamon-sugar top that shattered delicately under my teeth. My kitchen smelled like someone bottled autumn and set it on fire in the best possible way. I had planned to bring them to book club. Spoiler alert: they never left the house.
Here's the thing about blondies—most recipes treat them like sad, underbaked chocolate-chip-less brownies. Dry edges, gummy centers, a one-note sweetness that makes your teeth ache. I rebelled against that tyranny for months, tweaking ratios like a mad scientist until I cracked the code. What emerged from my oven was something closer to edible velvet: a bar cookie that melts rather than chews, with layers of warmth from Vietnamese cinnamon and the tang of cream cheese that keeps you coming back for "just one more sliver" until suddenly the pan is empty and you're licking crumbs off the parchment paper like a dessert-deprived raccoon.
The secret weapon? A whisper of cornstarch that transforms the crumb into something almost custard-like, plus a glaze so silky it should come with a warning label. I've watched grown adults close their eyes involuntarily when they taste these. My neighbor threatened to name her firstborn after me. My dentist sent a thank-you card (okay, that last one might be coincidental, but still). If you've ever struggled with dry, cakey blondies that taste like disappointment and broken dreams, you're not alone—and I've got the fix.
Let me walk you through every single step—by the end, you'll wonder how you ever made it any other way.
What Makes This Version Stand Out
- Melt-in-Your-Mouth Texture: Thanks to the cornstarch and precise flour ratio, these blondies dissolve on your tongue like a snowflake made of butter and dreams. No chewing required—just press them to the roof of your mouth and feel them disappear.
- Cinnamon Sugar That Actually Stays Crunchy: Most recipes leave you with soggy, dissolved topping. My technique creates a delicate shellac that crackles under your teeth even days later, like a crème brûlée hat for your blondie.
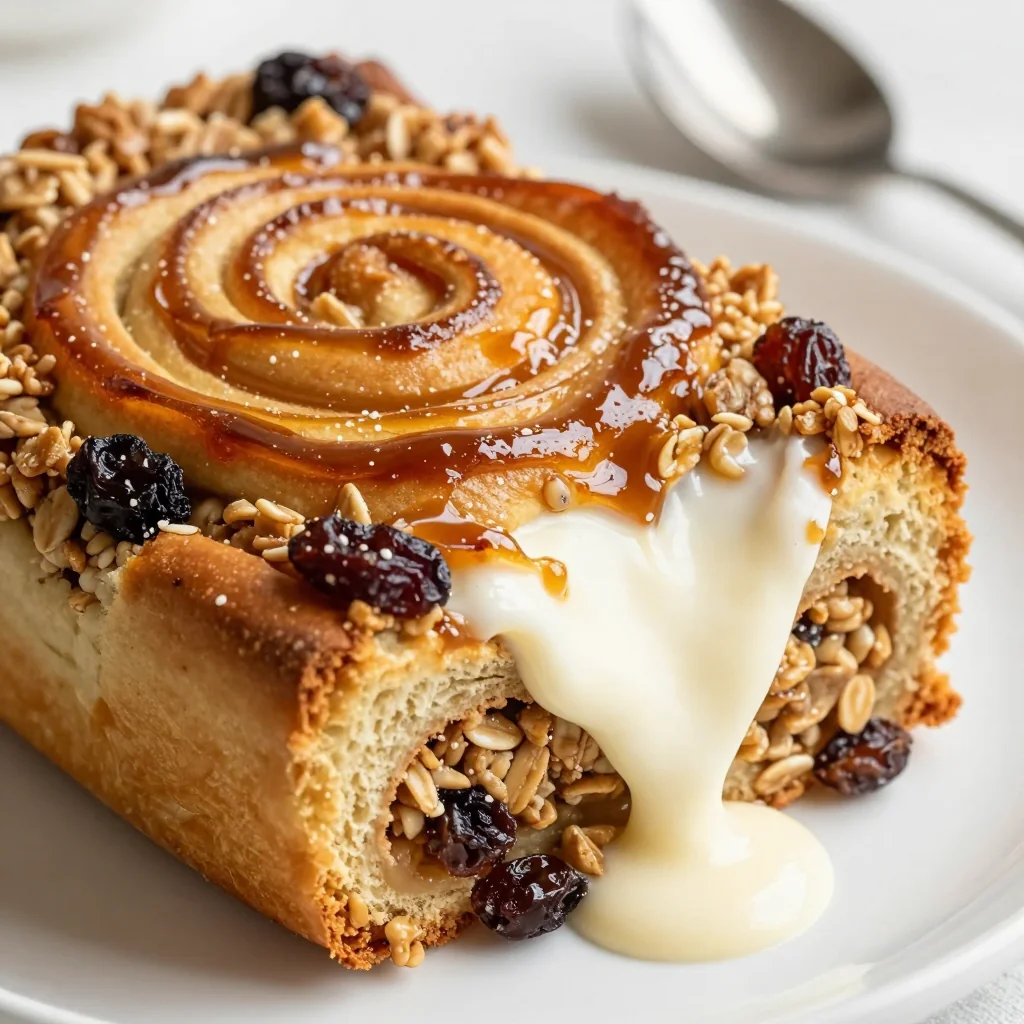
- Cream Cheese Pockets of Joy: Instead of boring old chocolate chips, we're using cream cheese chips that melt into tangy lava flows throughout the blondie. Every bite has a 50/50 chance of hitting this creamy jackpot.
- One-Bowl Wonder: No creaming butter, no separating eggs, no washing seventeen dishes. Everything comes together in one bowl with a whisk and ten minutes of your time. I tested this on a Monday night when I could barely find matching socks—it worked.
- Flavor That Develops Overnight: These actually taste better the second day, when the cinnamon has had time to mingle and deepen. Not that they'll last that long, but it's nice to know you could make them ahead for a party (if you're stronger than I am).
- Freeze-Perfect Portions: Cut them, wrap them individually, and stash them in the freezer. Thirty seconds in the microwave gives you a warm, gooey treat that tastes freshly baked. Future you will thank present you profusely.
- That Bakery-Style Dome: The tops puff slightly and crack in the most Instagram-worthy way, giving you those professional bakery vibes without the $4 per square price tag.
Alright, let's break down exactly what goes into this masterpiece...
Inside the Ingredient List
The Flavor Base
Unsalted butter forms the rich backbone of these blondies, and I insist on melting it rather than creaming. Melting coats every flour particle with fat, creating that tender, fudgy texture we're after. Use the good stuff here—European-style butter with higher fat content makes a noticeable difference in richness. If you only have salted butter, reduce the added salt by half and prepare for a slightly different flavor profile that still works beautifully.
Light brown sugar isn't just for sweetness—it brings molasses notes and crucial moisture that keeps these bars soft for days. Pack it firmly when measuring, and don't substitute all white sugar unless you want cakey disappointment. The small amount of granulated sugar balances the moisture and helps create that delicate crust on top. If you're feeling fancy, try dark brown sugar for deeper caramel notes that pair spectacularly with the cinnamon.
The Texture Crew
All-purpose flour provides the structure, but we're using slightly less than typical recipes to keep things tender and soft. Spoon and level your flour—scooping directly from the bag can add up to 25% more flour, leading to dry blondies that taste like sawdust mixed with regret. Cornstarch is my secret weapon here; just two teaspoons interrupt the gluten formation, creating that melt-away texture that makes people close their eyes involuntarily when they bite in.
Two large eggs at room temperature bind everything together without making the batter too cake-like. Cold eggs can cause the melted butter to seize, creating little lumps of fat that never quite incorporate. Set them on the counter for 30 minutes, or speed things up by placing them in warm water for five minutes while you gather other ingredients.
The Unexpected Star
Ground cinnamon might seem ordinary, but quality matters enormously here. I use Vietnamese cinnamon for its higher oil content and explosive flavor—one teaspoon of the good stuff equals two teaspoons of the grocery store variety that's been sitting in your spice drawer since 2019. The cinnamon gets mixed both into the batter and sprinkled on top, creating layers of warmth that develop over time. If you can only find regular cinnamon, bump the quantity up by 50% and consider adding a pinch of nutmeg for complexity.
The Final Flourish
Cream cheese chips are where things get exciting—these little morsels melt into creamy pockets that provide tangy contrast to the sweet base. If you can't find them, chop cold cream cheese into pea-sized cubes and freeze them for 20 minutes before folding in. They'll maintain some shape while baking, creating delightful surprises throughout. Vanilla extract might seem basic, but use the real stuff—artificial vanilla tastes like sadness and birthday parties gone wrong.
Everything's prepped? Good. Let's get into the real action...
The Method — Step by Step
- Preheat your oven to 350°F (175°C) with the rack in the center position. This temperature is crucial—too hot and the edges burn before the center sets; too cool and you get pale, undercooked centers that sink like a disappointed soufflé. While it heats, line an 8x8-inch metal pan with parchment paper, leaving overhang on two sides like little handles. Metal conducts heat more evenly than glass, preventing those dreaded burnt edges with raw centers that plague so many blondie recipes.
- Melt the butter in a large microwave-safe bowl, heating in 30-second bursts until completely liquid but not bubbling hot. You want it just warm enough to keep the brown sugar soft and meldable when combined. Let it cool for two minutes—patience here prevents scrambled eggs later when you add the eggs. The butter should feel warm to touch but not hot enough to burn your finger.
- Whisk in both sugars vigorously for a full minute. This isn't just mixing—it's dissolving some of the sugar crystals to create that shiny, crackly top. The mixture should look like wet sand at first, then transform into a thick, glossy slurry as the brown sugar's molasses coats everything in caramel-colored silk. Don't rush this step; it's building the foundation for that coveted bakery-style finish.
- Add the eggs one at a time, whisking each completely before adding the next. The first egg might make the mixture look curdled—keep whisking and it will smooth out into a luxurious custard. Add the vanilla with the second egg; the alcohol in the extract helps everything emulsify into a glossy, unified batter that coats the back of a spoon like liquid velvet.
- In a separate small bowl, whisk together the flour, cornstarch, baking powder, salt, and cinnamon for 30 seconds. This distributes the leavening evenly and prevents bitter pockets of baking powder in your final bars. The cornstarch should disappear completely into the flour mixture—if you see white streaks, keep whisking. This dry mixture is about to become the guardian of tender texture.
- Sprinkle the dry ingredients over the wet mixture like snow falling on a pond. Using a rubber spatula, fold gently with a figure-eight motion until just combined. Stop as soon as you see no more dry flour—over-mixing develops gluten and creates tough, bread-like blondies that could double as hockey pucks. A few small streaks are better than over-mixed batter.
- Fold in the cream cheese chips with two quick strokes. They should be evenly distributed but not melting into the batter—work quickly since warm butter can start softening them. If the chips start streaking white through the batter, pop the bowl in the fridge for five minutes to firm everything up. You want distinct pockets, not marbled cream cheese throughout.
- Scrape the batter into your prepared pan and spread to the edges. The thick batter might need coaxing—use an offset spatula or the back of a spoon dipped in water to prevent sticking. Create slight swirls on top for extra crunch, then sprinkle the remaining cinnamon sugar evenly over the surface. Don't press it in; let it rest on top like sweet, spicy snow.
- Bake for 22-25 minutes, rotating halfway through. The edges should be golden brown and slightly pulled away from the pan sides, while the center still jiggles slightly when you shake the pan. A toothpick inserted two inches from the edge should come out with a few moist crumbs—not wet batter, but not completely clean either. They'll continue cooking from residual heat, so err on the side of underdone.
That's it—you did it. But hold on, I've got a few more tricks that'll take this to another level...
Insider Tricks for Flawless Results
The Temperature Rule Nobody Follows
Room temperature ingredients aren't just baking snobbery—they're the difference between smooth, unified batter and a broken, greasy mess. Cold eggs hitting warm butter create little lumps of scrambled chaos that never incorporate properly. Set everything out 30 minutes before baking, or speed things up: place eggs in warm water for five minutes, microwave butter just until melted but not hot, and give your brown sugar a quick 10-second zap if it's rock-hard from the back of your pantry.
Why Your Nose Knows Best
Don't rely on timers alone—your nose is the most sophisticated kitchen tool you own. When these blondies are perfectly baked, your kitchen will fill with the aroma of buttery caramel and warm cinnamon that makes you involuntarily sigh. If you smell nutty, toasted notes, you've got maybe two minutes left before they over-bake. That scent is the Maillard reaction working its magic, turning simple sugars into hundreds of complex flavor compounds that make these bars absolutely irresistible.
The 5-Minute Rest That Changes Everything
After pulling them from the oven, let the pan sit undisturbed for exactly five minutes. This brief rest allows the structure to set just enough that you can slice them without everything crumbling, but they're still warm enough that the cream cheese chips remain molten and dreamy. Skip this step and you'll have a gooey mess; wait too long and you'll lose that fresh-from-the-oven magic. Set a timer—five minutes is the sweet spot between structural integrity and maximum gooeyness.
Creative Twists and Variations
This recipe is a playground. Here are some of my favorite ways to switch things up:
Maple Pecan Dream
Replace the granulated sugar with pure maple syrup (reduce butter by two tablespoons) and fold in toasted pecans instead of cream cheese chips. The maple creates deeper, more complex sweetness while the nuts add crunch that contrasts beautifully with the tender crumb. Drizzle with maple glaze made from powdered sugar and maple syrup for a breakfast-worthy treat that pairs perfectly with coffee.
Salted Caramel Swirl
Dollop three tablespoons of thick caramel sauce over the batter before baking, then drag a toothpick through to create marbled ribbons. Sprinkle with flaky sea salt on top—the sweet-salty combo is absolutely addictive. Use store-bought caramel or make your own by simmering sweetened condensed milk until thick and golden.
Pumpkin Spice Latte Edition
Add two tablespoons of pumpkin puree and replace half the cinnamon with pumpkin pie spice. Fold in espresso chips instead of cream cheese for that coffee-shop flavor. The pumpkin keeps them incredibly moist while the espresso adds bitter notes that balance the sweetness perfectly. Top with coffee glaze for the full PSL experience without the overpriced cup.
Coconut Macadamian Paradise
Toast sweetened coconut until golden and fold it in along with chopped macadamia nuts. Replace the vanilla with coconut extract and sprinkle additional coconut on top before baking—it toasts into crispy, caramelized flakes that taste like candy. These transport you straight to a Hawaiian beach, no plane ticket required.
Double Chocolate Decadence
Replace 1/4 cup flour with cocoa powder and fold in white chocolate chips instead of cream cheese. The result is a chocolate-cinnamon fusion that's like Mexican hot chocolate in blondie form. The white chocolate provides creamy pockets that mimic the original's tang without the refrigeration concerns of cream cheese.
Bourbon Cherry Bombs
Soak dried cherries in bourbon for 30 minutes, then fold them in along with toasted almonds. The bourbon adds depth while the cherries provide tart bursts that cut through the richness. A bourbon glaze takes these over the top into grown-up dessert territory that's perfect for dinner parties.
Storing and Bringing It Back to Life
Fridge Storage
Because of the cream cheese, these need refrigeration after the first day. Cut them into squares and store in an airtight container with parchment paper between layers. They'll keep for up to five days, though the cinnamon sugar topping will gradually soften. For best texture, let them come to room temperature for 30 minutes before serving—the flavors bloom and the cream cheese softens back to its original creamy state.
Freezer Friendly
Wrap individual squares tightly in plastic wrap, then aluminum foil, and freeze for up to three months. This prevents freezer burn and preserves that fresh-baked flavor. Thaw overnight in the refrigerator, then warm for 15 seconds in the microwave for that just-baked experience. They freeze beautifully and make perfect emergency desserts for unexpected guests or late-night cravings.
Best Reheating Method
For the ultimate revival, place a blondie on a microwave-safe plate with a small cup of water alongside. Microwave for 20-25 seconds—the water creates steam that rehydrates the crumb without making it soggy. The cream cheese pockets will remelt into creamy lava flows, and the cinnamon sugar will regain some of its original crunch. It's like having fresh-baked blondies without any of the work.