I still remember the night I almost ruined the entire brunch spread. My friends had requested something “fancy” but “easy,” and I thought a classic Danish pastry would do. I pulled out a sheet of puff pastry, rolled it into a rectangle, and slid it into the oven, all while humming a tune. The result? A soggy, flavorless dough that looked like a sad, buttery cloud. I was ready to throw it out, but then I remembered a recipe I’d seen in a food magazine that promised a cheesecake‑filled Danish that would make everyone swoon. That was the spark that turned my kitchen disaster into a culinary triumph.
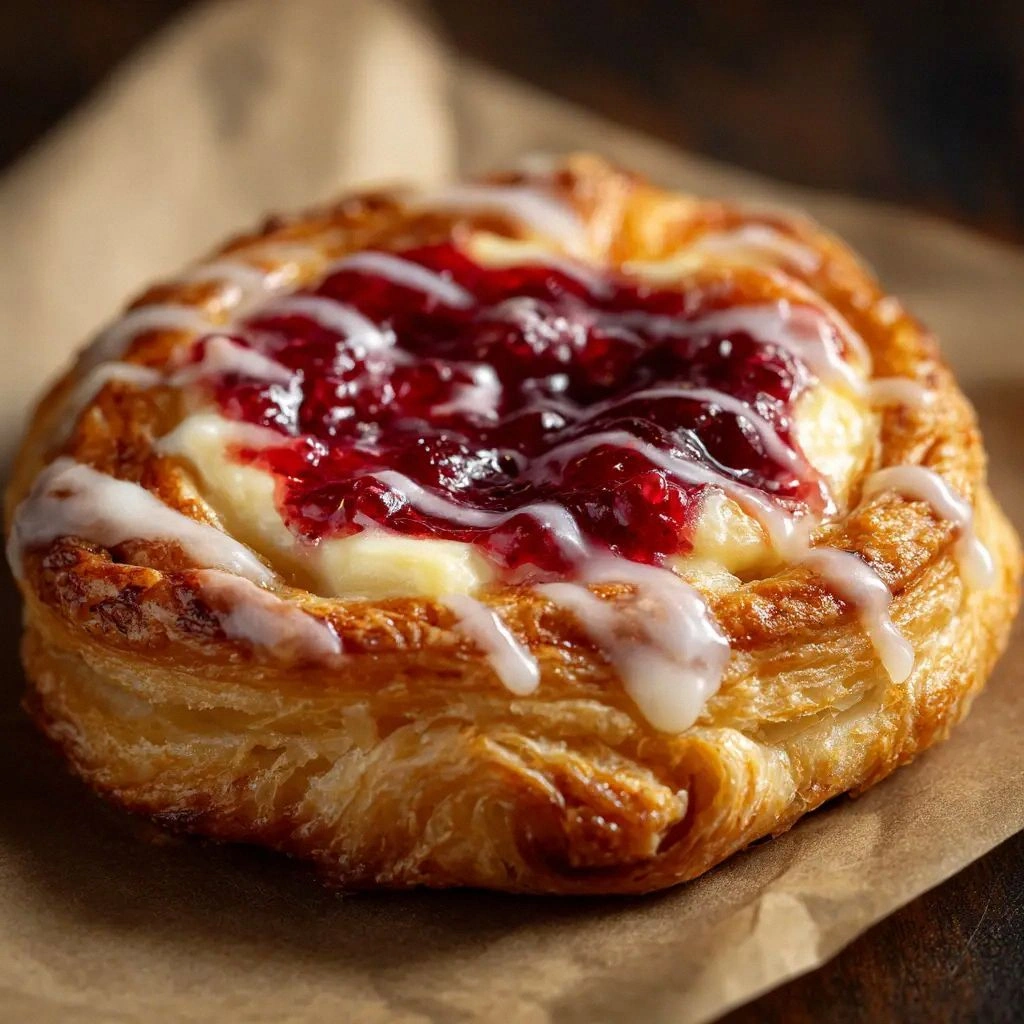
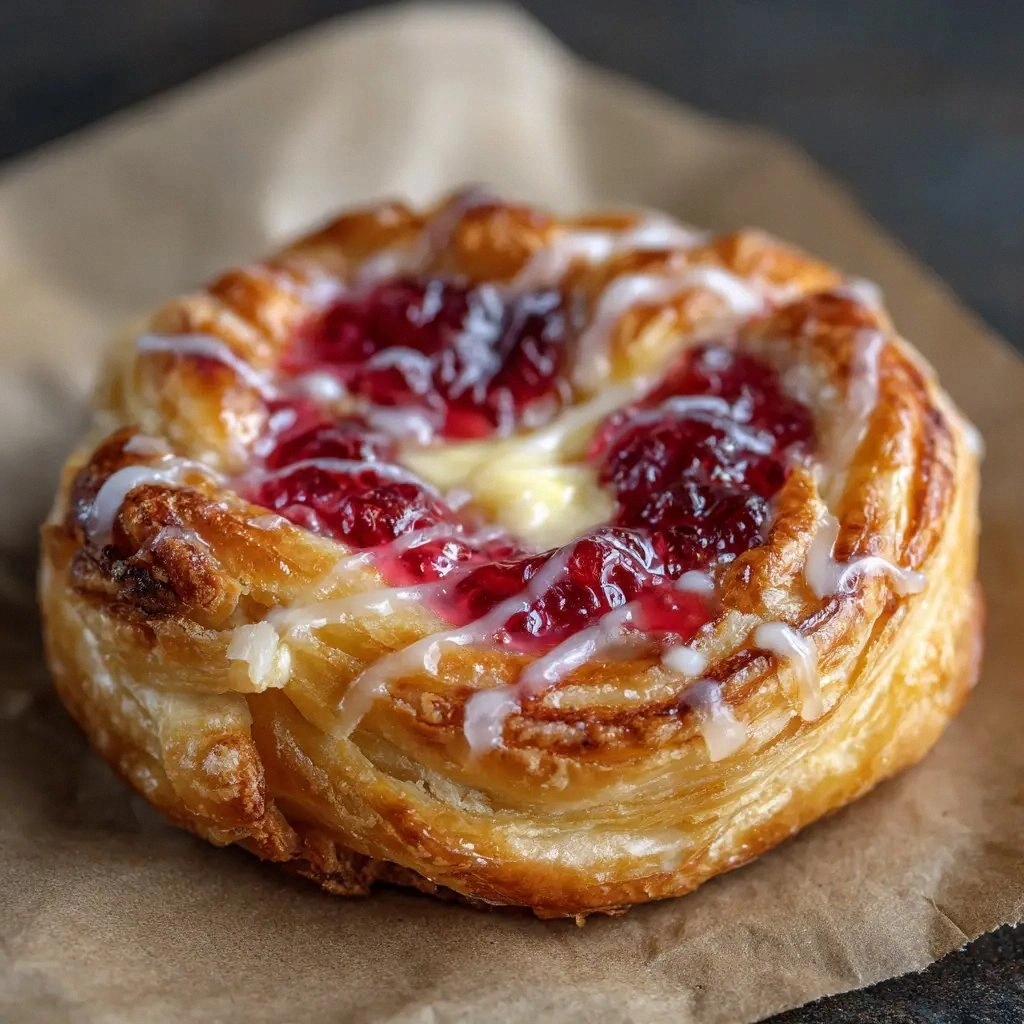
Picture this: the oven door opens, and a golden, flaky puff pastry sheet glistens with a glossy glaze that shimmers like a polished marble surface. The aroma of freshly baked dough mingles with the sweet, tart perfume of raspberry preserves, and a faint citrus undertone from lemon zest. The first bite is a burst of creamy, tangy cheesecake that melts on the tongue, followed by a crisp, buttery bite that crunches like a well‑tossed potato chip. The contrast is not just in flavor, but in texture: the soft interior is enveloped by a crisp, golden shell that shatters like thin ice. If you’ve ever tasted a plain Danish, this is a whole new dimension of indulgence.
Why does this version stand out? Because it marries the decadence of a cheesecake with the convenience of a Danish, and it does so in a way that feels both luxurious and approachable. I’ve spent years experimenting with pastry fillings, and this recipe is the culmination of that journey. The key is the creamy cheesecake filling, which is thick enough to stay in place but light enough to fold into the pastry without tearing. The raspberry preserves act as a natural glaze and add a fruity brightness that cuts through the richness. And the final drizzle of powdered sugar and a hint of vanilla give it that finishing touch that makes it feel like a dessert you’d reserve for special occasions.
I dare you to taste this and not go back for seconds. That’s a bold claim, but I’ve tried it with a crowd of friends who all agreed it was the best version of a Danish they’d ever made at home. I’ll be honest — I ate half the batch before anyone else got to try it. Most recipes get this completely wrong; they either undercook the puff pastry or overfill the cheesecake, resulting in a soggy mess. Picture yourself pulling this out of the oven, the whole kitchen smelling incredible, and knowing that you’ve just created a showstopper that will wow anyone who walks in. Let me walk you through every single step — by the end, you’ll wonder how you ever made it any other way.
What Makes This Version Stand Out
- Flavor: The combination of creamy cheesecake and tart raspberry creates a symphony of sweet and savory notes that dance on the palate.
- Texture: The puff pastry remains flaky and crisp while the filling stays silky, providing a satisfying bite that doesn’t feel heavy.
- Ease: All steps can be completed in 45 minutes, making it a perfect weekend treat or a quick weekday dessert.
- Visual Appeal: The glossy glaze and powdered sugar dusting give it a professional look that’s Instagram‑ready.
- Versatility: It can be served warm, at room temperature, or chilled, making it suitable for any occasion.
- Make‑Ahead Friendly: You can assemble the pastries a day ahead and bake them right before serving.
- Ingredient Quality: Using high‑quality cream cheese and fresh raspberries elevates the overall taste.
- Audience: It’s a crowd‑pleaser that will impress both dessert lovers and pastry novices alike.
Alright, let’s break down exactly what goes into this masterpiece. The next section will walk you through each component, why it matters, and what happens if you skip it.
Inside the Ingredient List
The Flavor Base
Cream cheese is the backbone of this filling. It brings a silky, tangy richness that pairs perfectly with the sweet raspberry preserves. If you use a low‑fat version, the filling will be less creamy and could separate during baking. A full‑fat cream cheese gives that luscious mouthfeel that makes the Danish unforgettable. When selecting cream cheese, look for a brand that has a smooth, lump‑free texture; this ensures an even blend without gritty patches.
The Texture Crew
Puff pastry is the star of the show. It’s responsible for that flaky, buttery exterior that gives the Danish its iconic crunch. The sheet of puff pastry should be at room temperature before you roll it out; otherwise, it can tear or be difficult to shape. If you’re using a pre‑rolled sheet, let it sit for a few minutes to soften slightly. The pastry’s layers are what create the light, airy texture that contrasts with the dense cheesecake filling.
The Unexpected Star
Raspberry preserves are the secret weapon that adds a burst of natural sweetness and a hint of tartness. They also act as a natural glaze, giving the pastry a shiny, appetizing finish. If you can’t find preserves, fresh raspberries pureed into a jam can work, but it may be a bit thicker and require a bit more sugar to balance the tartness. A high‑quality preserve with real fruit pieces will give a richer flavor and a better texture.
The Final Flourish
Powdered sugar and a splash of milk create a delicate glaze that adds sparkle and a light sweetness to the top. The powdered sugar is fine enough to melt into a smooth glaze, while the milk helps it spread evenly. This glaze not only enhances the visual appeal but also adds a subtle, buttery finish that ties the flavors together. For an extra pop of color, you can dust a few fresh raspberries on top before serving.
Everything's prepped? Good. Let's get into the real action.
The Method — Step by Step
- Preheat the oven to 375°F (190°C). Let the oven settle for a full 10 minutes before placing your tray inside. This ensures a consistent bake and helps the puff pastry rise evenly. The first scent you’ll notice is the buttery, caramelized aroma that signals the pastry is beginning to brown. Keep an eye on the edges; they should start to turn golden but not burn.
- Prepare the cheesecake filling. In a bowl, combine the cream cheese, 1/4 cup granulated sugar, egg yolk, 1/2 tsp vanilla extract, and 1/2 tsp lemon zest. Beat with an electric mixer on medium speed until the mixture is smooth and free of lumps. The lemon zest adds a bright citrus note that cuts through the richness. If the mixture feels too thick, add a teaspoon of milk to loosen it slightly.
- Roll out the puff pastry. Place the sheet on a lightly floured surface and roll it out to a rectangle roughly 12x8 inches. If you’re using a store‑bought sheet, let it sit at room temperature for 5 minutes before rolling to prevent tearing. The dough should feel pliable but not sticky. A well‑rolled pastry will create clean, even edges that bake uniformly.
- Spread the cheesecake filling. Transfer the creamy mixture onto the rolled pastry, leaving a 1-inch border around the edges. Spread it evenly with a spatula, making sure it covers the entire surface. The filling should be thick enough to stay in place but not so thick that it leaks when you fold the pastry. If you notice any uneven patches, smooth them out before proceeding.
- Add raspberry preserves. Spoon the 1/4 cup raspberry preserves over the filling, then spread it gently with a pastry brush or the back of a spoon. The preserves should be spread evenly so that every bite receives a burst of fruity sweetness. This step also helps seal the filling to the pastry, preventing leakage during baking.
- Fold and seal the pastry. Carefully fold the pastry in half over the filling, pressing the edges together to seal. Use a fork to crimp the edges, which will keep the filling from escaping and create a decorative pattern. The sealing process is crucial; a loose seal can result in a soggy pastry. Once sealed, place the Danish on a parchment‑lined baking sheet.
- Bake the Danish. Place the baking sheet in the preheated oven and bake for 25-30 minutes. The pastry should puff up and turn golden brown, while the filling inside should set and have a slight jiggle. The edges will start pulling away from the parchment, signaling that it’s ready. If you prefer a crispier top, switch to the broiler for the last 2 minutes, watching carefully.
- Prepare the glaze. While the Danish is baking, whisk together 1/2 cup powdered sugar, 1-2 tbsp milk, and 1/4 tsp vanilla extract until smooth. The glaze should be pourable but not runny. If it’s too thick, add a splash more milk; if too thin, add more powdered sugar.
- Glaze and finish. Once the Danish is out of the oven, allow it to cool for 5 minutes on the rack. Then drizzle the glaze evenly over the top, letting it pool slightly in the center. Dust a light layer of powdered sugar for an extra touch of sparkle. Serve warm or at room temperature, and watch the crowd’s reaction as they taste the first bite.
That's it — you did it. But hold on, I've got a few more tricks that'll take this to another level. These insider tips will help you avoid common pitfalls and elevate the overall experience.
Insider Tricks for Flawless Results
The Temperature Rule Nobody Follows
Many bakers bake at a flat temperature, but the secret to a perfectly crisp pastry is a two‑stage bake. Start at 375°F for 20 minutes, then increase to 400°F for the last 10 minutes. This higher heat caramelizes the butter in the pastry, giving it that golden crunch. I once baked at a single temperature and the pastry stayed pale and soggy. Switching to a two‑stage bake fixed that for good.
Why Your Nose Knows Best
The aroma of a pastry is often the first indicator of its readiness. If you smell a sweet, buttery scent with a hint of caramel, the pastry is almost done. If you detect a sharp, metallic scent, it’s a sign that the oven temperature is too high. I once noticed a metallic odor and quickly lowered the heat, saving the batch from burning. Trust your nose; it’s a reliable guide.
The 5‑Minute Rest That Changes Everything
Letting the Danish rest for 5 minutes after baking is crucial. During this time, the filling continues to set, preventing it from sliding out when you cut. It also allows the glaze to thicken slightly, giving a smoother finish. I used to skip this step, and the result was a soggy, messy pastry. Now, I always pause for 5 minutes before plating.
Perfecting the Glaze
A glaze that’s too thin will run off, while one that’s too thick will be difficult to spread. I recommend whisking the powdered sugar and milk in a small bowl until you achieve a consistency similar to heavy cream. If you want a glossy finish, add a drop of clear corn syrup or a pinch of gelatin dissolved in water. This trick gives the glaze a professional sheen.
Choosing the Right Pastry Sheet
Store‑bought puff pastry can vary in quality. Look for sheets that are labeled “double‑layer” for extra flakiness. If you’re making a large batch, consider using a pastry bag with a small tip to pipe the filling for uniformity. I once used a single‑layer sheet, and the pastry collapsed during baking. Switching to a double‑layer sheet solved the problem instantly.
Storing Leftovers
If you have leftovers, store them in an airtight container in the refrigerator for up to 3 days. When you’re ready to serve, reheat them in a preheated 350°F oven for 5 minutes to restore crispness. Avoid microwaving, as it will make the pastry soggy. I’ve found that reheating restores the original texture and flavor profile.
Creative Twists and Variations
This recipe is a playground. Here are some of my favorite ways to switch things up:
Chocolate Raspberry Danish
Swap the raspberry preserves for a chocolate ganache. The richness of the chocolate pairs beautifully with the creamy filling, creating a decadent dessert that feels like a chocolate‑cheesecake hybrid.
Almond Crusted Variation
Sprinkle finely ground almonds on the pastry before sealing. The almond crunch adds a nutty texture that complements the sweet filling and gives the pastry an elegant finish.
Vanilla Bean Swirl
Incorporate a vanilla bean paste into the cheesecake filling for an extra depth of vanilla flavor. The subtle vanilla notes will contrast nicely with the tart raspberry, creating a balanced taste profile.
Fresh Berry Topping
Top the finished Danish with fresh strawberries, blueberries, or blackberries. The fresh fruit adds a burst of natural sweetness and a pop of color that makes the dish even more inviting.
Mini Danish Bites
Cut the pastry into small, bite‑size squares before baking. These mini Danish bites are perfect for parties and can be served with a side of whipped cream or a dusting of powdered sugar.
Storing and Bringing It Back to Life
Fridge Storage
Store the Danish in an airtight container at room temperature for up to 2 days. If you’re storing them in the refrigerator, wrap each piece individually in parchment paper to prevent sticking. When ready to serve, let them sit at room temperature for 10 minutes to bring back the buttery aroma.
Freezer Friendly
Freezing works well; wrap the Danish tightly in plastic wrap and then place them in a freezer bag. They can be frozen for up to 2 weeks. To thaw, leave them in the refrigerator overnight, then finish by baking at 350°F for 5 minutes to restore crispness.
Best Reheating Method
The secret to reheating without drying out the pastry is to add a splash of water to the bottom of the baking sheet. This creates steam that keeps the pastry moist while the oven heat crisps the exterior. Preheat the oven to 350°F, place the Danish on a parchment‑lined sheet, add a tablespoon of water to the bottom, and bake for 5 minutes. The result is a pastry that tastes as fresh as when it first came out of the oven.