Love this? Pin it for later! 📌
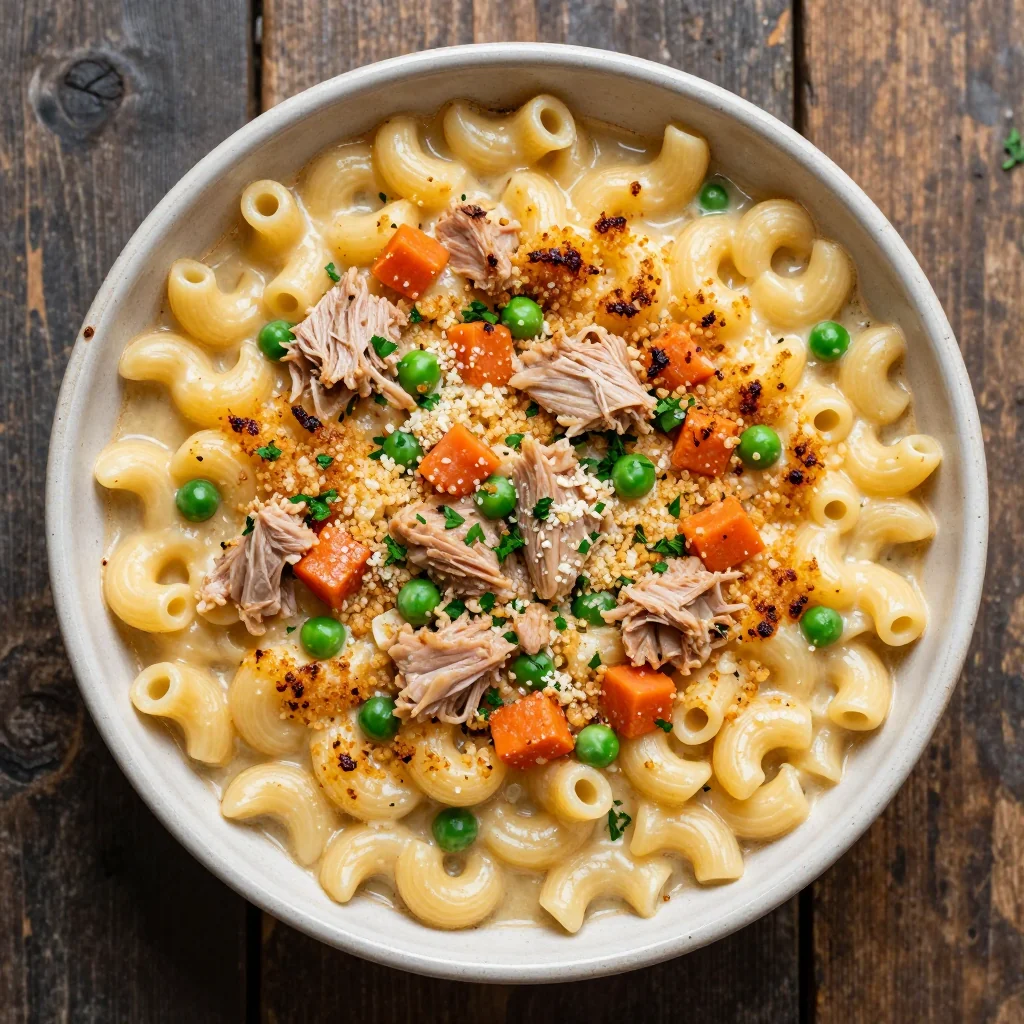
There’s a certain kind of magic that happens when the power goes out, the pantry light flickers on, and you realize you can still create comfort from the chaos. I discovered this during an ice-storm lock-in when our refrigerator died and the grocery shelves were stripped bare. My kids were asking for “something creamy and cheesy” while my husband was outside trying to restart the generator. I stared at the canned goods—tuna, evaporated milk, cream of mushroom—and a half-empty bag of egg noodles. Twenty-five minutes later we were scooping up a bubbling, golden-crusted tuna noodle casserole that tasted like a hug in edible form. That stormy night recipe has since become my go-to emergency comfort food, my “I forgot to meal-plan” lifesaver, and the dish I tote to every new-parent meal train. It’s completely shelf-stable, comes together in one skillet (no oven required if you don’t want to), and somehow tastes like the nostalgic oven-baked version Grandma used to make. Whether you’re stocking your hurricane box, feeding teenagers after sports practice, or just craving something cozy without leaving the house, this Pantry Shelf-Stable Tuna Noodle Casserole delivers every single time.
Why This Recipe Works
- 100% Pantry Ingredients: Canned tuna, evaporated milk, dry pasta, and shelf-stable cheese powder mean you can cook even when the fridge is empty.
- One-Skillet Method: No colander, no second pot—everything simmers together so fewer dishes wash up later.
- Protein-Packed & Budget-Friendly: Two cans of tuna provide 40 g of complete protein for under $3 total.
- Customizable Veggie Boost: Stir in canned peas, corn, or mushrooms—liquid and all—for extra nutrients without spoilage risk.
- Crunch Without Crackers: A quick sprinkle of dry stuffing mix or crushed ramen noodles on top bakes into a buttery-crisp crust.
- Make-Ahead Friendly: Assemble the dry kit in a jar; add water and a heat source when you’re ready to eat—perfect for camping or dorms.
Ingredients You'll Need
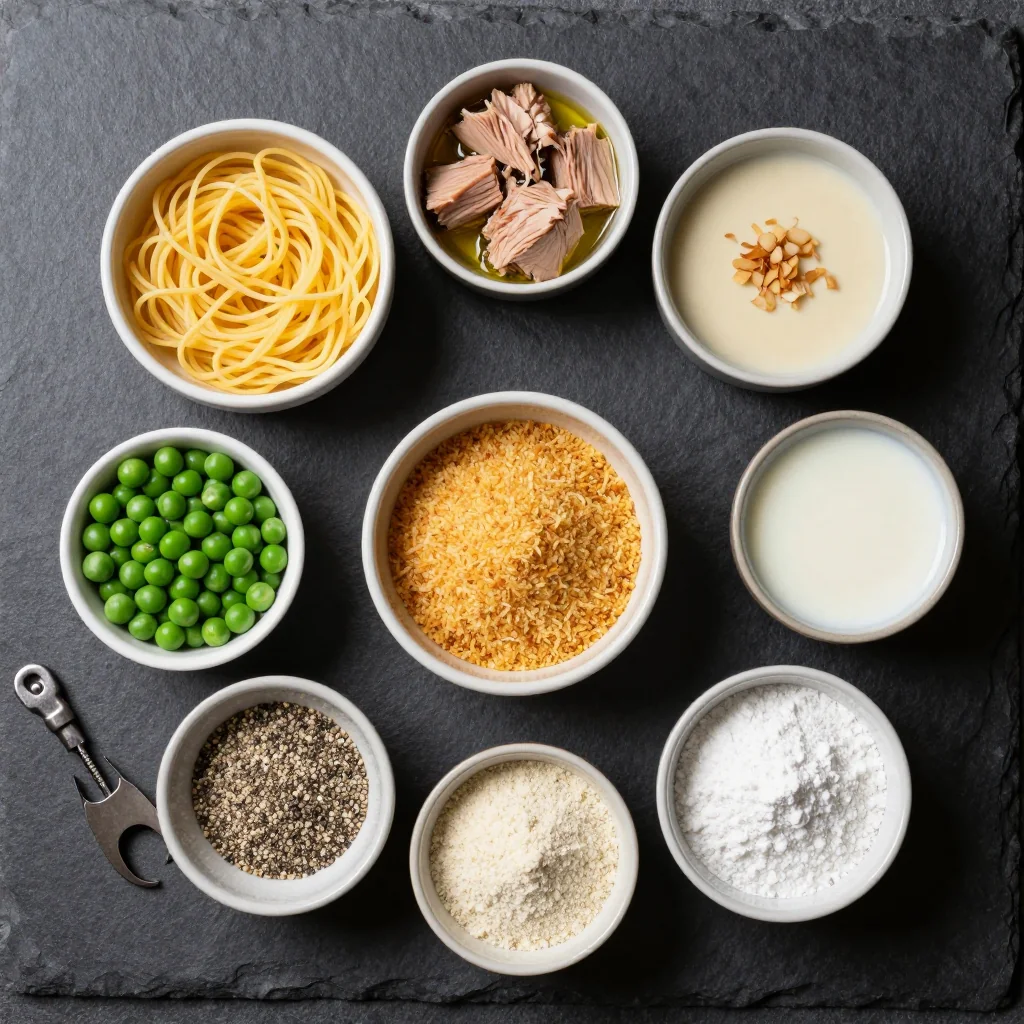
Before we dive into the how, let’s talk about the why behind each component. First up, dry egg noodles: they cook quickly and their porous texture grabs every drop of creamy sauce. If you only have elbow macaroni or rotini, swap away—just shave off a minute of cook time. Next, canned tuna in oil; the oil carries flavor and keeps the flakes plush. Water-packed works too—just drain it well so the casserole doesn’t get fishy. Evaporated milk is the unsung hero here; it’s concentrated, shelf-stable, and when simmered with pasta water it reduces into a thick, velvety base that tastes like real cream.
You’ll also need cream of mushroom soup concentrate—the canned stuff. Yes, you can DIY a roux with flour and butter, but that defeats the shelf-stable goal. One standard 10.5-oz can seasons the entire dish. For umami depth, a tablespoon of tomato paste in a tube lasts forever in the fridge door and gives the sauce a rosy hue, but it’s optional.
Cheese powder—think boxed mac-and-cheese magic—melts smoothly and keeps without refrigeration. If you can’t find it, a packet of dehydrated cheese sauce from backpacking meals works. Finally, freeze-dried chives rehydrate instantly and add color; dried parsley is fine. For the coveted crunchy topping, grab a handful of dry stuffing mix
In a large, deep skillet or Dutch oven, heat 2 tablespoons of the tuna oil (or any neutral oil) over medium. Stir in 1 teaspoon each of garlic powder and onion powder; cook 30 seconds until fragrant. This quick bloom wakes up dried spices and lays the flavor foundation. Add the dry egg noodles to the skillet; toss to coat in the spiced oil. Toast 2 minutes, stirring frequently, until the pasta turns slightly golden. Toasting creates a nutty depth and prevents the noodles from tasting bland later. Pour in 2 cups of water and one 14-oz can of low-sodium chicken broth (or equivalent bouillon + water). Scrape the brown bits; these concentrated flavors equal free umami. Bring to a boil, then reduce to a lively simmer. Whisk in the entire can of cream of mushroom soup concentrate and ½ cup evaporated milk until smooth. The starch from the soup thickens as it heats, while the milk adds body. Keep the mixture barely bubbling; high heat can curdle the proteins. Cover the skillet and cook 7–8 minutes, stirring twice, until the noodles are just shy of done. They’ll continue cooking in the next step, so aim for a firm bite. If the liquid level drops below the pasta, splash in ¼ cup water. Reduce heat to low. Add both cans of tuna (break into large flakes), 1 cup canned peas or corn (undrained is fine), 1 tablespoon tomato paste, 2 teaspoons soy sauce, and 1 teaspoon Worcestershire. Stir gently so tuna stays chunky. Sprinkle ½ cup cheese powder over the surface, then stir until melted and silky. Taste; add ½ teaspoon salt and ¼ teaspoon pepper. If you prefer real cheese, stir in 1 cup shelf-stable shredded cheese (the kind that doesn’t require refrigeration until opened). Melt 2 tablespoons butter or margarine in a small non-stick pan. Add 1 cup dry stuffing mix; toast 2 minutes until golden. Scatter over the casserole just before serving for contrast. No oven, no problem. If you crave the retro baked crust, transfer the finished casserole to a greased 9×13-inch dish. Top with buttered stuffing mix or crushed Ritz crackers. Bake 10 minutes at 400 °F (or 25 minutes in a 350 °F toaster oven) until bronzed and bubbling. Let the casserole stand 5 minutes so the sauce thickens and the flavors meld. Garnish with freeze-dried chives or parsley for a pop of color. Scoop into bowls and watch even the pickiest eater swoon. Canned soup, bouillon, and tuna all contain salt. Wait until the end to season so you don’t over-salt. Evaporated milk can curdle above 195 °F. A soft simmer equals creamy, not grainy. The starchy liquid loosens sauce and helps cheese melt smoothly. Add by the tablespoon if casserole tightens up. Combine noodles, cheese powder, dried veggies, and spice packet in a mason jar. Label with water + soup amounts for grab-and-go meals. Out of tuna? Fold in a drained can of salmon or even shredded rotisserie chicken you’ve frozen in portion bags. Casseroles freeze beautifully. Make two 8-inch pans; bake one tonight and wrap the other (un-baked) for the freezer up to 3 months. Refrigerate: Cool leftovers within 2 hours. Transfer to an airtight container and refrigerate up to 4 days. The noodles will continue to absorb sauce, so stir in a splash of milk or broth when reheating. Freeze: For best texture, freeze the casserole un-baked. Wrap the assembled (but not topped) dish in a double layer of foil, then slide into a freezer bag. Label with the date and bake from frozen at 375 °F for 55–65 minutes, adding the crunchy topping during the last 10 minutes. Already-baked portions can be frozen up to 2 months; thaw overnight in the fridge and reheat covered at 350 °F until bubbly. Pantry Kit: Combine 2 cups egg noodles, ¼ cup cheese powder, 2 Tbsp dried vegetables, 1 tsp onion powder, 1 tsp garlic powder, and ½ tsp salt in a quart-size mylar bag with an oxygen absorber. Store up to 1 year. To cook, empty the kit into a skillet with 2 cups water, 1 can condensed soup, and 2 cans tuna; simmer per recipe. For a smoky twist, add ½ tsp smoked paprika with the aromatics. To make ahead, assemble through Step 5, cool, and refrigerate up to 2 days; add topping just before reheating.How to Make Pantry Shelf Stable Tuna Noodle Casserole
Bloom the aromatics
Toast the noodles
Deglaze with broth
Stir in the sauce base
Simmer until al dente
Fold in the tuna & veggies
Cheese it up
Crunch layer (stovetop option)
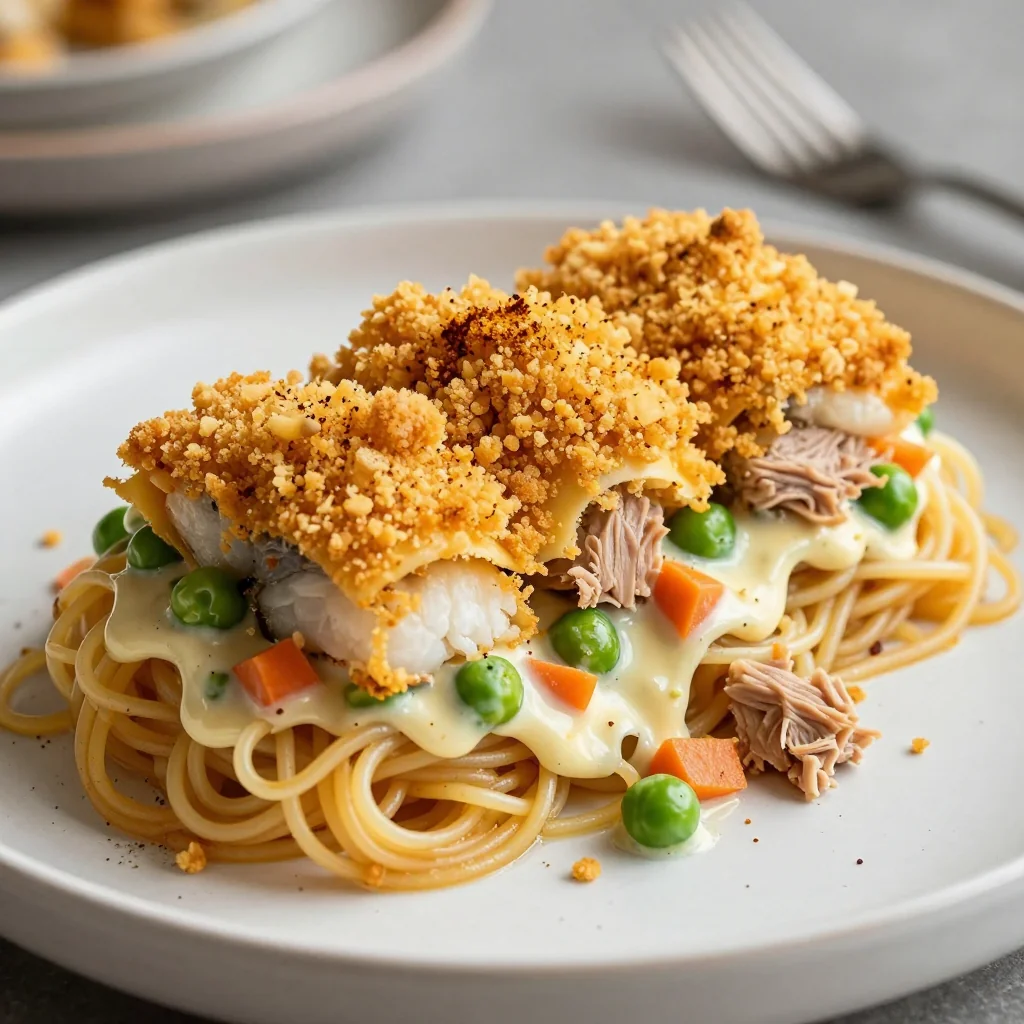
Crunch layer (oven option)
Rest & serve
Expert Tips
Control salt early
Keep the heat gentle
Save pasta water
Make a dry mix
Speed-thaw protein swap
Double-batch trick
Variations to Try
Storage Tips
Frequently Asked Questions
Pantry Shelf Stable Tuna Noodle Casserole
Ingredients
Instructions
Recipe Notes
Nutrition (per serving)