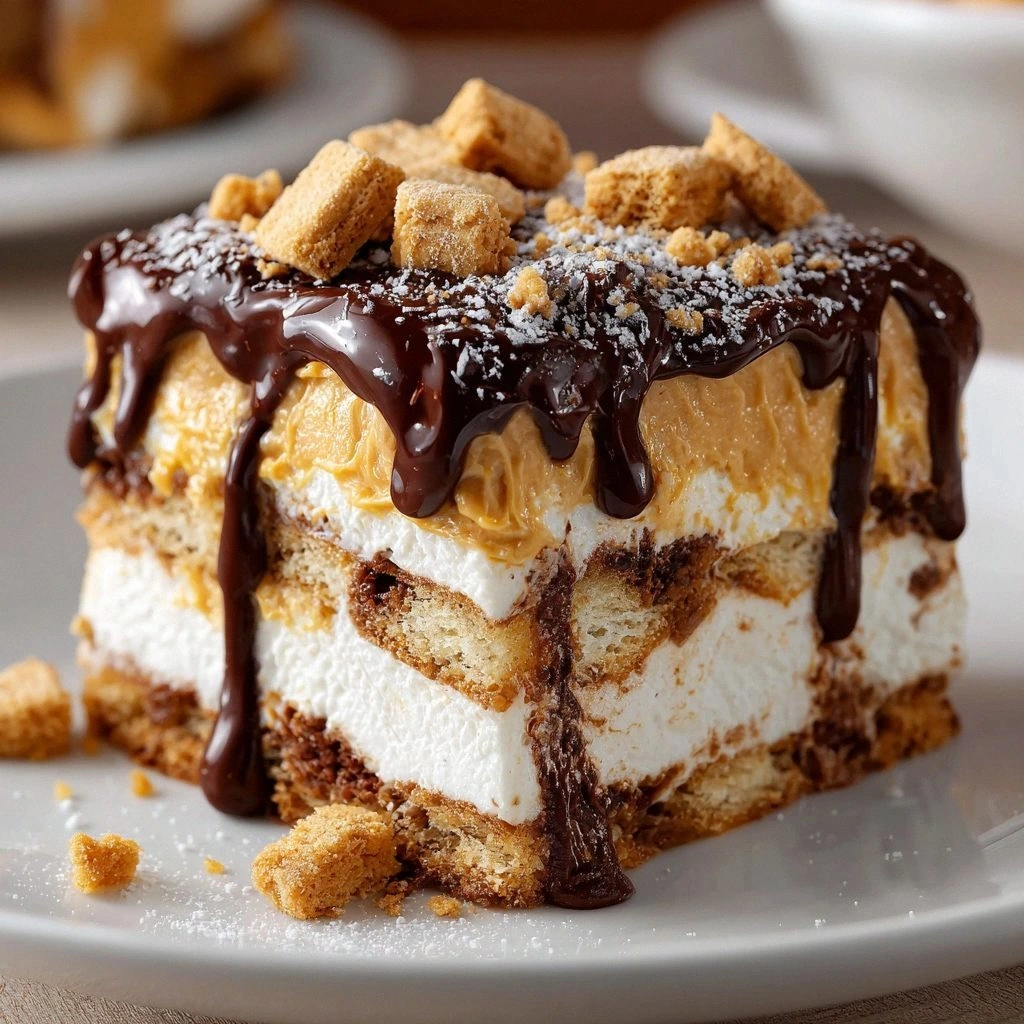
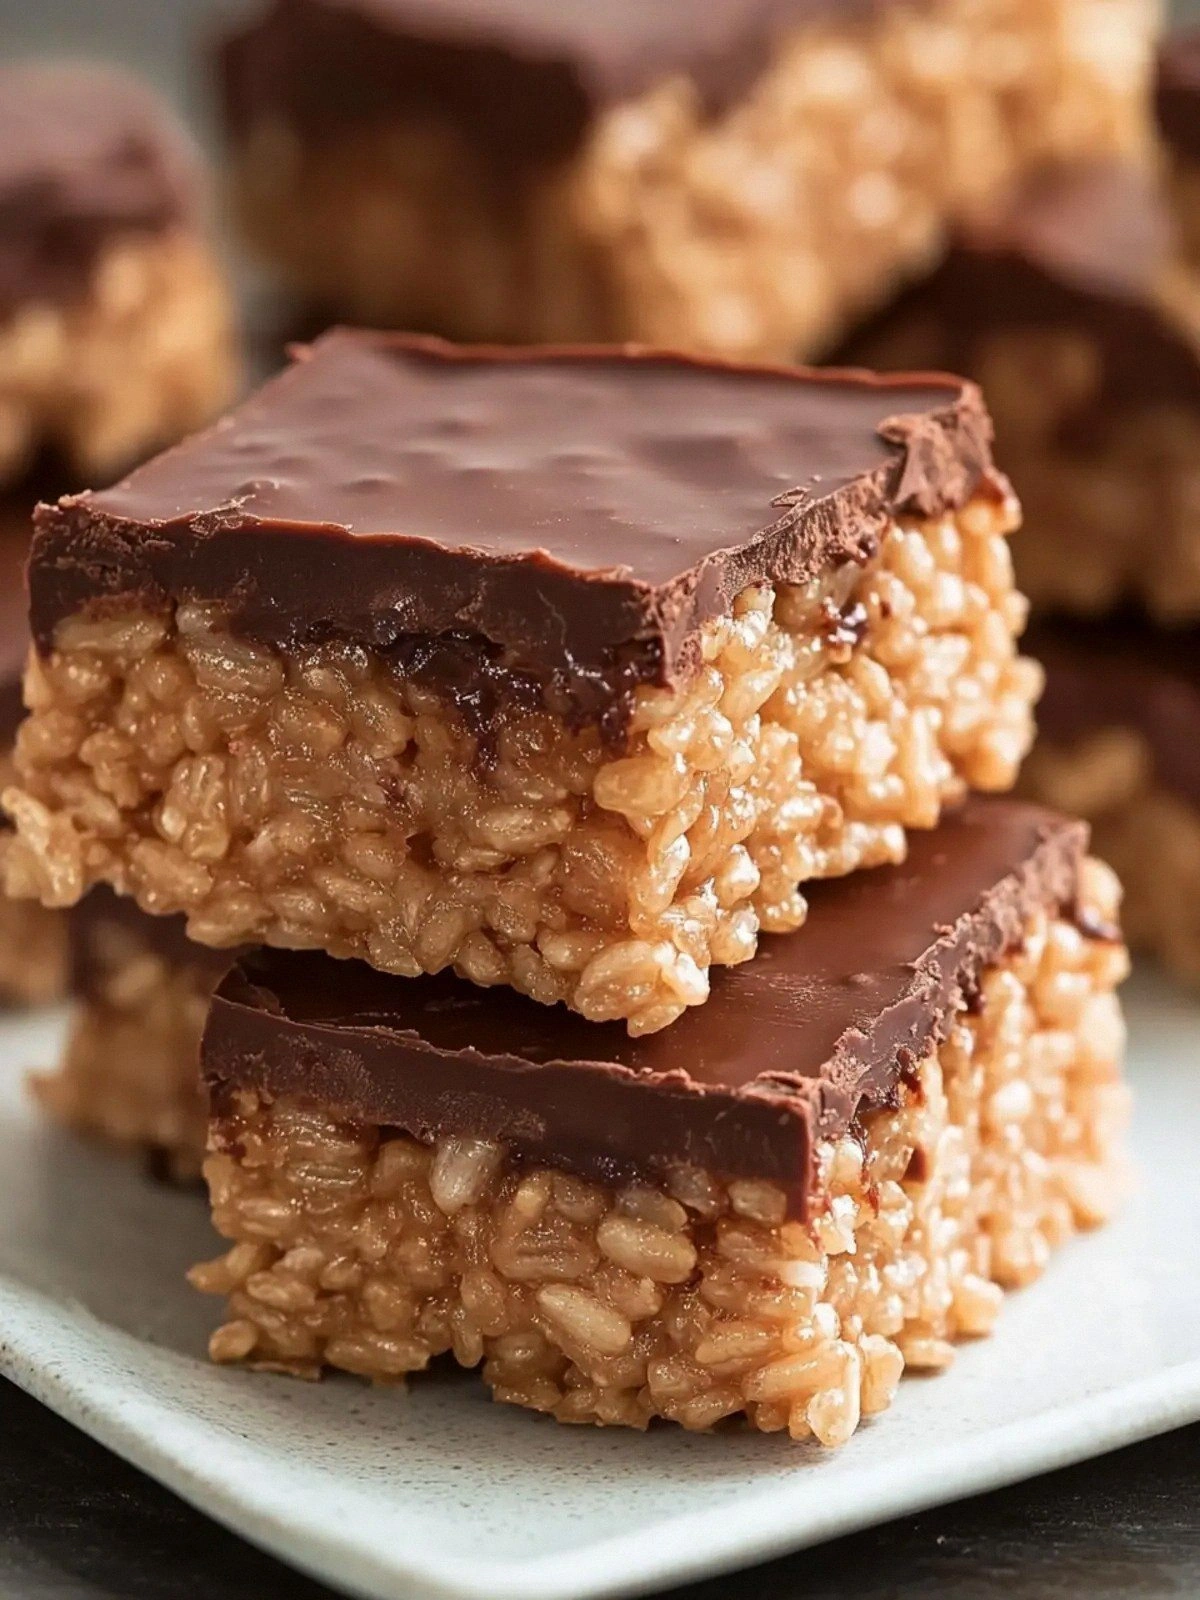
Picture this: it’s 2 a.m., the kitchen lights flicker like a neon sign, and you’re staring at a bag of Rice Krispies that has somehow become the centerpiece of your midnight snack adventure. You reach for the jar of peanut butter, the chocolate chips, and the mini marshmallows, feeling a surge of culinary curiosity that could only be described as a delicious disaster waiting to happen. I was half‑heartedly planning a quick treat for my roommate’s surprise birthday, and the kitchen exploded into a sweet, buttery, chocolate‑laden frenzy that left us both laughing and slightly scorched. That chaotic moment turned into the most mouth‑watering revelation I’ve had in years: a version of chocolate peanut butter Rice Krispie treats that is, without a doubt, the best you’ll ever make at home.
I was on a mission to combine the nostalgic crunch of Rice Krispies with the decadence of chocolate and the irresistible hug of peanut butter. The aroma that rose from the pot was a warm, buttery vanilla perfume that made the whole apartment feel like a dessert boutique. The sound of marshmallows melting into a glossy, golden sauce was a symphony of sizzle and pop. Each spoonful felt like a bite of childhood wrapped in a chocolate blanket, with peanut butter adding a silky, nutty undertone that made the texture sing. And the finish? A slight salt kick that lifted the sweetness and left your tongue craving more.
What makes this recipe stand out is that it’s not just a mash‑up; it’s a meticulously balanced equation where each ingredient plays a role that’s both essential and elevating. The marshmallows don’t just soften; they create a smooth, chewy base that holds the cereal together like a secret handshake. Peanut butter isn’t merely a flavor; it’s a binding agent that thickens the mixture, giving it a silky mouthfeel that defies the expected crunch. Chocolate chips melt into a glossy glaze that coats the treats like velvet, while the splash of coconut oil prevents sticking and adds a subtle tropical note. Together, these elements create a treat that is crunchy on the outside, chewy on the inside, and utterly addictive.
Now, I’m not about to give away all the secrets at once. I’ll walk you through every single step, revealing the technique that keeps the treats from turning into a sticky mess and the ingredient that makes the flavor explode. By the end of this post, you’ll be able to pull a batch out of the pan that smells like a chocolate‑peanut butter dream and taste the moment you’ll wish you had discovered this earlier. Let me walk you through every single step — by the end, you’ll wonder how you ever made it any other way.
What Makes This Version Stand Out
- Flavor Harmony: The combination of sweet marshmallows, salty peanut butter, and rich chocolate creates a multi‑layered taste profile that satisfies every craving. Each bite transitions from buttery sweetness to a subtle nutty depth, leaving a lingering chocolate aftertaste.
- Texture Contrast: The crispy Rice Krispies provide a satisfying crunch that contrasts beautifully with the chewy marshmallow core. The result is a treat that is both crunchy and chewy in perfect harmony.
- Simple Prep: With only eight ingredients and a single pan, you can have a decadent dessert on the table in under 45 minutes. No fancy equipment or advanced techniques required.
- Make‑Ahead Friendly: The treats keep well in an airtight container for up to a week, making them ideal for parties, school lunches, or a quick snack.
- Ingredient Quality: Using real peanut butter, high‑quality chocolate chips, and unsalted butter elevates the flavor beyond the typical store‑bought version.
- Crowd‑Pleaser: Whether you’re hosting a family gathering or a casual movie night, these treats are guaranteed to be the highlight of the snack table.
- Healthier Twist: Replacing butter with coconut oil or avocado oil adds a subtle tropical flavor and a healthier fat profile without compromising taste.
- Versatility: This base recipe can be easily adapted with different nuts, dried fruit, or spices to create new flavor profiles for every season.
Alright, let's break down exactly what goes into this masterpiece…
Inside the Ingredient List
The Flavor Base
Unsalted butter and vanilla extract form the aromatic foundation of this treat. The butter melts into a silky sauce that carries the vanilla’s warm, floral notes, while the vanilla itself lifts the overall flavor, preventing the chocolate from feeling flat. If you skip butter, the mixture will lack body, and the treats will feel dry and crumbly. For a lighter version, you can use coconut oil, which also adds a subtle tropical undertone.
The Texture Crew
Rice Krispies are the star of the show, providing the signature crunch that makes these treats memorable. The cereal’s light, airy structure absorbs the marshmallow mixture without becoming soggy, keeping the bite crisp. If you’re looking for an extra crunch, toss in some toasted coconut flakes or crushed pretzels. Skipping the cereal will result in a chewy, dense texture that feels more like a brownie than a classic Rice Krispie treat.
The Unexpected Star
Mini marshmallows are more than just sweet; they are the glue that binds everything together. Their low moisture content allows them to melt smoothly into a glossy sauce, creating a chewy center that contrasts with the cereal’s crunch. If you can’t find mini marshmallows, regular ones will work, but you’ll need to cut them into smaller pieces to achieve the same melt‑through effect. A pinch of sea salt elevates the sweetness and brings out the richness of the chocolate and peanut butter.
The Final Flourish
Chocolate chips are the decadent finale that coats every bite in a glossy, chocolatey glaze. The chocolate’s cocoa butter content gives a silky mouthfeel, while the sugar provides the perfect sweet bite. For a darker, richer flavor, use dark chocolate chips; for a sweeter treat, opt for milk chocolate. The coconut or avocado oil not only prevents sticking but also adds a subtle flavor that complements the chocolate’s richness.
Everything's prepped? Good. Let's get into the real action…
The Method — Step by Step
- Heat a large saucepan over medium heat and add the unsalted butter. Stir until the butter has completely melted and starts to bubble gently. The butter should not brown; if it starts to turn golden, lower the heat immediately. This step is crucial for achieving a smooth, buttery base.
- Add the mini marshmallows to the pan and stir constantly with a wooden spoon or silicone spatula. Keep the heat low to prevent burning; you want the marshmallows to melt into a glossy sauce. If you notice any sticking, add a splash of water to loosen them.
- Stir in the peanut butter and vanilla extract until the mixture is uniform and glossy. The peanut butter should dissolve completely, creating a thick, cohesive sauce that coats the cereal. The vanilla adds warmth and balances the sweetness of the marshmallows.
- Fold in the Rice Krispies cereal gently, ensuring each piece is coated with the marshmallow‑peanut butter sauce. The cereal should not clump; if it does, stir gently and add a little more melted mixture. The goal is a light, airy mixture that feels like a cloud.
- Remove the pan from heat and stir in the chocolate chips and coconut oil. The residual heat will melt the chocolate, creating a glossy glaze that coats each bite. Make sure the chocolate is fully melted; if it’s still chunky, give the mixture a quick stir.
- Press the mixture into a greased 9x9‑inch baking dish, smoothing the top with a spatula. The pressure helps the treats set firmly, ensuring they hold together when cut. Let the mixture cool at room temperature for 20 minutes before slicing.
- Once set, cut the treats into squares or bars using a sharp knife. For a clean edge, wipe the knife with a paper towel between cuts. The edges should be crisp and the centers chewy.
- Serve immediately or store in an airtight container at room temperature for up to a week. If you want to reheat them, place a square in the microwave for 10–15 seconds to restore crispness.
- Enjoy the glorious crunch, the chewy center, and the chocolate‑peanut butter explosion that lingers on your palate. This is the moment of truth: bite, chew, and let the flavors dance.
That's it — you did it. But hold on, I've got a few more tricks that'll take this to another level…
Insider Tricks for Flawless Results
The Temperature Rule Nobody Follows
Many people think that heating the butter to a rolling boil is the key to a perfect sauce, but that actually caramelizes the sugars and creates a bitter aftertaste. The trick is to keep the butter at a gentle simmer, just enough to melt and coat the marshmallows without browning. This ensures a clean, sweet flavor profile that lets the chocolate shine.
Why Your Nose Knows Best
If you’re unsure whether the chocolate has fully melted, give the pan a quick sniff. A fresh chocolate aroma indicates proper melting, while a faint burnt smell signals you’re overcooking. Trust your nose; it’s a reliable indicator of doneness that saves you from a ruined batch.
The 5‑Minute Rest That Changes Everything
After you press the mixture into the dish, let it sit for exactly five minutes before cutting. This brief pause allows the sauce to set and the flavors to meld, giving the treats a firmer bite and preventing them from falling apart. I’ve seen people skip this step, and the result is a soggy mess that’s hard to cut.
The Secret to Crispy Edges
If you want extra crispy edges, lightly spray the bottom of the dish with cooking spray before pressing the mixture in. The spray creates a barrier that prevents the cereal from sticking and encourages a crispier crust when it cools.
The Quick Chill Trick
For a faster set, place the dish in the refrigerator for 10 minutes after pressing the mixture in. This short chill locks in the texture and makes slicing a breeze, especially if you’re in a hurry.
The Coconut Oil Swap
If you’re sensitive to dairy, swapping the butter for coconut oil not only makes the recipe vegan but also adds a subtle coconut flavor that complements the chocolate and peanut butter. Just remember to use unrefined coconut oil for the best taste.
Creative Twists and Variations
This recipe is a playground. Here are some of my favorite ways to switch things up:
Nutty Explosion
Add a handful of chopped almonds or hazelnuts to the mixture before pressing. The crunch adds texture and a nutty aroma that pairs beautifully with the chocolate.
Spiced Surprise
Stir in a pinch of cayenne pepper or cinnamon to give the treats a subtle heat or warm spice. The pepper adds a kick that balances the sweetness, while cinnamon provides a comforting, cozy flavor.
Tropical Twist
Swap the peanut butter for coconut butter and add shredded coconut. The tropical flavor profile is perfect for summer parties and pairs well with a fresh fruit salad.
Mocha Madness
Add a tablespoon of instant espresso powder to the chocolate chips before melting. The coffee flavor deepens the chocolate’s richness and adds a sophisticated undertone.
Fruit‑Infused Fun
Fold in dried cranberries or chopped dried apricots. The dried fruit adds a chewy sweetness that complements the crunchy cereal and chocolate.
Salted Caramel Swirl
Drizzle a thin line of salted caramel sauce over the top before the mixture sets. The caramel’s buttery sweetness and salt contrast beautifully with the chocolate and peanut butter.
Storing and Bringing It Back to Life
Fridge Storage
Store the treats in an airtight container at room temperature for up to a week. If you’re storing them in the fridge, wrap them in parchment paper first to prevent them from drying out. The treats may soften slightly in the fridge, but they’ll still hold their shape.
Freezer Friendly
Place the treats in a freezer‑safe container and freeze for up to three months. To thaw, leave them at room temperature for 30 minutes. The texture will be slightly softer, but the flavor remains intact.
Best Reheating Method
Reheat a single square in the microwave for 10–15 seconds, or toast it in a dry skillet for 30 seconds. If the treats feel dry, add a tiny splash of water before reheating; this steams them back to perfection and restores the chewy center.