Remember the night I tried to make a chocolate torte for a dinner party and ended up with a gooey, chocolatey mess that looked like a melted lava lamp? I was standing in the kitchen, flour dusting my apron, the scent of burnt sugar curling in the air, and my friends staring at the oven door like it held the secret to the universe. I swore to myself that I would find the perfect, flourless chocolate torte that would not only taste like a decadent dream but also feel like a triumph in the kitchen. That night, I discovered a recipe that turned every kitchen mishap into a sweet triumph, and I’m about to let you in on the secrets that make this version hands down the best you’ll ever make at home.
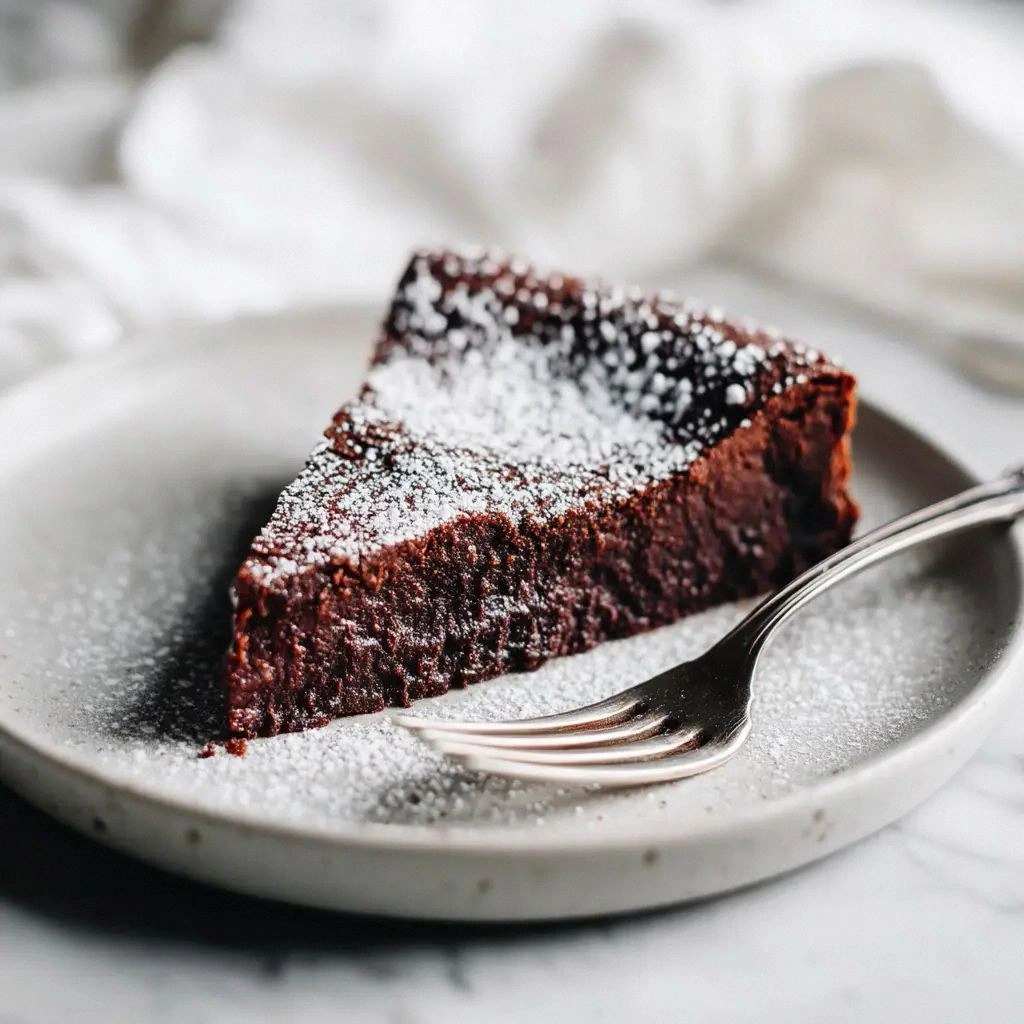
Picture yourself pulling this from the oven, the whole kitchen smelling like a chocolate bar on a sunny afternoon, the glossy surface reflecting the warm lights like a polished obsidian mirror. The first bite is a velvet kiss of bittersweet chocolate, the second a subtle espresso kick that wakes your taste buds like a cup of coffee on a Sunday morning. The edges are crisp enough to crack like thin ice, but the center melts into a silky, almost liquid core that feels like a secret held inside a velvet box. I dare you to taste this and not go back for seconds; trust me, one bite is enough to make you forget all other desserts.
What makes this version stand out isn’t just the quality of the chocolate, though that is a major factor. It’s the balance of textures, the depth of flavor that comes from a splash of espresso, and the way the butter and cream create a silky body that feels like a decadent mousse on a slice of cake. Most recipes get this completely wrong, either overcooking the chocolate or leaving the batter too runny. Here, the technique is simple yet precise, and the result is a torte that feels like it was crafted by a pastry chef in a Michelin‑star kitchen. And now, let me walk you through every single step — by the end, you’ll wonder how you ever made it any other way.
What Makes This Version Stand Out
- Taste: The bittersweet chocolate gives a deep, complex flavor that is balanced by a hint of espresso, creating a chocolate experience that feels both familiar and adventurous.
- Texture: The batter is dense yet airy, giving a melt‑in‑your‑mouth center while the edges develop a subtle crispness that adds delightful contrast.
- Ingredient Quality: Using 60‑72% cacao chocolate and fresh, room‑temperature eggs ensures that every bite is rich and untainted by artificial flavors.
- Ease of Execution: The method requires minimal equipment—just a double boiler and a silicone ring—and can be completed in under an hour.
- Crowd Appeal: It’s the kind of dessert that will have your guests asking for the recipe before the dessert plate even arrives.
- Make‑Ahead Potential: The torte can be assembled ahead of time and chilled, making it a stress‑free option for busy evenings.
Inside the Ingredient List
The Flavor Base
Bittersweet chocolate is the soul of this torte. The 60‑72% cacao range gives a bittersweet depth that pairs beautifully with the espresso. If you’re using a lower‑cacao chocolate, the dessert will taste overly sweet and lose that sophisticated edge. When selecting chocolate, look for a dark chocolate with a clean label—no added sugars or flavors. A small bar of high‑quality chocolate can be melted in a double boiler or in a heat‑proof bowl over simmering water.
Espresso powder adds an aromatic lift that mimics the roasted flavor of fresh coffee. It’s a game‑changer; the espresso’s bitterness complements the chocolate’s richness. If you don’t have instant espresso powder, a shot of strong brewed espresso can substitute, but the texture will change slightly. This is the secret that turns a simple chocolate torte into an unforgettable experience.
The Texture Crew
Unsalted butter is the binder that creates the silky mouthfeel. It also helps the chocolate melt evenly, preventing lumps. Use room‑temperature butter so it mixes smoothly with the chocolate. Butter also adds a subtle nutty flavor that balances the bitterness of the chocolate.
Granulated sugar is the sweetener that keeps the batter from becoming too dense. It dissolves quickly when melted with the chocolate, creating a smooth batter. If you prefer a slightly less sweet dessert, reduce the sugar by 2 tablespoons; the texture will remain the same.
The Unexpected Star
Heavy cream is the final flourish that adds a velvety richness. The cream’s fat content helps emulsify the batter, giving the torte a luxurious mouthfeel. If you’re looking for a lighter version, substitute half the cream with whole milk; the texture will be slightly less rich but still delicious.
Instant espresso powder is a hidden gem in many chocolate desserts. It not only adds depth but also acts as a natural preservative, extending the shelf life of the torte. This small pinch of espresso can transform your dessert from ordinary to extraordinary.
Everything’s prepped? Good. Let’s get into the real action.
The Method — Step by Step
- Preheat your oven to 350°F (175°C). Line a 9‑inch springform pan with parchment paper and set aside. This pre‑step ensures a smooth release and a perfect shape. The parchment will also keep the torte from sticking, saving you a frantic scrape later. Remember, the pan should be clean and dry before you start.
- Melt the 8 oz bittersweet chocolate and the 4 oz bittersweet chocolate together over a double boiler. Stir constantly until the mixture is silky and fully melted. The double boiler prevents scorching, which would ruin the chocolate’s flavor. Use a heat‑proof bowl that sits snugly over a pot of gently simmering water, ensuring even heat distribution. This is the moment of truth for the flavor base.
- Add the unsalted butter to the melted chocolate, stirring until it’s fully incorporated. The butter should melt into the chocolate, creating a glossy, homogeneous mixture. If the butter is cold, it may cause the chocolate to seize; keep it at room temperature for best results. This step is crucial for achieving the silky texture that defines this torte.
- Whisk the granulated sugar into the chocolate‑butter blend until it’s dissolved. The sugar should dissolve completely, leaving no gritty residue. A small amount of sugar helps to stabilize the batter, preventing it from becoming too dense. This also ensures that the final product has a balanced sweetness.
- In a separate bowl, whisk the eggs, vanilla extract, instant espresso powder, and salt until the mixture is light and frothy. The frothiness indicates that the eggs are ready to incorporate. This step is important because it introduces air into the batter, giving the torte a slight lift without compromising its dense structure.
- Fold the egg mixture into the chocolate batter gently, using a spatula. Fold until just combined; over‑mixing can cause the batter to become too airy, which would compromise the texture. The batter should be thick yet pourable. This is where the flavors start to marry, creating a harmonious blend.
- Pour the batter into the prepared pan, smoothing the top with a spatula. Tap the pan gently on the counter to release any air bubbles. The batter should sit level, as unevenness can cause the edges to overbake. The batter’s glossy surface is a sign that it’s ready for the oven.
- Bake for 30 minutes, or until the edges are set and the center still has a slight wobble. The center should feel firm to the touch but still slightly soft. The oven should be preheated, and the torte should be placed in the middle rack for even cooking. This step is the most delicate; too long, and it dries out; too short, and it remains gooey.
- Remove from the oven and let the torte cool in the pan for 10 minutes. Then, run a knife around the edges to loosen and release the torte. Carefully remove the springform ring and let the torte cool completely on a wire rack. The cooling time is vital for setting the structure and preventing cracks.
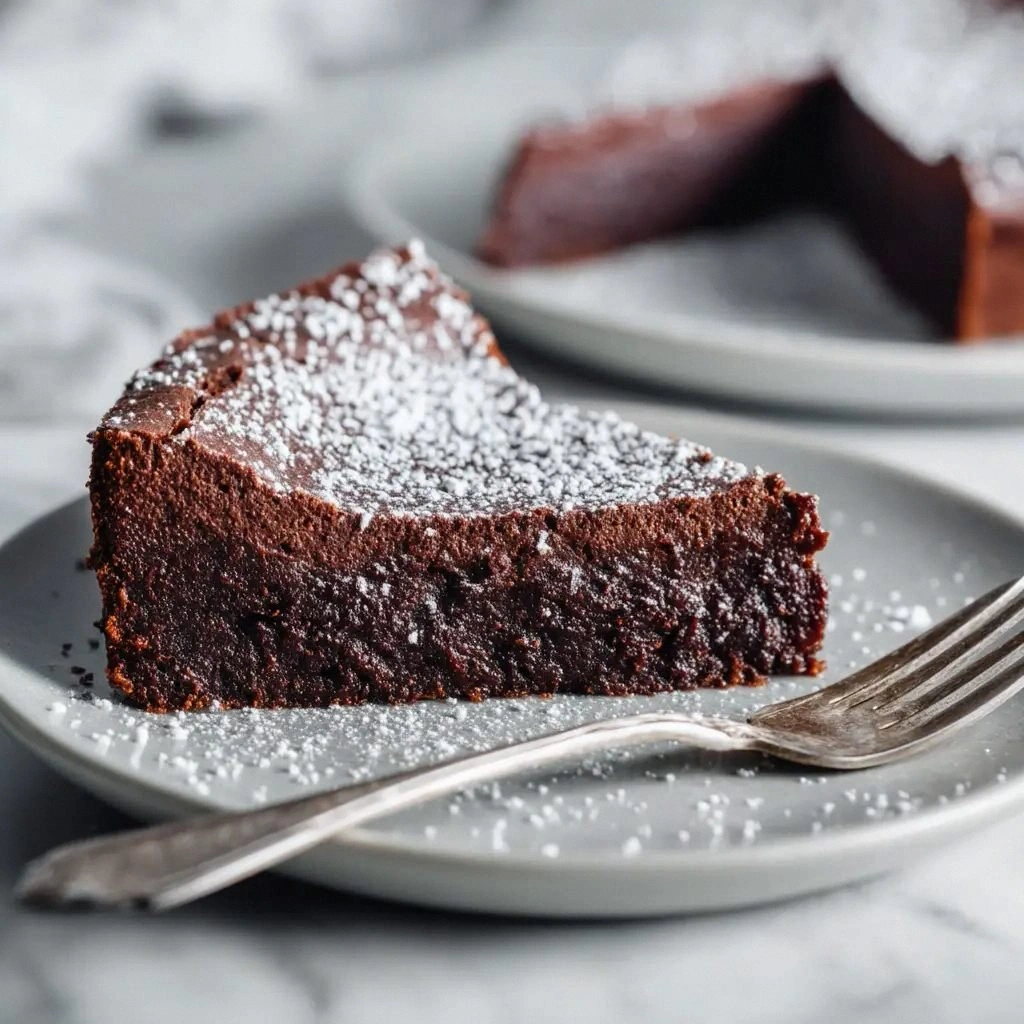
- Once cooled, chill the torte in the refrigerator for at least 2 hours before serving. The chilling process allows the flavors to meld and the texture to firm up, creating a silky bite that melts in the mouth. Serve chilled, dusted with powdered sugar or a dusting of cocoa powder for an elegant finish.
That’s it — you did it. But hold on, I’ve got a few more tricks that will take this to another level.
Insider Tricks for Flawless Results
The Temperature Rule Nobody Follows
Many people bake at a higher temperature, thinking it will set the edges faster. In reality, baking at 350°F allows the chocolate to melt evenly and the batter to set without scorching. If you’re using a convection oven, reduce the temperature by 25°F to avoid over‑browning. This subtle tweak can make the difference between a glossy, professional finish and a dull, uneven surface.
Why Your Nose Knows Best
Before you even touch the batter, inhale the aroma of the melted chocolate. A rich, nutty scent is a sign that the chocolate is properly melted and not over‑heated. Your nose can detect subtle changes in flavor that your eyes can’t see. If the aroma feels flat, it’s likely that the chocolate has lost some of its depth.
The 5‑Minute Rest That Changes Everything
After folding the eggs into the batter, let the mixture rest for 5 minutes before pouring into the pan. This short pause allows the eggs to fully integrate, preventing a lumpy texture. Think of it as a brief meditation for the batter, giving it time to settle. This simple step can elevate the overall mouthfeel.
Use a Silicone Ring for a Professional Look
A silicone ring keeps the batter perfectly round and prevents it from spreading. It also makes for an easy release and a clean, professional presentation. When removing the torte, the ring can be reused for other desserts, making it a versatile kitchen tool.
Finish with a Dusting of Cocoa Powder
Right before serving, dust the torte with unsweetened cocoa powder for a dramatic finish. The powder adds a subtle bitterness that balances the sweetness and enhances the chocolate flavor. It also creates a visually appealing contrast that makes the torte Instagram‑worthy.
Creative Twists and Variations
This recipe is a playground. Here are some of my favorite ways to switch things up:
Almond Crunch Variation
Fold in 1/4 cup chopped toasted almonds before baking. The nuts add a delightful crunch and a nutty flavor that complements the chocolate. Serve with a drizzle of almond butter for an extra layer of indulgence.
Minty Surprise
Add 1 teaspoon of peppermint extract to the batter. The mint provides a refreshing contrast that brightens the chocolate’s richness. Pair it with a scoop of vanilla ice cream for a dessert that feels both classic and novel.
Orange Zest Infusion
Grate the zest of one orange into the batter. The citrus notes lift the chocolate’s depth and add a bright, aromatic layer. A light dusting of powdered sugar on top completes the look.
Raspberry Coulis Drizzle
Serve the torte with a swirl of raspberry coulis. The tartness of the berries cuts through the chocolate’s sweetness, creating a balanced flavor profile. The visual contrast also makes the dessert pop.
Salted Caramel Swirl
Swirl a spoonful of salted caramel into the batter before baking. The caramel adds a sweet‑salty element that takes the dessert to the next level. Garnish with sea salt flakes for an extra touch of elegance.
Espresso Ganache Layer
After the torte has cooled, top it with a glossy espresso ganache made from heavy cream and dark chocolate. The ganache adds a velvety texture and an intensified coffee flavor that pairs perfectly with the base.
Storing and Bringing It Back to Life
Fridge Storage
Wrap the chilled torte in parchment paper and store it in an airtight container in the refrigerator for up to 3 days. The parchment prevents the surface from drying out, while the airtight seal keeps the flavors fresh. Before serving, let it sit at room temperature for 10 minutes to soften slightly.
Freezer Friendly
To freeze, place the torte in a freezer‑safe container and wrap it tightly in plastic wrap. It can be stored for up to 2 weeks. When ready to serve, thaw it in the refrigerator overnight and let it come to room temperature before slicing.
Best Reheating Method
For a warm, gooey experience, place a slice in the microwave on medium power for 15‑20 seconds. If you prefer a crispier exterior, heat the slice in a preheated oven at 300°F for 5 minutes. Add a tiny splash of water before reheating to steam the surface and keep it from drying.