I swear I was on the brink of a full‑blown kitchen catastrophe when I first attempted a lobster pot pie. I had a fresh lobster that I’d fought off a crab‑by‑the‑shore for, a handful of pantry staples, and a vague idea that “pie” and “seafood” could somehow coexist without turning into a soggy mess. The first time I tried, the crust was as limp as a wilted lettuce leaf and the sauce tasted like a watery broth that had forgotten its purpose. I stared at the half‑baked disaster and thought, “If I can’t get this right, I’m never going to trust my own culinary instincts again.” That moment sparked a dare: I would create the ultimate, creamy lobster pot pie that could turn even the most skeptical palate into a fan.
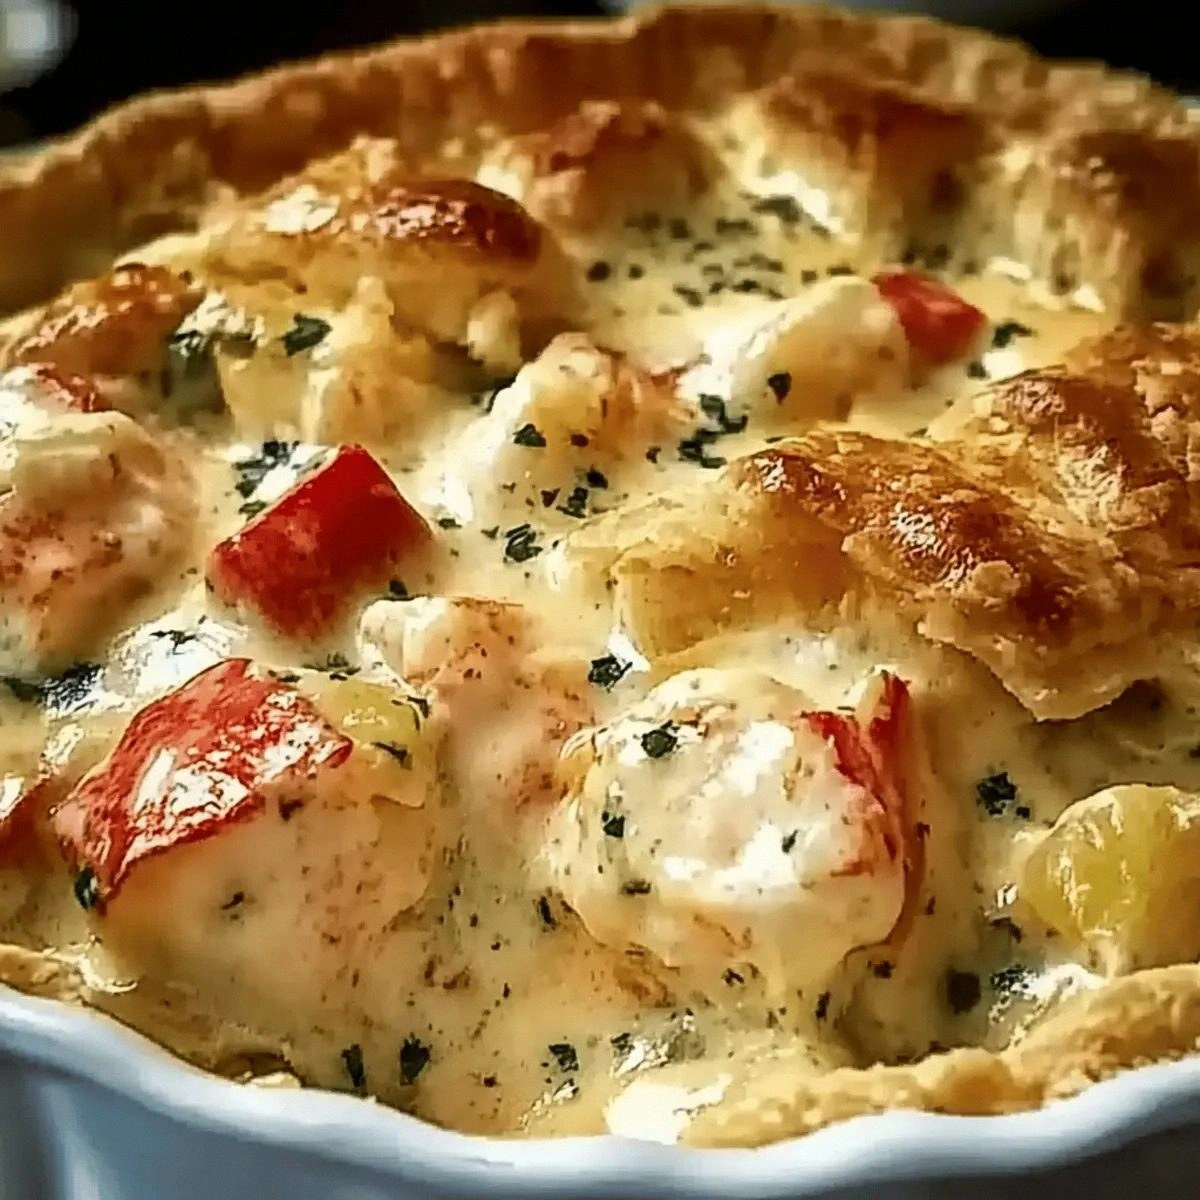
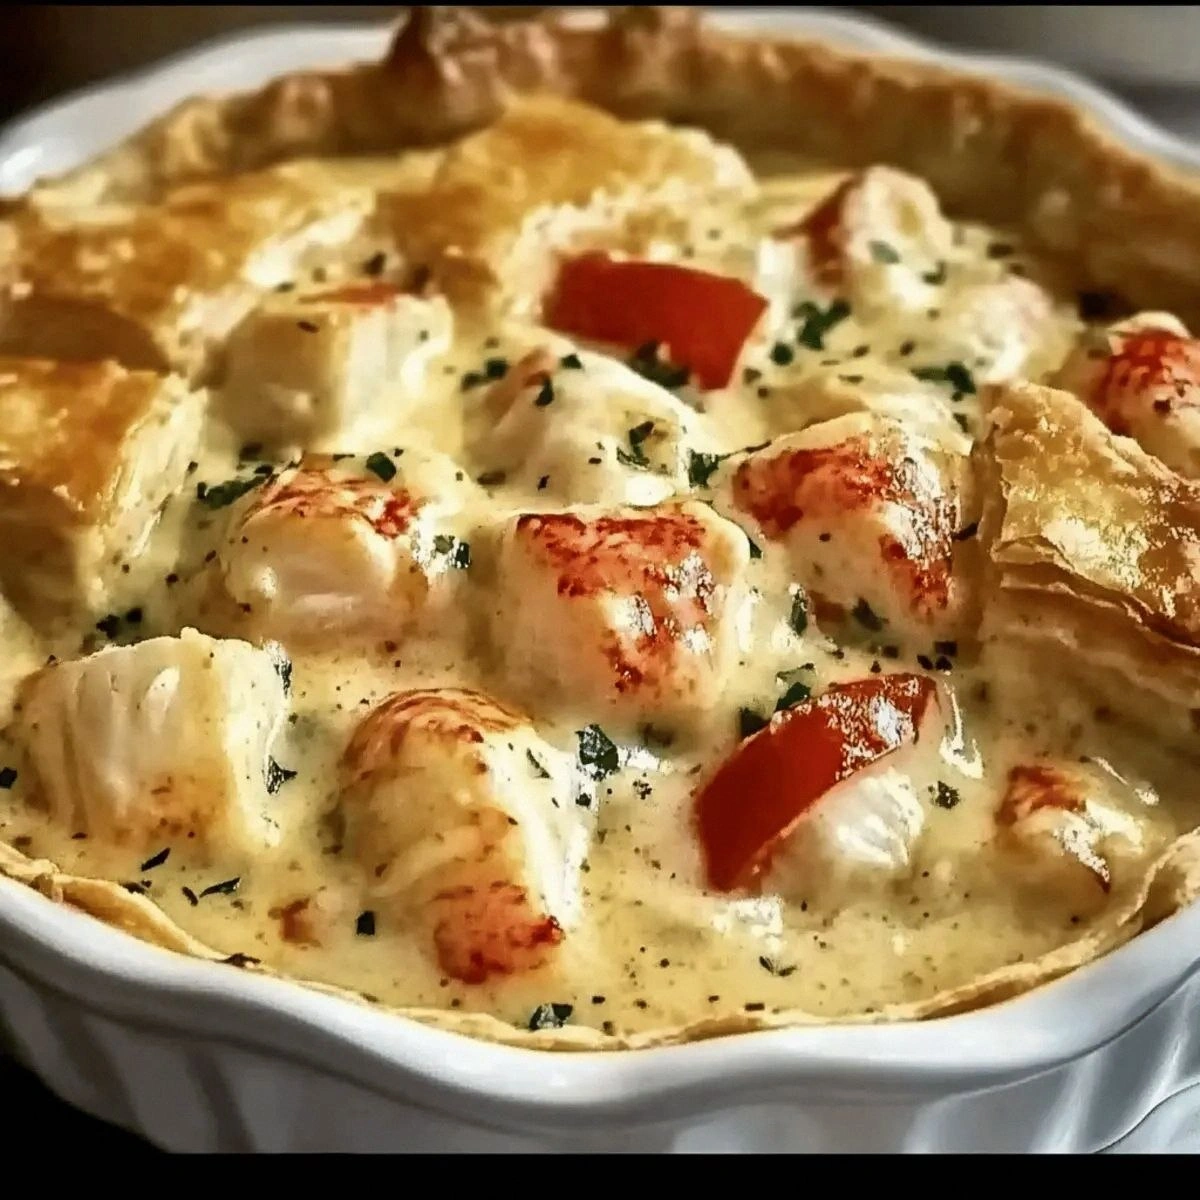
Fast forward a few weeks, a few extra lobster trips, and a lot of trial‑and‑error, and I finally nailed it. Imagine a golden, buttery crust that shatters like thin ice when you cut into it, revealing a velvety interior that clings to each bite of lobster meat like a lover’s embrace. The aroma that fills the kitchen is a seductive blend of sweet seafood, aromatic thyme, and a whisper of lemon that makes you want to inhale deeply and never leave the room. The sound of the crust cracking under your fork is music, the steam rising is a warm hug, and the first spoonful? Pure comfort that feels like a warm blanket on a cold night.
What makes this version truly stand out is a secret weapon: a splash of heavy cream combined with a splash of chicken (or seafood) stock that creates a sauce richer than a French chef’s secret liaison. Most recipes either drown the lobster in a cloying cheese sauce or leave it swimming in a thin, flavorless broth. I dared to balance the two, letting the lobster shine while still delivering that luxurious, melt‑in‑your‑mouth texture that makes you want to lick the plate clean. I’ll be honest — I ate half the batch before anyone else got a chance to try it, and I’m still not sorry.
So, if you’ve ever struggled with a soggy bottom, a bland filling, or a crust that refuses to hold its shape, you’re not alone — and I’ve got the fix. Picture yourself pulling this out of the oven, the whole kitchen smelling incredible, the golden crust glistening under the light, and your guests’ eyes widening in anticipation. Let me walk you through every single step — by the end, you’ll wonder how you ever made it any other way.
What Makes This Version Stand Out
- Flavor Depth: The combination of heavy cream and stock creates a sauce that’s both rich and nuanced, letting the lobster’s natural sweetness sing.
- Texture Harmony: A flaky, buttery crust meets a silky filling, delivering a contrast that feels like a perfect duet.
- Simplicity: Despite its gourmet vibe, the recipe uses everyday pantry items and requires no fancy equipment.
- Uniqueness: A dash of fresh thyme and lemon juice adds an unexpected brightness that most pot pies lack.
- Crowd Reaction: I dare you to taste this and not go back for seconds; it’s a guaranteed show‑stopper at any dinner.
- Ingredient Quality: Using freshly cooked lobster meat ensures a sweet, tender bite that frozen substitutes can’t match.
- Cooking Method: The two‑crust technique locks in moisture, preventing sogginess while giving you that coveted golden top.
- Make‑Ahead Potential: Assemble ahead of time, refrigerate, and bake when you’re ready — perfect for busy weeknights.
Inside the Ingredient List
The Flavor Base
The onion and garlic are the unsung heroes that build the aromatic foundation. When sautéed in olive oil, they release a sweet, caramelized perfume that fills the kitchen and signals that something delicious is on its way. Skipping them would leave the sauce flat, like a song without a melody. If you’re allergic to garlic, try a pinch of asafoetida for a similar depth without the bite.
The Texture Crew
Carrots, celery, and frozen peas bring color, crunch, and a subtle earthiness that balances the richness of the cream. They also act as tiny sponges, soaking up the sauce so each bite is juicy. For a sweeter twist, swap carrots for parsnips or add a handful of corn kernels for a burst of summer sweetness.
The Unexpected Star
A half‑tablespoon of lemon juice may seem modest, but it cuts through the richness and lifts the entire dish. It’s the culinary equivalent of a high note in a ballad, making the flavor unforgettable. If you’re not a fan of citrus, a splash of white wine can provide a similar acidity with a different nuance.
The Final Flourish
Fresh thyme adds an herbaceous whisper that pairs perfectly with seafood, while the egg wash gives the crust a glossy, golden finish that’s both beautiful and appetizing. Salt and black pepper are the final seasoning guards; they bring everything together and prevent the dish from tasting bland. Remember, seasoning is a personal journey — taste as you go.
Everything's prepped? Good. Let's get into the real action...
The Method — Step by Step
Preheat your oven to 400°F (200°C). While the oven warms, place the two pie crusts on a lightly floured surface and let them sit at room temperature for five minutes. This short rest helps prevent shrinkage when baked. The kitchen will start to smell faintly of butter — a promising sign.
Heat 2 tablespoons of olive oil in a large, heavy‑bottomed skillet over medium heat. Add the diced onion and sauté until it becomes translucent, about 3‑4 minutes. Then toss in the minced garlic, letting it sizzle for another 30 seconds until fragrant. That sizzle when it hits the pan? Absolute perfection.
Add the carrots and celery, cooking for an additional 5 minutes until they begin to soften. This step builds the backbone of the filling, ensuring each vegetable retains a slight bite.
Kitchen Hack: If you’re short on time, use pre‑chopped mirepoix; it saves minutes without sacrificing flavor.Stir in the frozen peas, letting them thaw and blend with the other veggies. Then pour in 1 cup of chicken or seafood stock, scraping the bottom of the pan to release any caramelized bits. This deglazing step lifts every flavor, turning the pan into a flavor reservoir.
Reduce the heat to low and whisk in 1 cup of heavy cream. Watch as the sauce thickens, turning a luscious ivory hue. Add the fresh thyme, lemon juice, and season with salt and black pepper to taste. At this point, the sauce should coat the back of a spoon like velvet.
Gently fold in the 2 cups of cooked lobster meat, being careful not to break the delicate chunks. The lobster should be evenly distributed, each piece bathed in the creamy sauce.
Watch Out: Over‑stirring can turn the lobster into a mushy texture; fold gently.Lay one pie crust into a 9‑inch pie dish, pressing gently to fit the sides. Spoon the lobster filling into the crust, spreading it evenly. The filling should rise slightly above the crust edge, leaving room for the top layer.
Cover the filling with the second crust, trimming any excess dough. Crimp the edges with your fingertips or a fork to seal. Brush the top with a beaten egg for that glossy finish, and cut a few steam vents in the center.
Bake for 25‑30 minutes, or until the crust is a deep golden brown and the edges start pulling away from the pan. The aroma will be intoxicating, a blend of buttery crust and oceanic perfume. Let the pie rest for 10 minutes before slicing — this allows the filling to set and makes for cleaner cuts.
That's it — you did it. But hold on, I've got a few more tricks that'll take this to another level...
Insider Tricks for Flawless Results
The Temperature Rule Nobody Follows
Never bake a pot pie straight from the fridge; let the assembled pie sit at room temperature for 15 minutes before it hits the oven. This prevents the crust from shocking and cracking. I once tried skipping this step and ended up with a crust that flaked apart like dry leaves. Trust the rule, and your crust will stay intact and buttery.
Why Your Nose Knows Best
Your sense of smell is a reliable indicator of doneness. When the crust starts to turn a deep amber and you catch a nutty, buttery scent, you’re close. If you’re unsure, lift the edge with a spatula; the underside should be a uniform golden brown. This sensory checkpoint saves you from under‑ or over‑baking.
The 5‑Minute Rest That Changes Everything
Allow the pie to rest for exactly five minutes after removing it from the oven. This short pause lets the sauce thicken further and the crust settle, making slicing effortless. I once sliced immediately and the filling oozed everywhere, ruining the presentation. A brief rest is a tiny effort for a massive payoff.
Egg Wash Variations
For an extra glossy top, mix the egg with a tablespoon of milk or cream. This adds a richer sheen and a subtle flavor boost. If you prefer a matte finish, skip the wash entirely — the crust will still be deliciously crisp.
Seasoning Layers
Creative Twists and Variations
This recipe is a playground. Here are some of my favorite ways to switch things up:
Spicy Cajun Kick
Add a tablespoon of Cajun seasoning to the sauce and swap thyme for smoked paprika. The heat pairs beautifully with the sweet lobster, creating a Southern‑style comfort dish.
Mushroom Medley
Introduce a cup of sliced cremini or shiitake mushrooms with the carrots and celery. The earthy flavor adds depth and makes the pie suitable for a more autumnal menu.
Cheesy Delight
Stir in ½ cup of grated Gruyère or sharp cheddar just before adding the lobster. The cheese melts into the sauce, giving a richer, slightly tangy finish that cheese lovers will adore.
Herb‑Infused Crust
Mix a tablespoon of dried rosemary or dill into the crust dough before rolling. The herb‑infused crust adds an aromatic surprise that elevates the entire dish.
Mini Pot Pies
Divide the filling among individual ramekins or muffin tins for single‑serve portions. This is perfect for dinner parties where guests can enjoy their own personal pie.
Storing and Bringing It Back to Life
Fridge Storage
Allow the pie to cool completely, then cover tightly with foil or plastic wrap. It will keep in the refrigerator for up to three days. When ready to eat, reheat in a 350°F oven for 15‑20 minutes, covered with foil to prevent the crust from over‑browning.
Freezer Friendly
Wrap the unbaked pie tightly in plastic wrap, then in aluminum foil. Freeze for up to two months. To bake from frozen, add an extra 10‑15 minutes to the baking time and keep the oven at 375°F to ensure even cooking.
Best Reheating Method
For leftover slices, place them on a baking sheet, add a splash of water (about a teaspoon per slice), and cover loosely with foil. Heat at 350°F for 10‑12 minutes. The steam from the water revives the creamy filling, while the foil protects the crust from drying out.