I was standing in my kitchen on a rainy Tuesday, staring at a half‑finished lemon tart that tasted like a sour disappointment and a bland crust that could double as a doorstop. My friend had dared me to “make something that actually makes people smile,” and I think the universe answered with a blender, a handful of lemons, and a pinch of audacity. The rain tapped a steady rhythm on the window, the scent of fresh citrus wafted in from the pantry, and I realized that the perfect pie doesn’t need a pastry chef’s degree—just the right blend of science and a little kitchen magic. I tossed the crust ingredients into the bowl, hit the highest setting, and watched the dough transform into a silky, buttery cloud that promised flaky perfection without the tedious rolling.
When the first whirr of the blender died down, the aroma of melted butter and toasted flour hit my nose like a warm hug from an old friend. I could hear the faint hiss of the oven preheating, a low‑growl that felt like an engine revving up for a race. The lemon juice, freshly squeezed and bright as sunrise, hit the mixture with a pop that reminded me of fireworks on a summer night. When I finally pulled the pie from the oven, the crust was golden‑brown, the filling set with a gleam that could rival a polished gemstone, and the whole thing smelled like a citrus‑laden dream wrapped in buttery comfort.
Most lemon pies out there either end up with a soggy bottom or a filling that tastes like a sugary lemon soda gone wrong. This version? Hands down the best version you’ll ever make at home. I dare you to taste this and not go back for seconds. The secret isn’t a secret at all—it’s the way the blender emulsifies the butter and flour together, creating a crust that’s both tender and crisp, while the lemon‑cream filling stays silky without ever curdling. I’ll be honest — I ate half the batch before anyone else got to try it, and that’s the only confession I’m willing to make.
Picture yourself pulling this out of the oven, the whole kitchen smelling incredible, the crust cracking just enough to reveal a luscious, sun‑kissed filling that sparkles with zest. Okay, ready for the game‑changer? I’m about to walk you through every single step — by the end, you’ll wonder how you ever made it any other way. Stay with me here — this is worth it.
What Makes This Version Stand Out
- Taste: The balance of tart lemon and sweet cream is calibrated to hit that perfect spot where your palate does a happy dance. No overpowering acidity, just a clean, refreshing zing that lingers.
- Texture: A buttery, melt‑in‑your‑mouth crust that shatters like thin ice, paired with a filling that coats the tongue like velvet, creating an indulgent mouthfeel every bite.
- Simplicity: No rolling pins, no blind‑baking tricks. The blender does the heavy lifting, turning a potentially messy process into a one‑bowl wonder.
- Uniqueness: Most lemon pies rely on a traditional pastry crust; this one uses a “blended” crust that’s lighter, crispier, and surprisingly airy.
- Crowd Reaction: Expect the “wow” factor at any gathering. Guests will be shouting for seconds, and you’ll be the hero of the dessert table.
- Ingredient Quality: Fresh lemons, real butter, and a splash of heavy cream elevate this pie from ordinary to extraordinary.
- Cooking Method: The high‑speed blending creates an emulsion that a traditional hand‑mix would never achieve, ensuring uniform crumb structure.
- Make‑Ahead Potential: Assemble the crust a day ahead, keep the filling chilled, and bake fresh when you’re ready to impress.
Inside the Ingredient List
The Flavor Base
Lemon juice is the star of the show, delivering that bright, citrus punch that defines the pie. Using freshly squeezed juice is non‑negotiable; bottled juice brings a muted flavor and a hint of preservatives that can dull the overall experience. If you skip the juice, the pie loses its signature zing and becomes just another sweet custard. As a swap, you can blend in a tablespoon of orange juice for a subtle twist, but keep the lemon as the main driver.
The Texture Crew
All‑purpose flour and unsalted butter form the backbone of the crust. The flour provides structure, while the butter creates layers that puff up during baking. Opt for a high‑quality European butter with at least 82% fat for maximum flakiness. If you’re out of butter, a mix of coconut oil and melted butter (50/50) can work, though the flavor profile will shift slightly toward tropical notes. Skipping the butter entirely results in a dense, crumbly crust that won’t hold up to the filling.
The Unexpected Star
Heavy cream adds richness to the filling, preventing the lemon from turning harsh or overly sharp. It also contributes to that silky mouthfeel that makes each bite feel luxurious. If you’re dairy‑free, substitute with coconut cream; the pie will take on a faint coconut aroma that pairs surprisingly well with lemon, but the texture will be a tad heavier.
The Final Flourish
Lemon zest is the secret weapon that amplifies the citrus aroma without adding extra acidity. It’s the aromatic oil in the zest that gives the pie its perfume‑like quality. When zesting, avoid the white pith—it’s bitter and can ruin the delicate balance. If you’re out of fresh lemons, a teaspoon of dried lemon zest (re‑hydrated in a splash of warm water) can be a fallback, though the intensity drops.
Everything's prepped? Good. Let's get into the real action...
The Method — Step by Step
Preheat your oven to 350°F (175°C). While the oven warms up, gather all your ingredients and give the lemon a good roll on the countertop—this releases the essential oils in the zest. I dare you to taste this and not go back for seconds; the aroma alone will convince you.
In the blender, combine 2 cups of all‑purpose flour, ½ cup of cold, cubed unsalted butter, and ¼ cup of granulated sugar. Blend on high for about 30 seconds, pausing every 10 seconds to scrape down the sides. You’ll hear a satisfying “whoosh” as the mixture turns from a sandy texture to a cohesive crumb that clings together like a doughy snowball.
Kitchen Hack: Chill the butter cubes for at least 15 minutes before blending; colder butter creates steam pockets that translate into a flakier crust.Press the dough evenly into a 9‑inch pie dish, making sure the edges are slightly higher than the center to form a natural “well” for the filling. The crust should feel firm under your fingertips—if it’s too soft, pop it in the fridge for 10 minutes.
Blind‑bake the crust: line it with parchment paper, fill with pie weights or dried beans, and bake for 12‑15 minutes until the edges turn a pale golden brown. When you hear that faint “crackle” as the crust lifts from the pan, you know it’s ready for the next stage.
While the crust is baking, whisk together 2 large eggs, 1 cup of granulated sugar, ½ cup of fresh lemon juice, 2 tbsp of lemon zest, ½ cup of heavy cream, and 2 tbsp of cornstarch in a second blender. Blend on medium‑high for 45 seconds until the mixture is completely smooth and glossy. The lemon‑cream should look like a bright, thick custard that’s ready to set.
Once the crust is lightly golden, carefully remove the parchment and weights. Pour the lemon‑cream filling into the crust, spreading it evenly with a spatula. The filling should flow like liquid sunshine, filling every nook and cranny without spilling over the edge.
Place the pie back in the oven and bake for another 20‑25 minutes. You’ll know it’s done when the edges start pulling away from the pan and the surface has a faint, caramelized sheen. The center should still wobble slightly—this is the hallmark of a perfectly set custard.
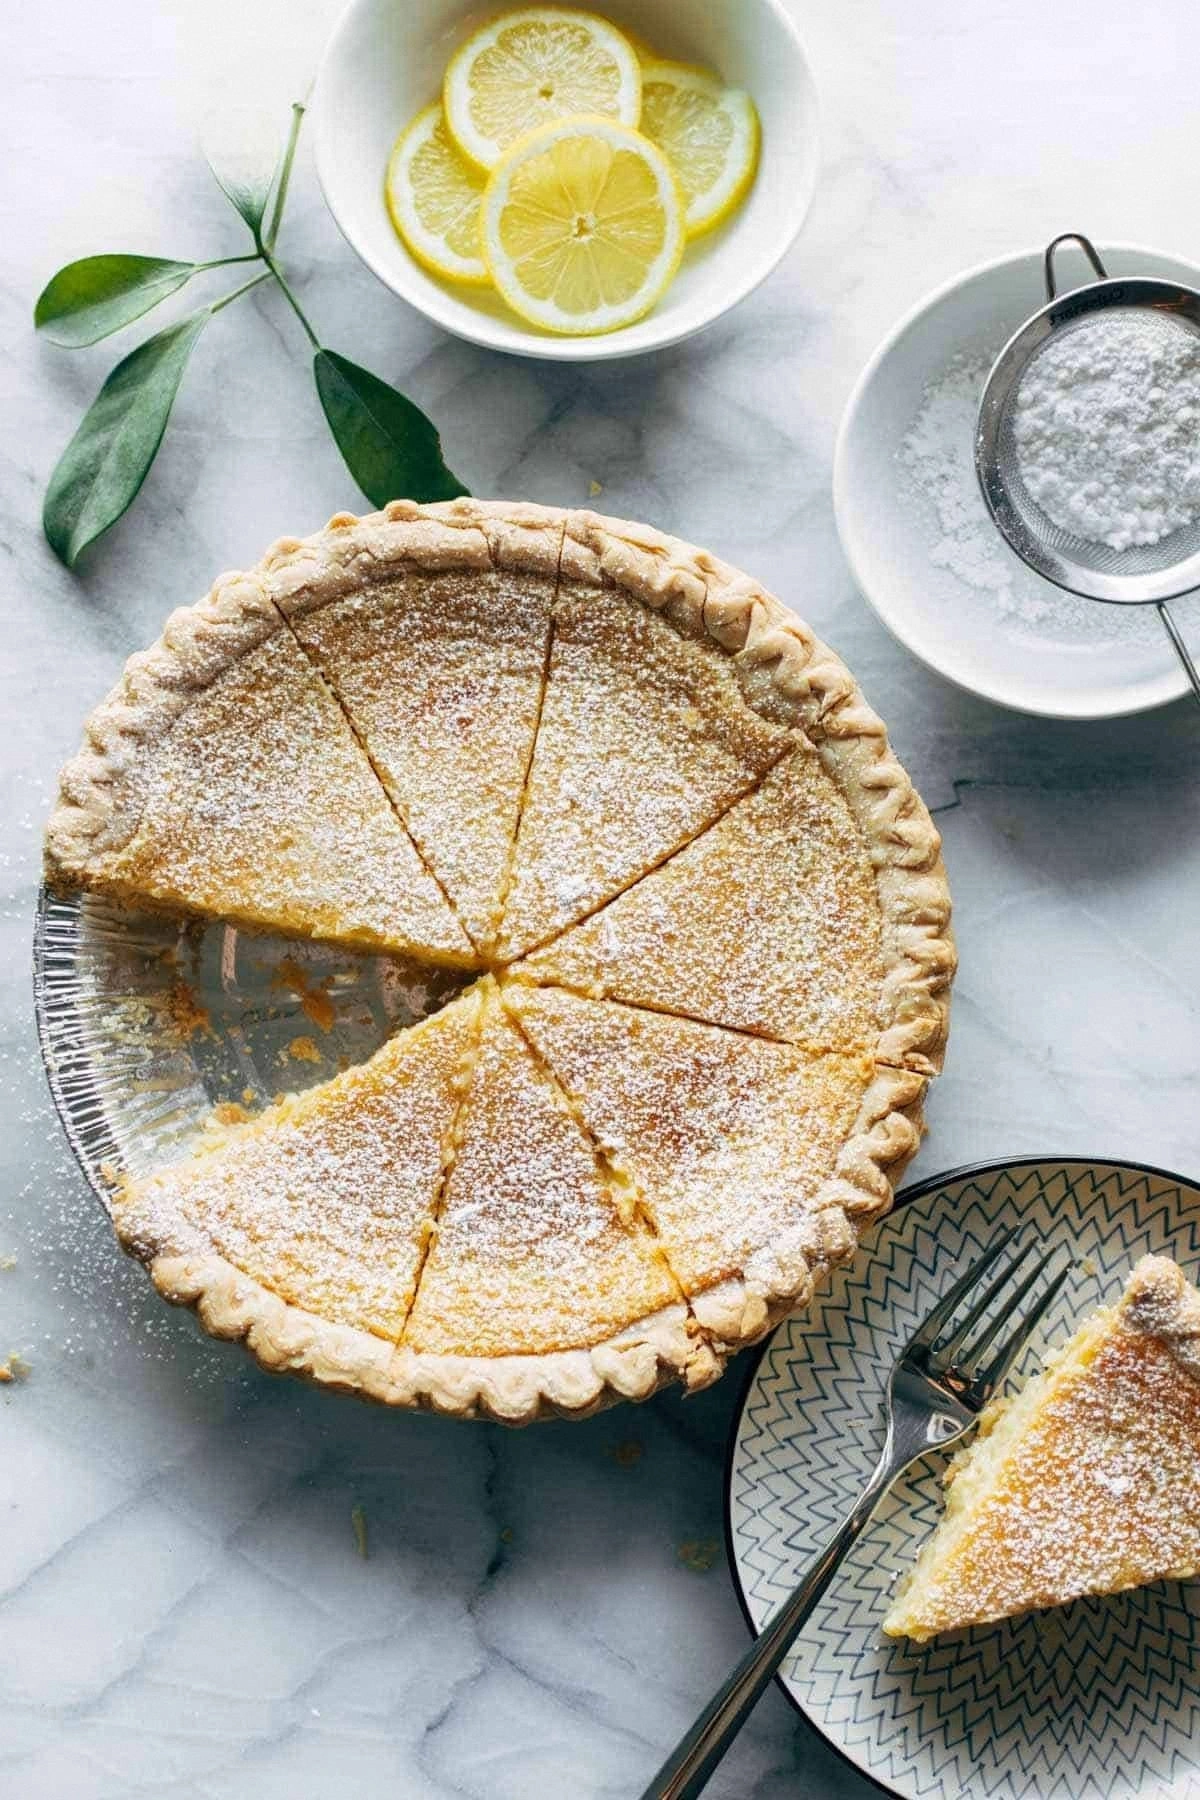
Watch Out: Over‑baking will cause the filling to curdle and develop a grainy texture. Keep a close eye after the 20‑minute mark.Remove the pie from the oven and let it cool on a wire rack for at least 30 minutes. As it cools, the filling will firm up, and the crust will achieve that coveted “crackly” edge. This cooling period is crucial—if you cut into it too early, the filling will ooze out like a lemon‑scented waterfall.
Once cooled, dust the top with a light layer of powdered sugar for a finishing touch that adds a subtle sweetness and a picture‑perfect finish. Serve at room temperature, or chill for an extra firm slice if you prefer a denser bite.
That’s it — you did it. But hold on, I’ve got a few more tricks that’ll take this to another level, like a secret glaze or a whipped‑cream swirl that will make your guests think you hired a pastry chef.
Insider Tricks for Flawless Results
The Temperature Rule Nobody Follows
Always start with a cold oven (pre‑heat to 350°F, then let it sit for 5 minutes before sliding the pie in). The initial burst of heat creates steam that lifts the crust, giving it that airy lift. I once tried a “hot‑start” method and the crust turned into a dense pancake. Trust the cold start; it’s the difference between a flaky masterpiece and a soggy disappointment.
Why Your Nose Knows Best
When the filling is near completion, sniff the kitchen. A faint caramel aroma signals that the sugars have just begun to caramelize, which adds depth to the lemon flavor. If you smell burnt sugar, pull the pie out immediately—over‑cooking is the silent killer of custard textures.
The 5‑Minute Rest That Changes Everything
After baking, let the pie rest for exactly five minutes before moving it to the cooling rack. This short pause lets the heat redistribute, preventing the crust from cracking under sudden temperature change. A friend skipped this step once; the crust shattered like thin ice, and the whole pie fell apart.
The “Steam‑Back” Reheat Technique
If you need to reheat leftovers, place a tiny splash of water in a microwave‑safe dish, cover the pie loosely with foil, and heat for 30 seconds. The steam revitalizes the crust, making it crisp again without drying out the filling. It’s like giving the pie a quick spa treatment.
Whipped Cream Whisper
Add a dollop of lightly sweetened whipped cream flavored with a dash of vanilla extract right before serving. The cream’s airy texture contrasts beautifully with the dense lemon filling, creating a layered experience that feels luxurious.
Creative Twists and Variations
This recipe is a playground. Here are some of my favorite ways to switch things up:
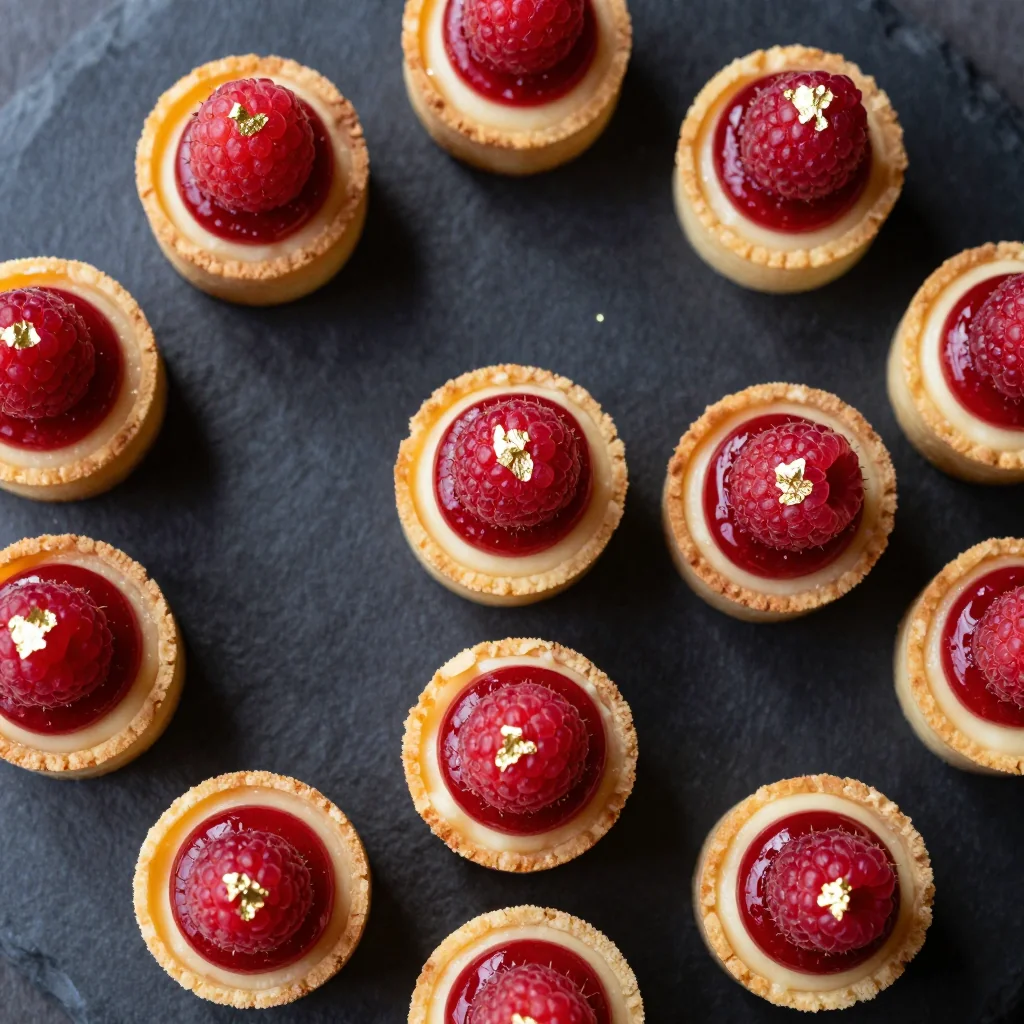
Berry Burst
Fold a cup of fresh raspberries or blueberries into the lemon filling before baking. The berries burst, releasing sweet juices that mellow the tartness, creating a delightful sweet‑tart harmony that will win over berry lovers.
Herbal Infusion
Add a teaspoon of finely chopped fresh thyme or rosemary to the crust dough. The herb‑infused butter adds an earthy undertone that juxtaposes the bright lemon, perfect for a sophisticated brunch.
Coconut Dream
Replace half of the heavy cream with coconut milk and sprinkle toasted coconut flakes on top. This gives the pie a tropical twist, turning it into a vacation in a slice.
Chocolate Swirl
Drop a few tablespoons of melted dark chocolate into the lemon filling and use a skewer to swirl it gently. The bitter chocolate ribbons contrast the citrus, creating a sophisticated flavor duo.
Almond Crunch
Add ¼ cup of finely ground almond flour to the crust mixture and sprinkle sliced almonds on top before baking. The nutty aroma and extra crunch make the pie feel more decadent.
Storing and Bringing It Back to Life
Fridge Storage
Cover the pie loosely with foil or store it in an airtight container. It will keep fresh for up to 4 days. The crust may soften a bit, but a quick 5‑minute reheating in a 300°F oven revives the crispness.
Freezer Friendly
Freeze the baked crust separately from the filling. Wrap the crust in plastic wrap and then aluminum foil. The filling can be frozen in a sealed container for up to 2 months. When ready, thaw both components in the fridge overnight, then assemble and bake for 15 minutes.
Best Reheating Method
Place a tiny splash of water on a piece of parchment and set the pie on top in a pre‑heated 325°F oven for 10‑12 minutes. The steam generated restores the crust’s crunch while gently warming the filling without over‑cooking.